Our fur babies, our companions, and often the best friends we will ever have. It is a necessity to photograph them.
Pet photography can be tough, but if you set the camera and your environment up right, you will have success. Who doesn’t want to share their pets photograph all over Instagram using the hashtag #crazycatlady or #bestdogever ? Below I will share my top tips for how to photograph your pet.

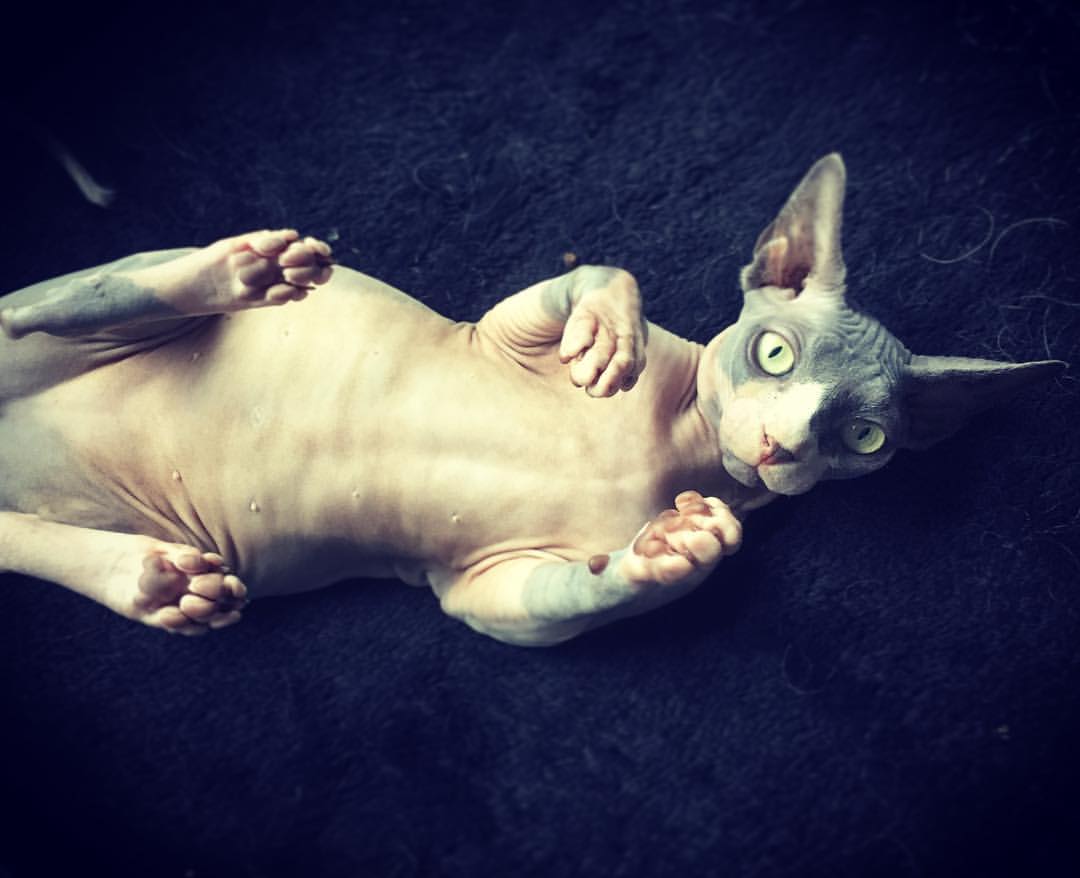
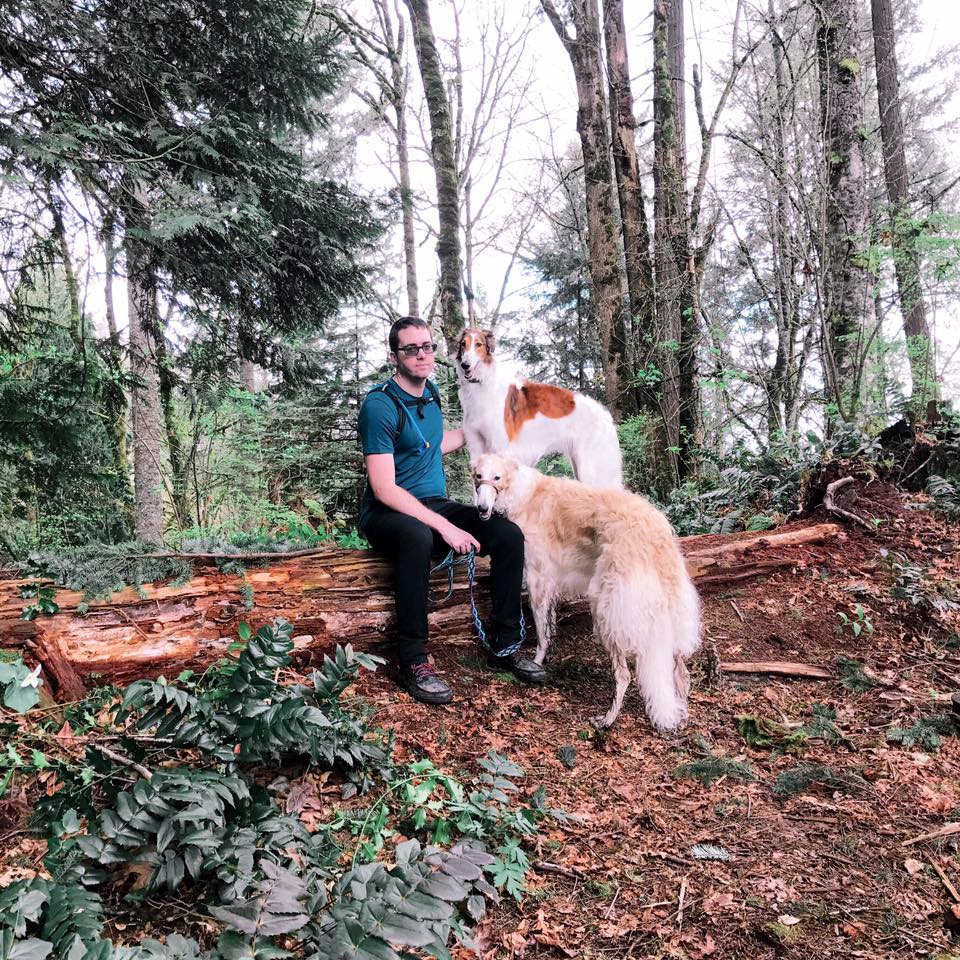
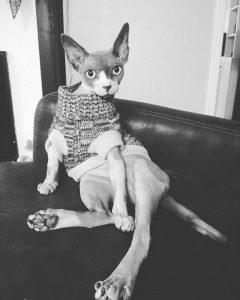
We recently added a new addition to our little fur- family so I was inspired to write this post and share how to photograph your pet, since I have been snatching photos of this guy as much as I can.
Prepare
Mindset:
First things first: you know your baby best. So you know when they are having a bad day or are not on their game. This would be the worst time to photograph. Make sure it is not first thing in the morning when their energy is high, a calm well exercised animal (cat or dog- yes cats need exercise too) is ideal.
Have your head in the right space, ready to be patient and have a bonding moment with your pet. If you had an extra long day at work, trying to pose your pup or focus on the photograph may not be right.
Now, you may be thinking that you just want to snap a cute pic while living life- good times and bad. This is valid and you do not need to find ideal scenarios all the time- however if the purpose is to get that “portrait” photo to frame, so is mindset. It is also good practice in pet photography to be aware of your mindset at all times when photographing in order to make the experience more enjoyable.
Positivity
Do you ever pull out your phone or camera and your cat runs from the room or your dog quickly puts its head down and stops doing to cute thing you wanted to capture. This is because so far, that camera has taken your attention away from them. It has distracted you from your connection and is then shoved in their faces without any sort of reward.
Your pet needs to associate positively with the camera. This means for a cat, you can have a play session with a string and make sure the phone or camera is out and a part of it, but you are focused on playing and them- not the device for at least a few play sessions. If you have a pup, make sure a treat or reward is used when they look at the lens or at the phone. Positivity goes a looonngg way in for pet photography and getting this everlasting photographs.
Be Open
While it is always good to have inspiration or plan in mind, stay open to what your pet wants. Photograph them sleeping or playing. Have them sit and stay and roll over. Trying to force them to hold a ring of flowers on their head when they have never been trained to do so is not fair and again take away that positivity. I cannot tell you how many times I have seen the forced halloween costume photo where the dog is literally tearing it apart as the owner frantically attempts to photograph them.
Stay familiar and comfortable for them and be open to the photographs it may yield.
Ideal Camera Settings
Motion:
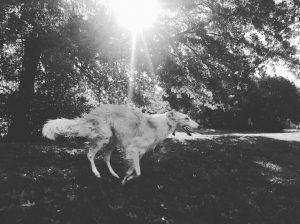
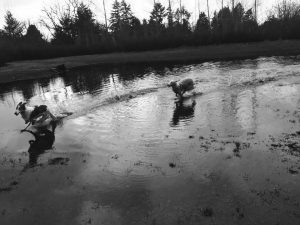
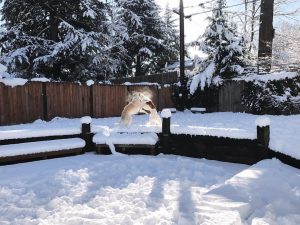
This is one of the most exciting forms of pet photography. Animals can do incredible things and capturing that motion is exciting for you and them. If you are playing fetch and your dog leaps for that frisbee or perhaps you are trying to catch your cat mid leap onto its’ favorite perch you will need to set your camera up ahead of time. This means considering the light and location and then planning from there.
Lens and Aperture
If you are shooting in a park or large space you will need a telephoto lens. Moment make a Tele Lens for the phone that would work perfectly.
Of course Aperture may not be something you can adjust manually- depends on your phone or camera, however if you have the option in motion images you will use a aperture of 5.6 -8. Meaning you will have a mid-range aperture to allow for capturing all ranges of the motion.
Shutter Speed
For motion photography you will need to have a fast shutter speed. This means that the amount of time the shutter stays open is very small so as to capture the movement.
On the phone camera you may have an app that allows you to manually adjust the shutter speed- if this is the case, start at 1/500 and move up from there as needed. You may also consider using the “burst” or “continuous shooting” mode in your phone- similar to the continuous shooting mode for a DSLR. These are often used for sports, but that also means fast motion and can be great for capturing that action.
If shutter speed sounds like a foreign concept for you check out my article on Waterfalls and Shutter Speed here or see my article on general camera control here.
Candid
For candid pet photography your settings should be set to mostly “Auto”. I say mostly, because as you become more familiar with your camera or phone, adjusting setting quickly may become more automatic for you and not take so long as you missing the moment.
Lens and Aperture
In candid you will use your typical lens that is on your phone or camera already. This means that changing to a fish eye lens may look cool, but only if the pet does move in the amount of time it takes you to do so.
Aperture should be a Auto as well, although consider using Portrait Mode which or adjusting the aperture to be open at say a 2.8 in order to create that shallow depth of field. This is only if shallow depth of field would suit the moment of course.
Shutter Speed
This must be automatic and needs to in the mid range, meaning a slow speed of 1/60 typically does not work well for candid shots.
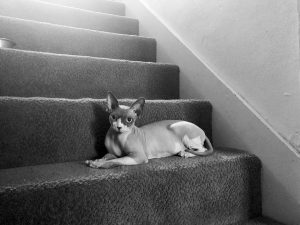
Essentially keep your camera handy and ready at all times. Predict your animals movements if it is possible and “pre-focus” or grad your tripod and set it up on their usual path. If you know your cat jumps in the window to see you when coming home you can prepare and get everything set up ahead of time. While some claim this is not so “candid” I would argue that it is called being prepared.


Posing
Note: Posing your pet requires endless patience, planning and a few sessions.
Unless you happen to have the world’s best trained dog, you will need patience and a good attitude. Remember that mindset mention in the start of this post- here is where it becomes essential. Pet photography is fun, but always remember it is about them, not the photo and your mindset should stay in check.
Location
If you are a professional photographer or rising ametur you may have a studio set up and can try to shoot in this. However, most individuals at home will not have a studio set up, you need to to create your own ideal environment to photograph in.
A plain path of grass with nothing distracting the background may be perfect. Or a white bed spread with a few cat toys can also do the trick.
Lighting
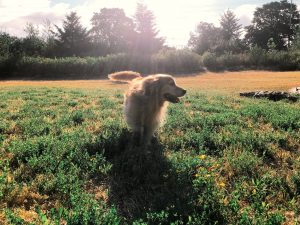
This is the MOST important element of a posed shot and can elevate your work to look more professional. If photographing your pet outside- choose a shady spot with diffused light. You do not want harsh bright light as this can get hot for the animal and look washed out in the shots.
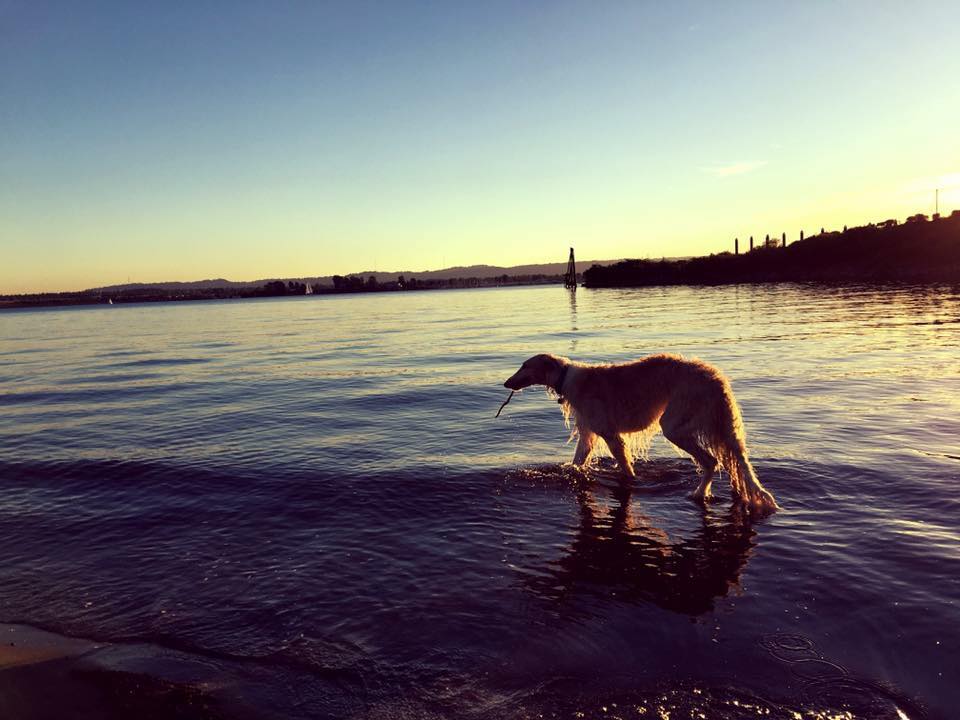
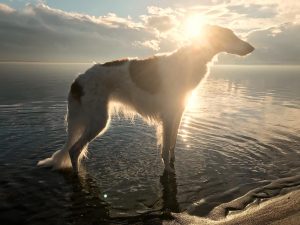
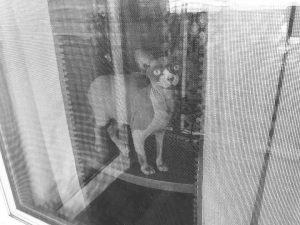
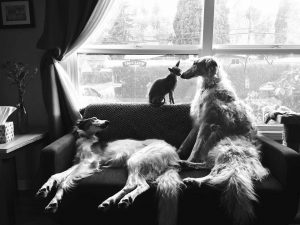
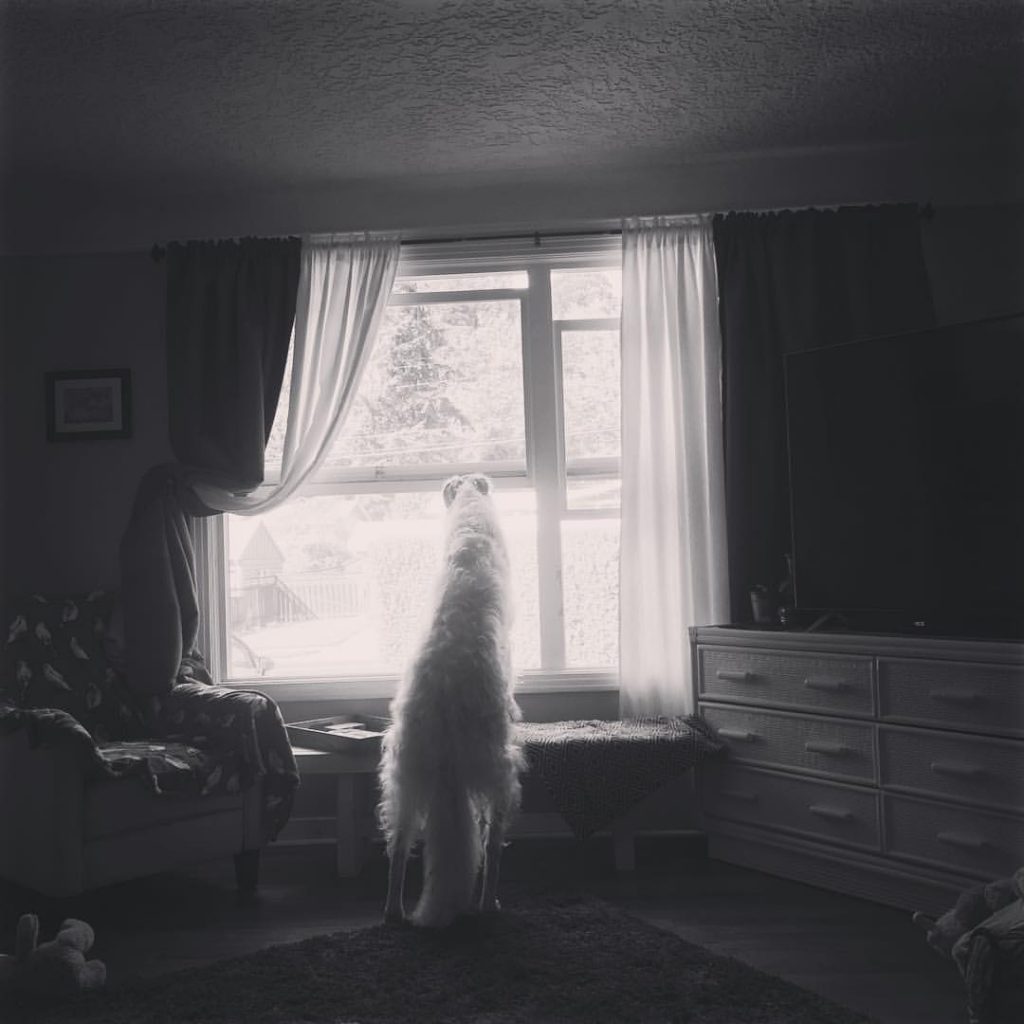
If you are shooting inside- use the window light, but use it from the side. Backlighting in a window can work to create a cute silhouette, but typically this happens on a candid level more often than posing it.
The Tricks
Keep it short. Your session should not be longer than 10 minutes. Animals will get bored and we want to keep positive associations with the experience.
Try to get their attention. Use a silly voice, squeaker or command. Keep it mildly entertaining, but not so entertaining that they can get distracted and wild.

Tips and Tricks: A Useful Pet Photography List
While the camera settings are important and so is choosing the type of photograph (Motion, Candid, or Posed) along with the location- you will need to develop some general tips and tricks for getting that polished and perfect pic of your pet. Hopefully this listicle will provide some ideas and new ways of photographing your pet.
- Keep your sessions short
- Use treats and always associate a positive experience with the photograph
- Do not shove the camera in their face
- Have your camera ready at all times for “candid” shots
- Use a shallow depth of field for a professional look
- Use natural light provided
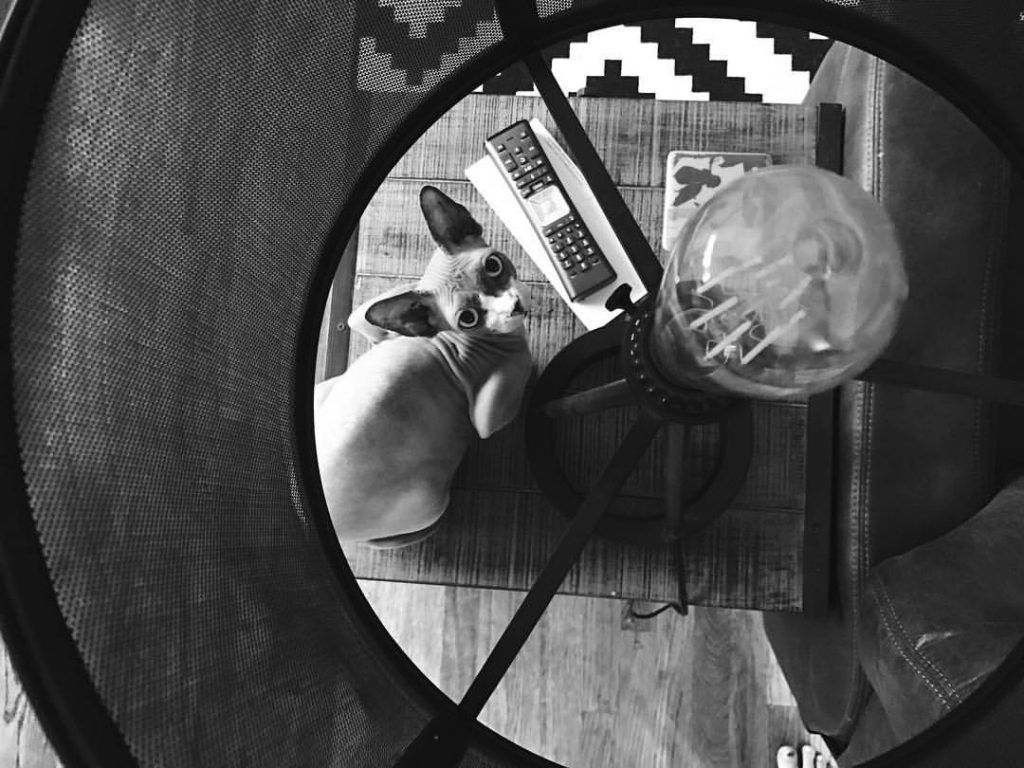
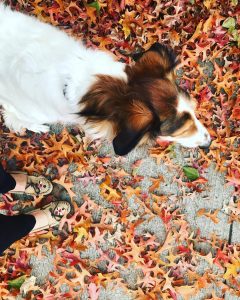
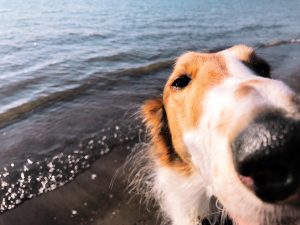
- Get on their level (lay on the ground)
- Get in close
- Stand back from afar
- POV should be one of the two above, the “mid range” perspectives tend to look cliche
- Relax
- Look for expressions
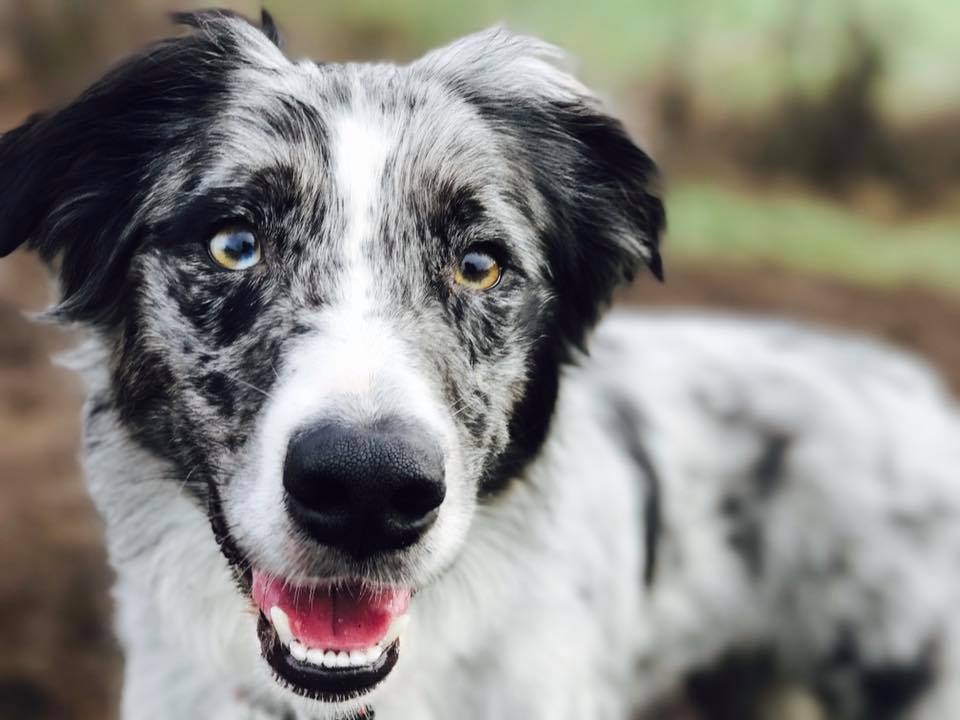
- Keep their eyes sharp
- Be patient
- Experiment
- Work in their environment
- Timing Matters- be ready to shoot bursts and take several shots
- Pretend you are a sports photographer
- Use props (like a toy etc)
- Do not use them as props (not cool)
- This is about them not you
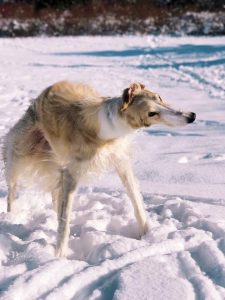
- Capture their character and personality