Home Road & Trails
Category:

Road & Trails

https://www.instagram.com/p/BnOrpsXH2rQ/?hl=en&taken-by=bethanymccamish

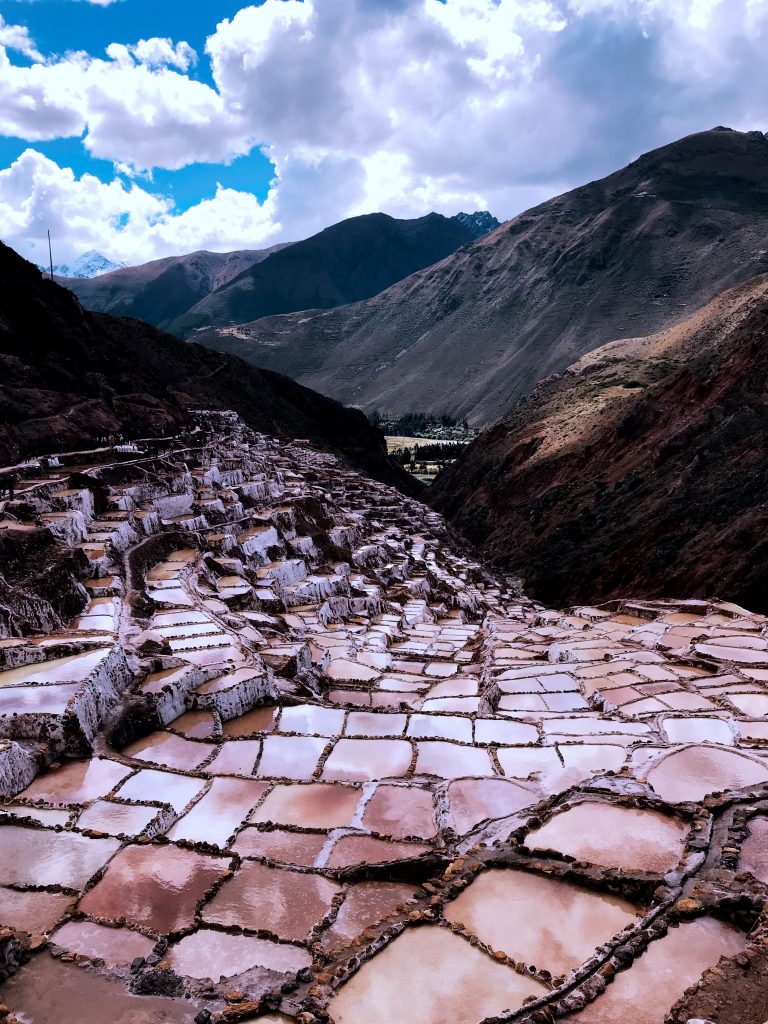
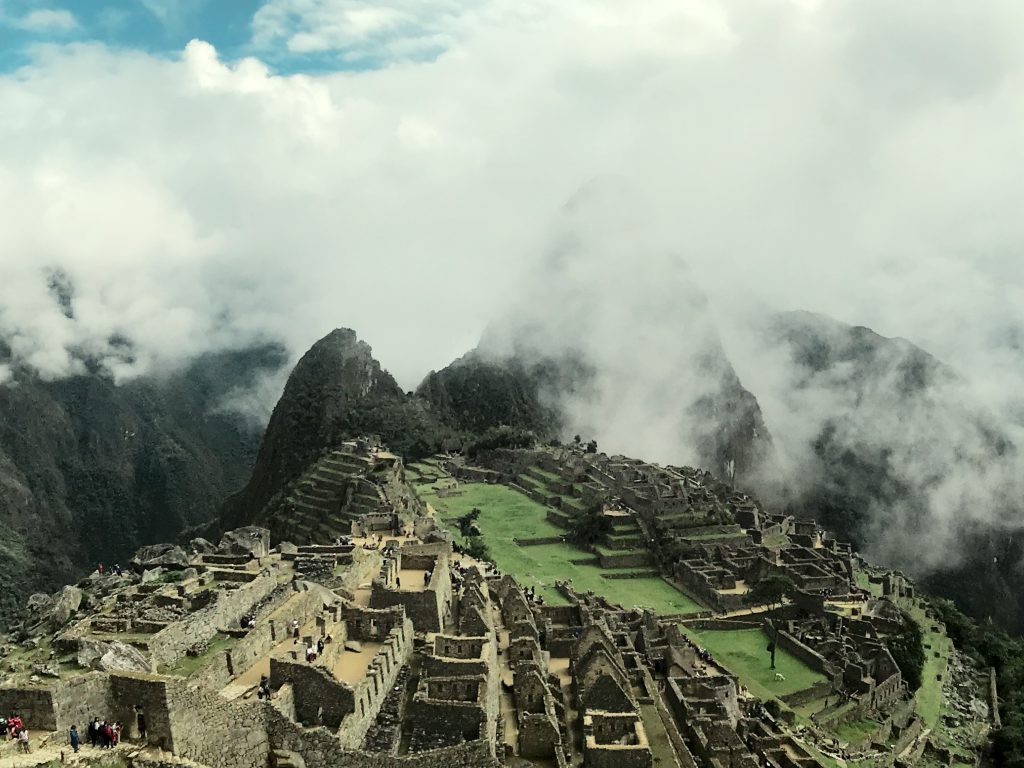
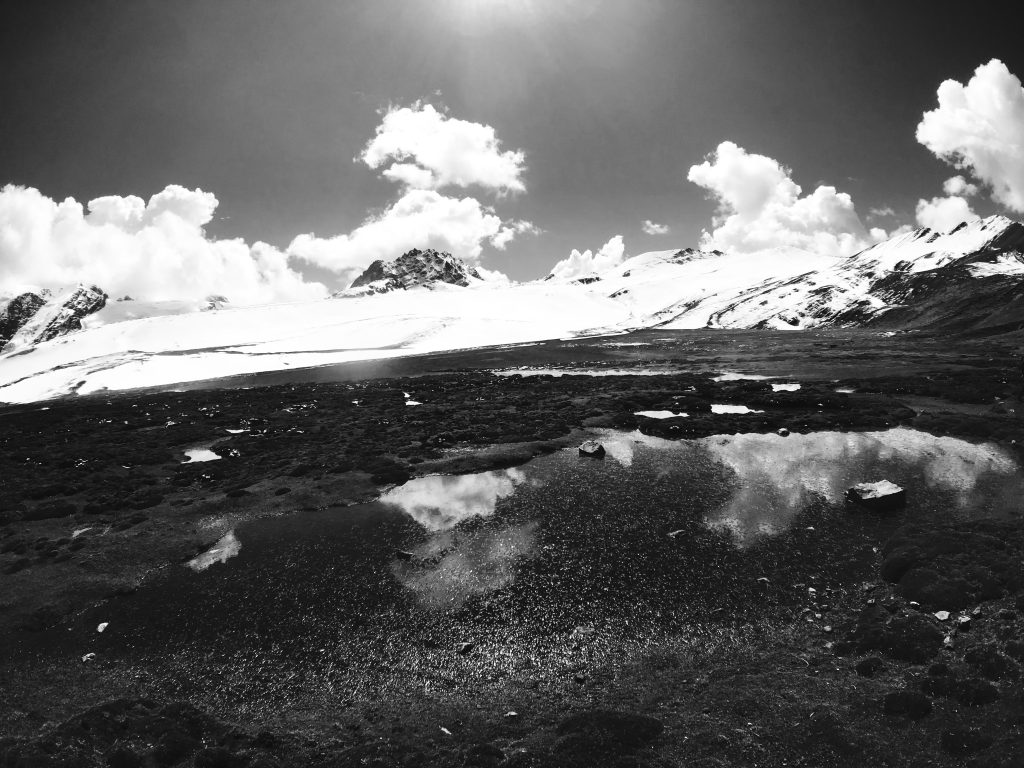
Peru was vibrant and ranged in climate from snow to scorching heat in the Amazon. It was delightful in every aspect – from our hike at Machu Picchu to our the Textiles in Chinchurro I will never forget this trip or the culture.

To see images from Rainbow Mountain or the Amazon head on over to the other look books.

Our Trek: 

Day 1:  Fly into Lima. Grab a Taxi. Pray to God we made it to our hotel in Miraflores in one piece. (Driver was  insane! But really they all are.)

Day 2: In Miraflores – explore the ocean and coastline of Lima. Go to Lacomar and eat above the water at a nice restaurant. Walk to the Lighthouse. Explore the city. Take an evening walk by the waterfront.

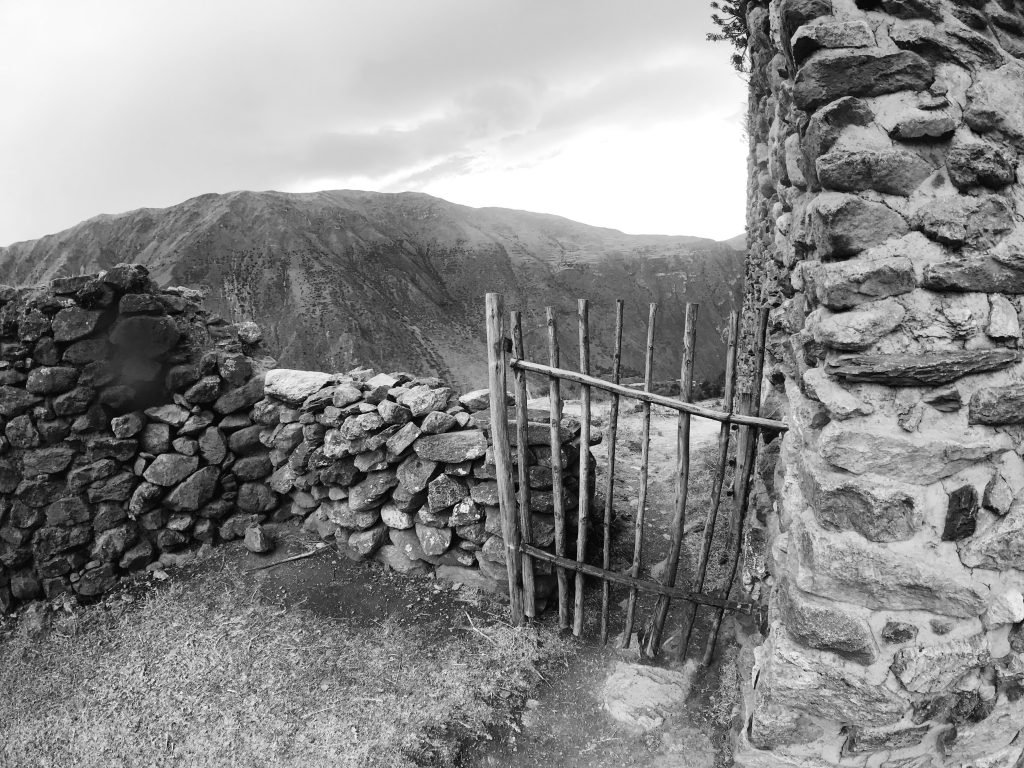
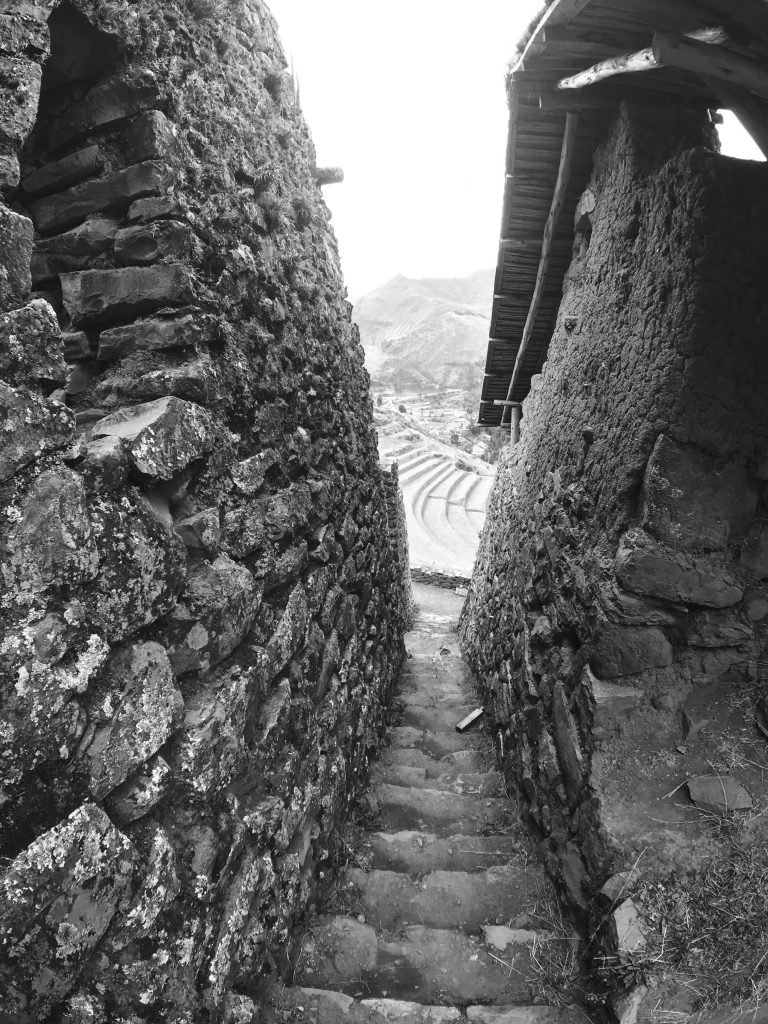
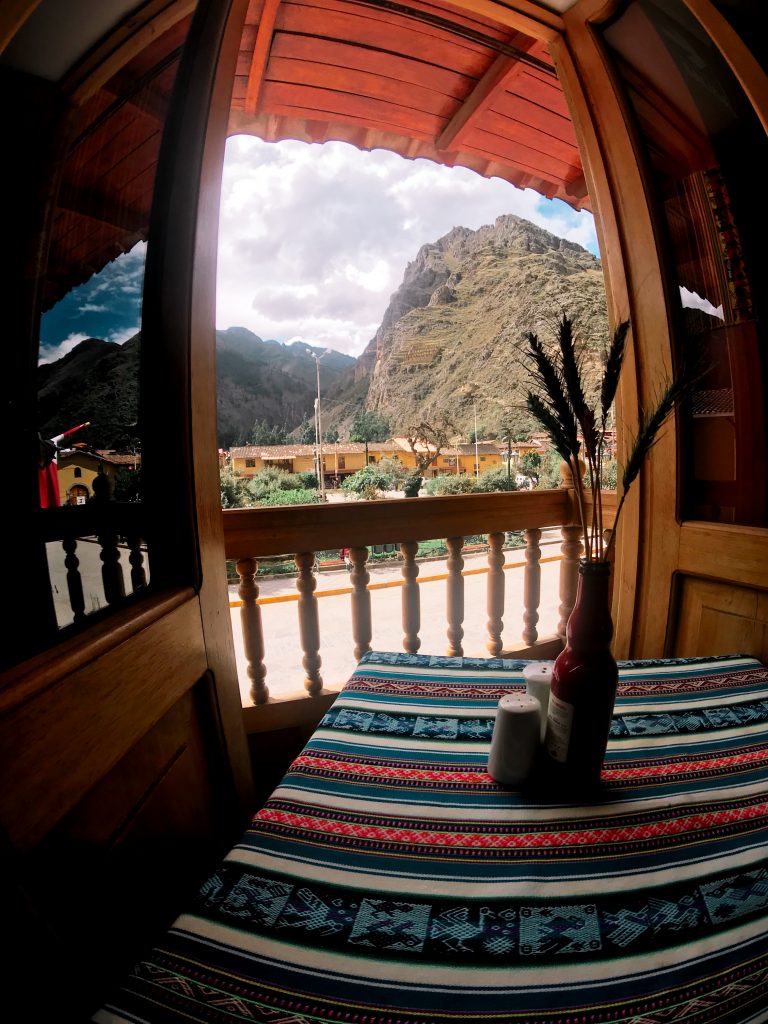
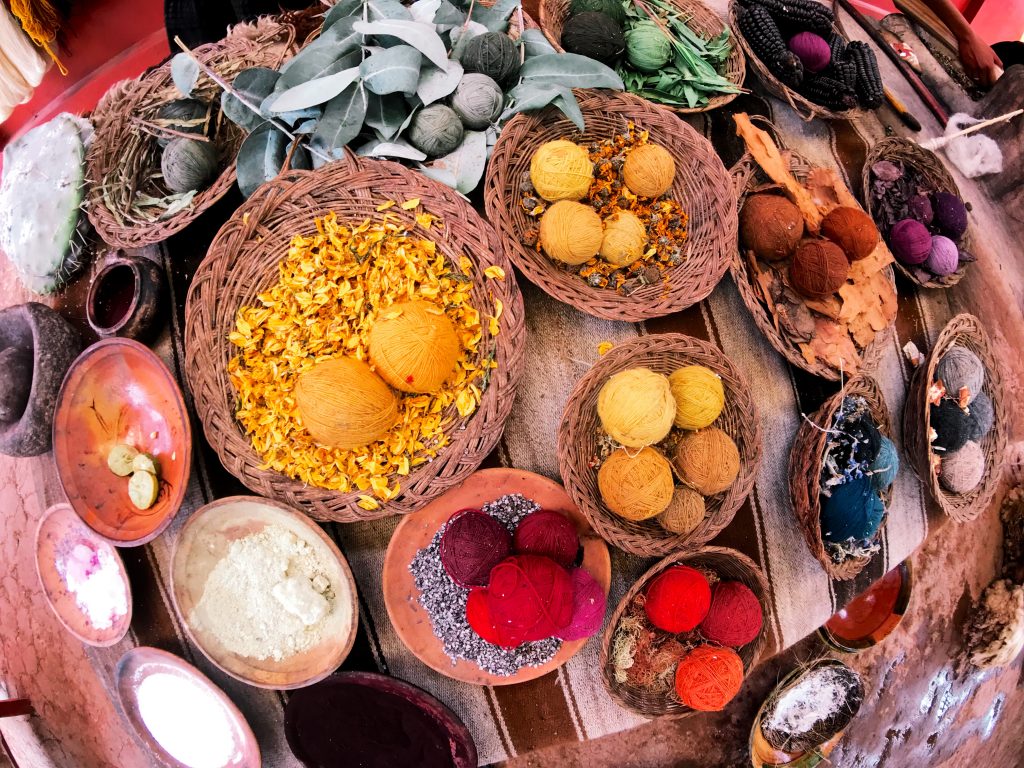
Day 3: Started at 5am as we went back to the Lima Airport and flew to Cusco. Meet our private guide and head to Ollantaytambo. While driving, stop at Chinchurro to see how textiles were made by the locals. Another few hours on the road to Ollantaytambo and check in to our hotel- grab lunch then head over to Pumamarka Ruins. (GORGEOUS and not filled with any tourists) Explore the city and grab dinner.

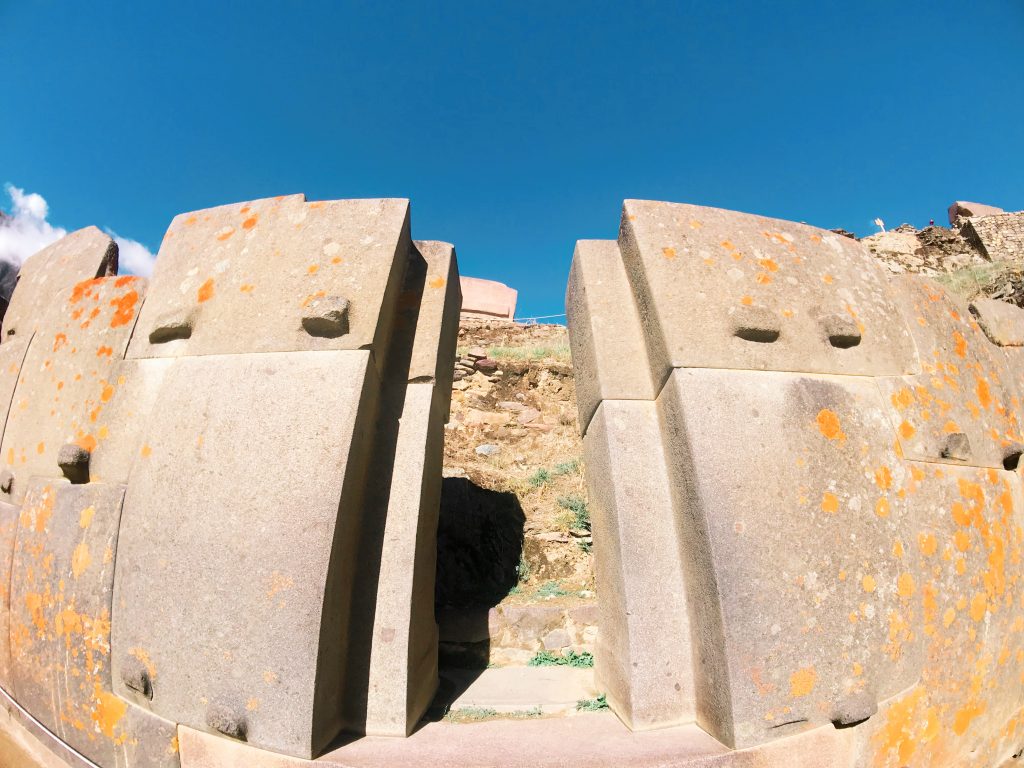
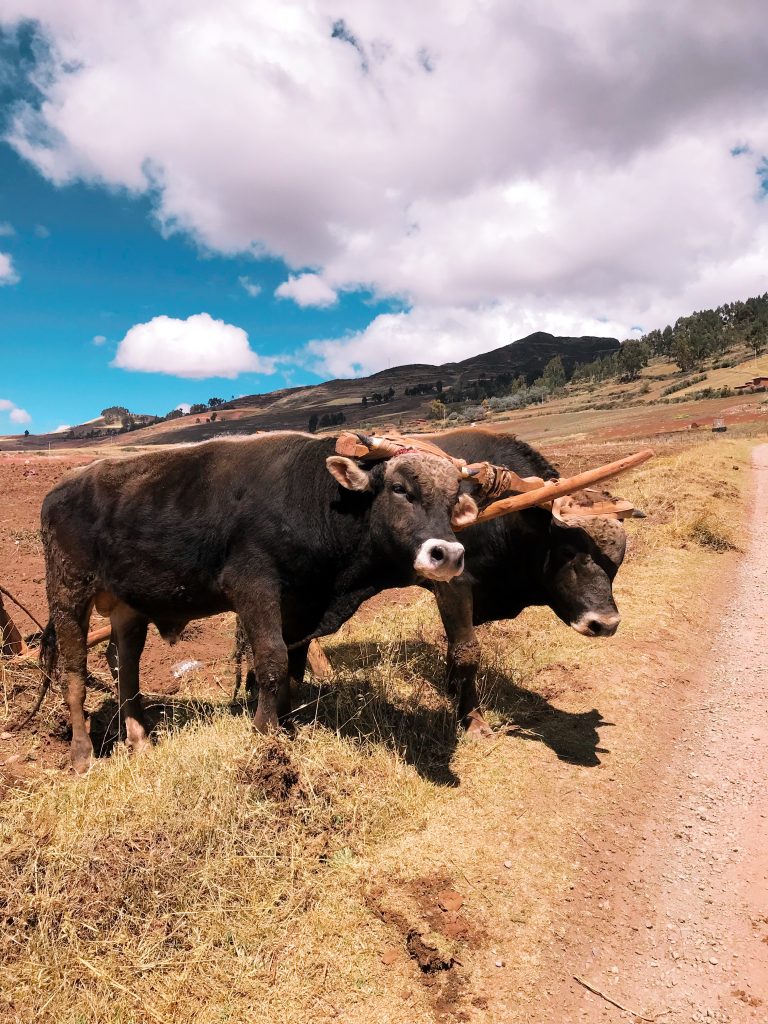
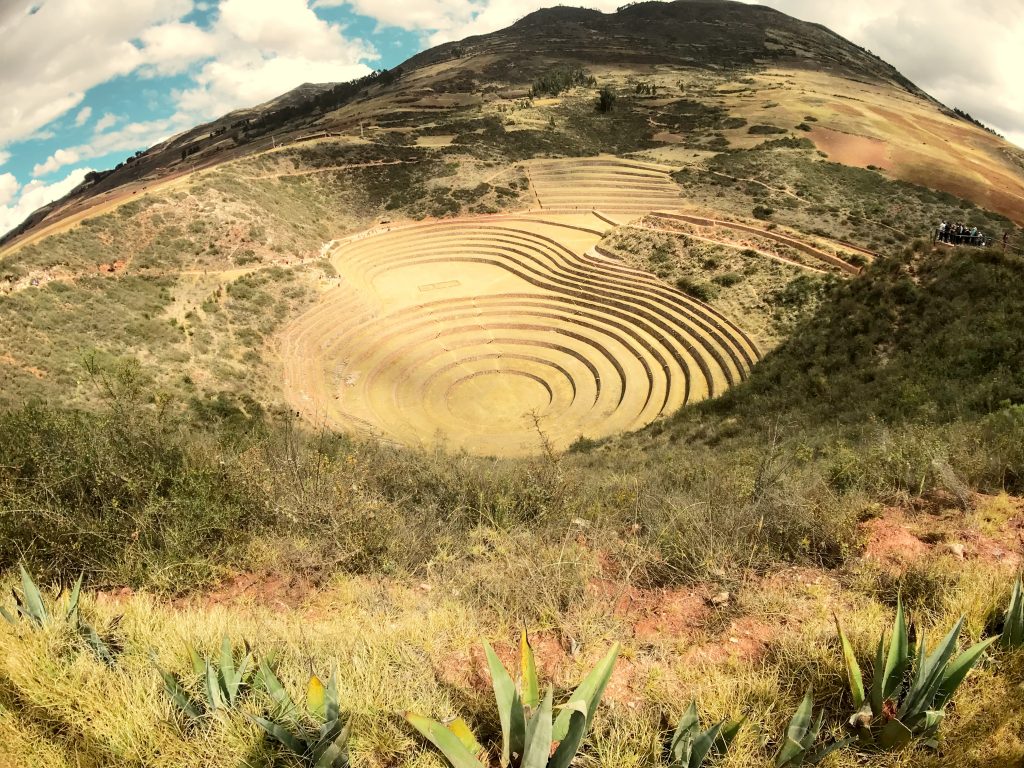
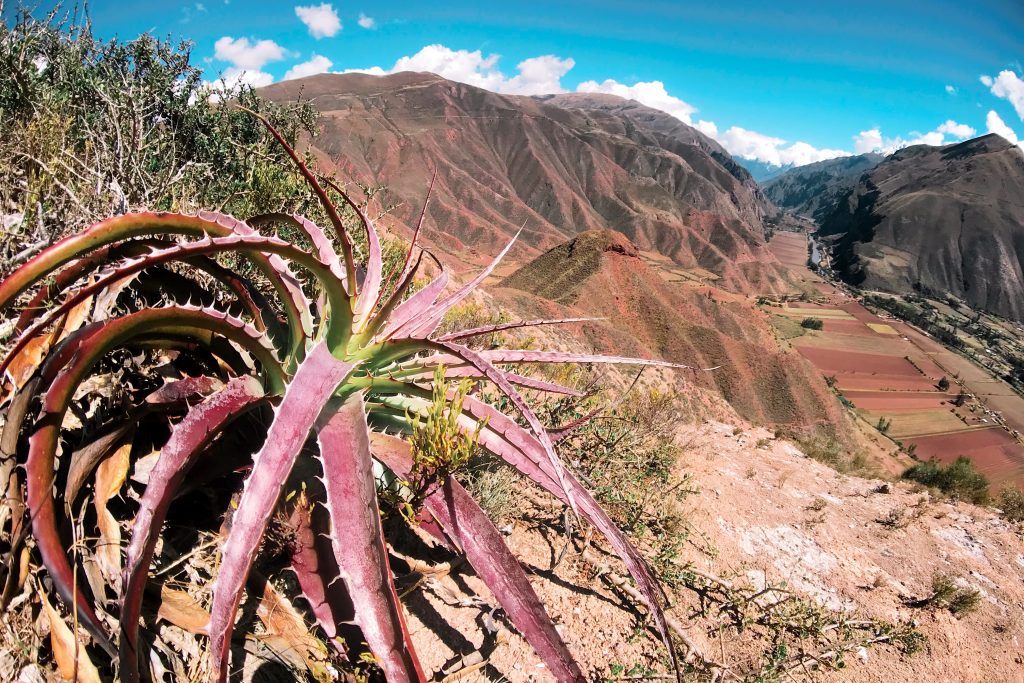
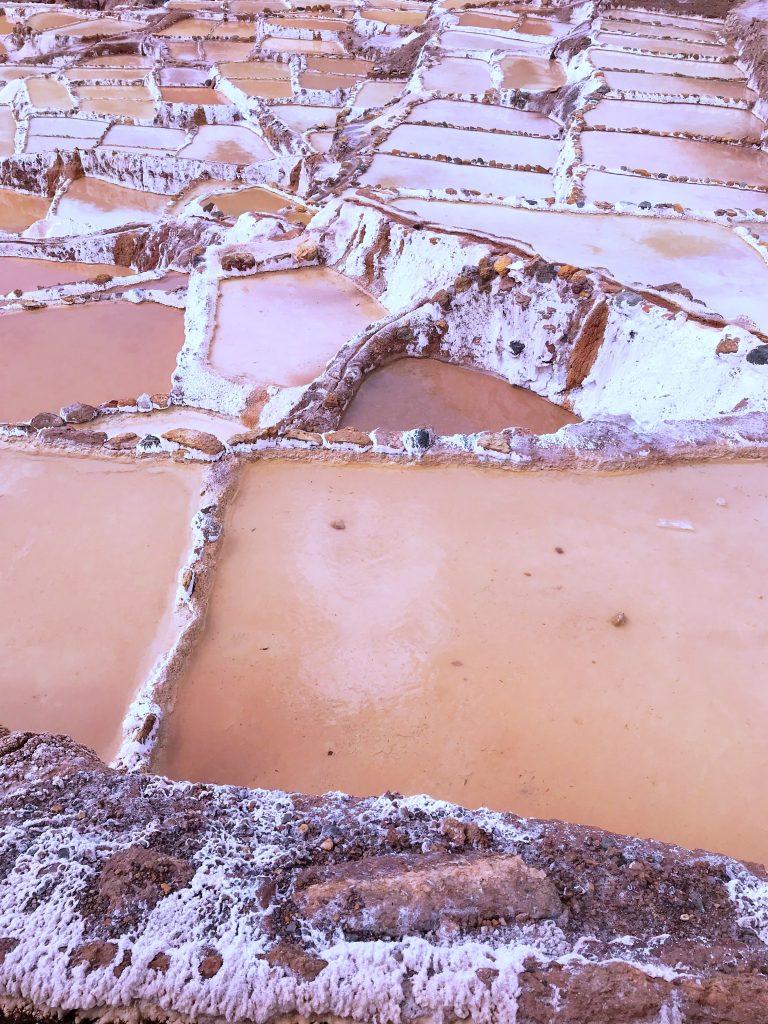
Day 4: Start at 7am. Visit the Incan Fortress in the town that we had been looking at on the hillside by our hotel. Go to the Salt Mines via a back road and see views of all the Sacred Valley. Head to Moray and learn about the Incan Farming tactics. Back to Ollantaytambo for the night.

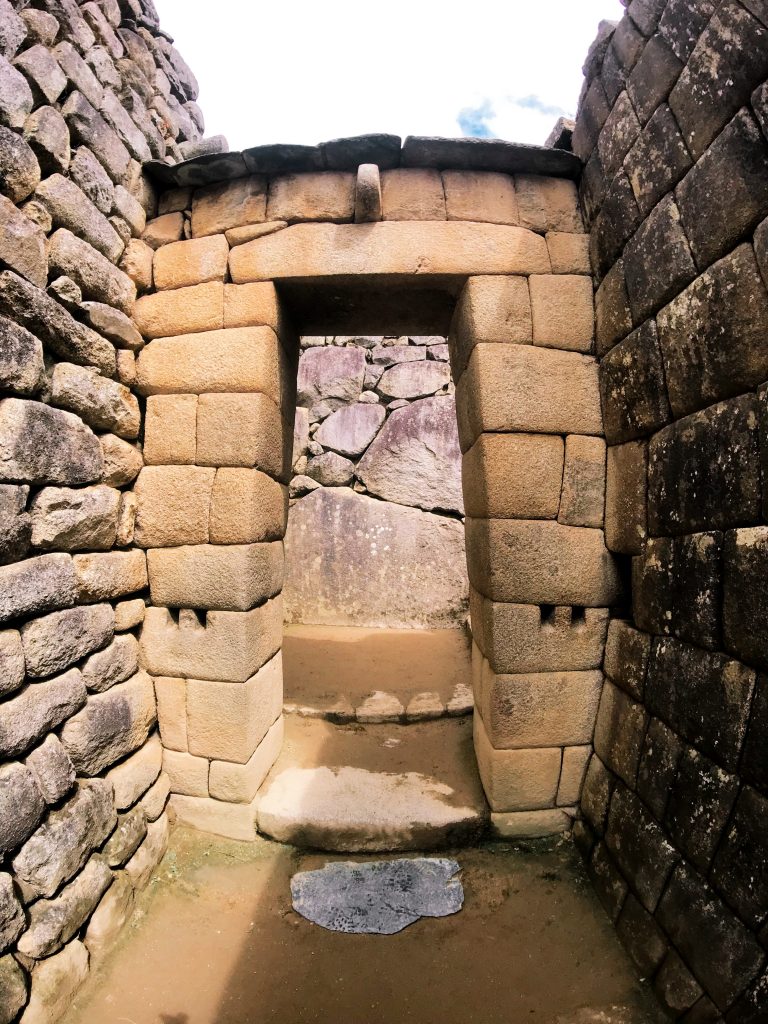
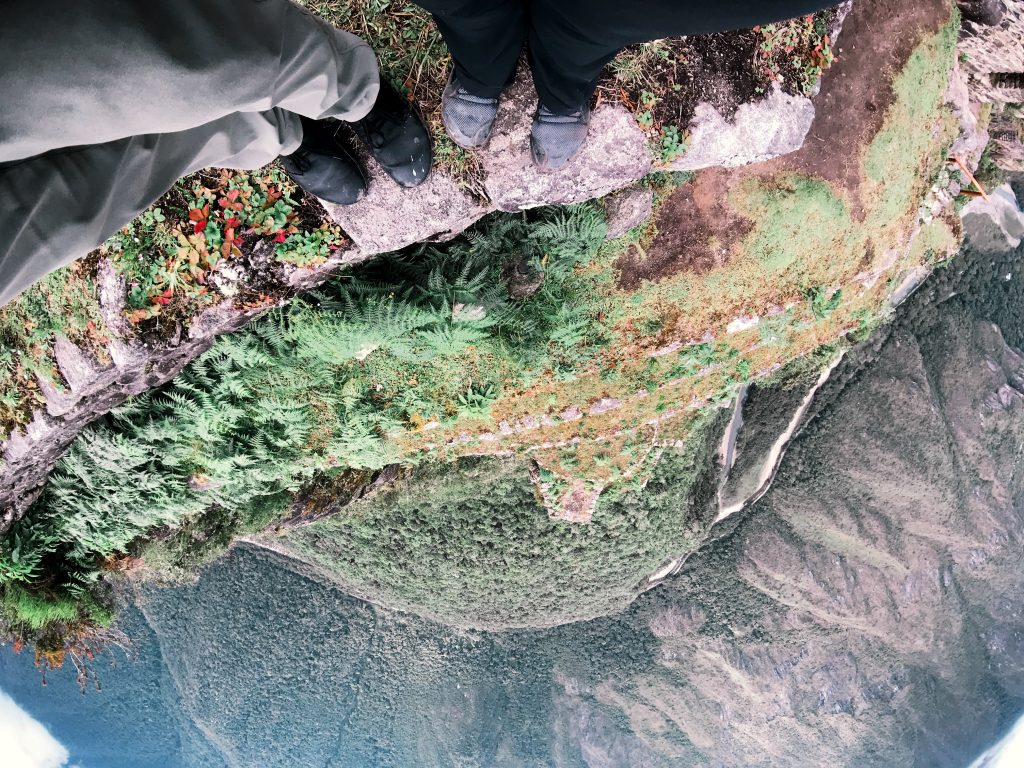
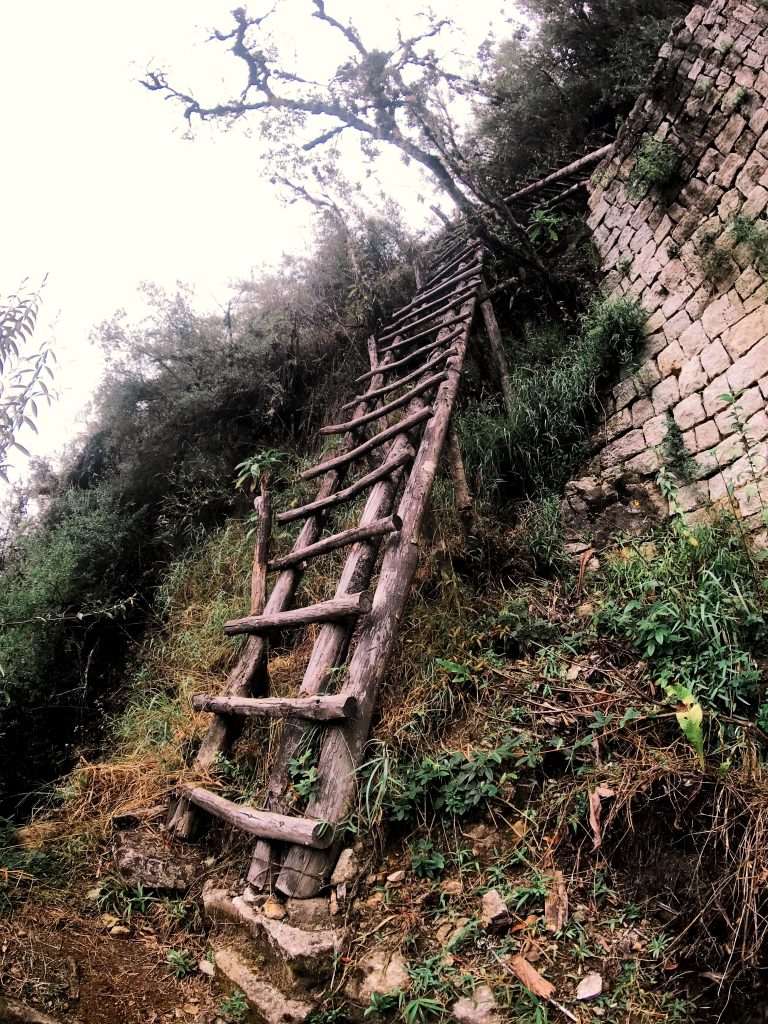
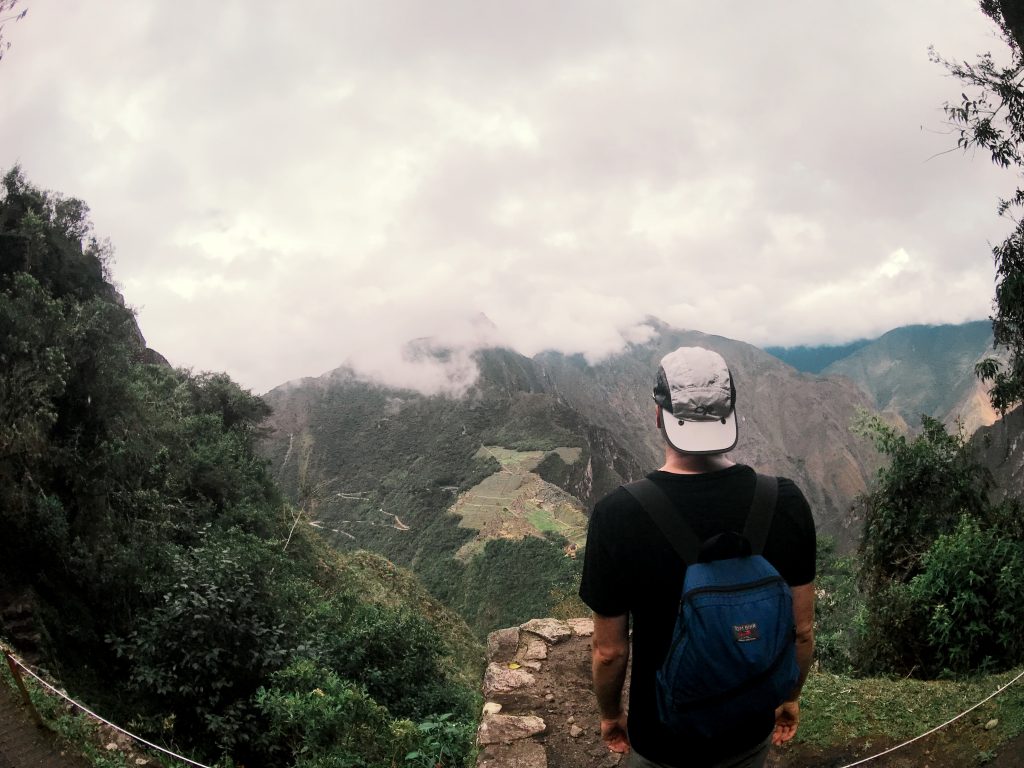
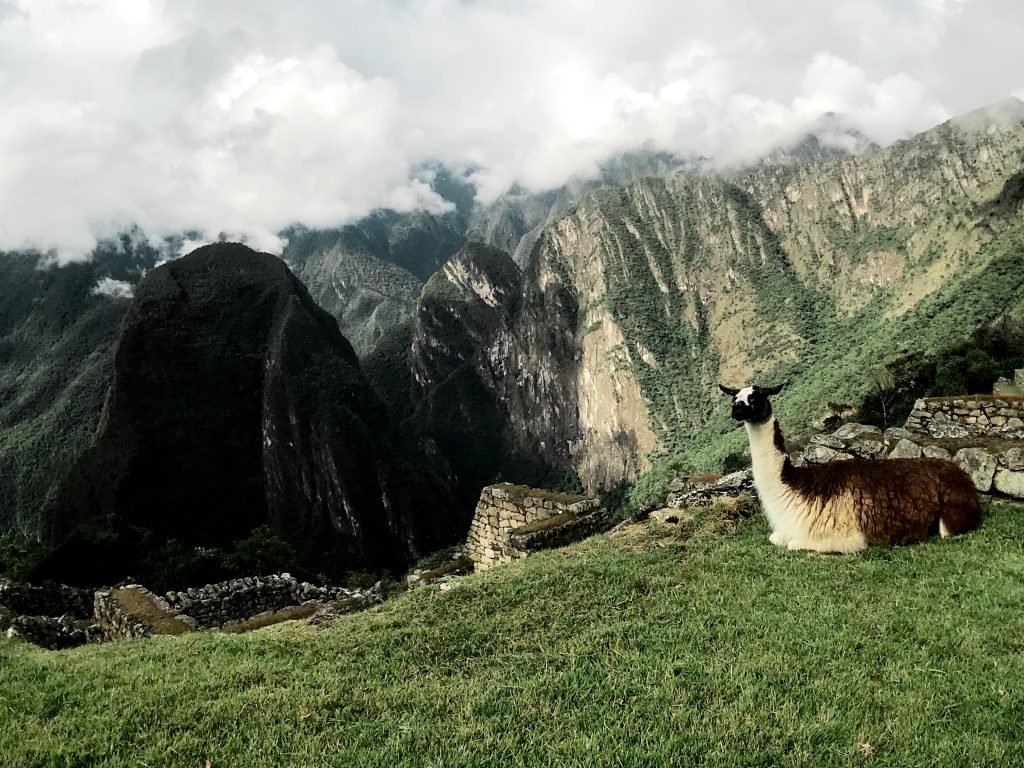
Day 5: Start at 5am and head to the train station. Take a train and a bus to Machu Picchu.  Hike around the city of Machu Picchu then enter the trail for Huana Picchu and the Moon Temple. A long steep climb of a million stairs up to the top at 10,000 ft. Stairs back down to the valley for the Moon Temple in a cave and then the same long climb up to Machu Picchu city. Bus back to the town- grab food and catch the train back to Ollantaytambo.

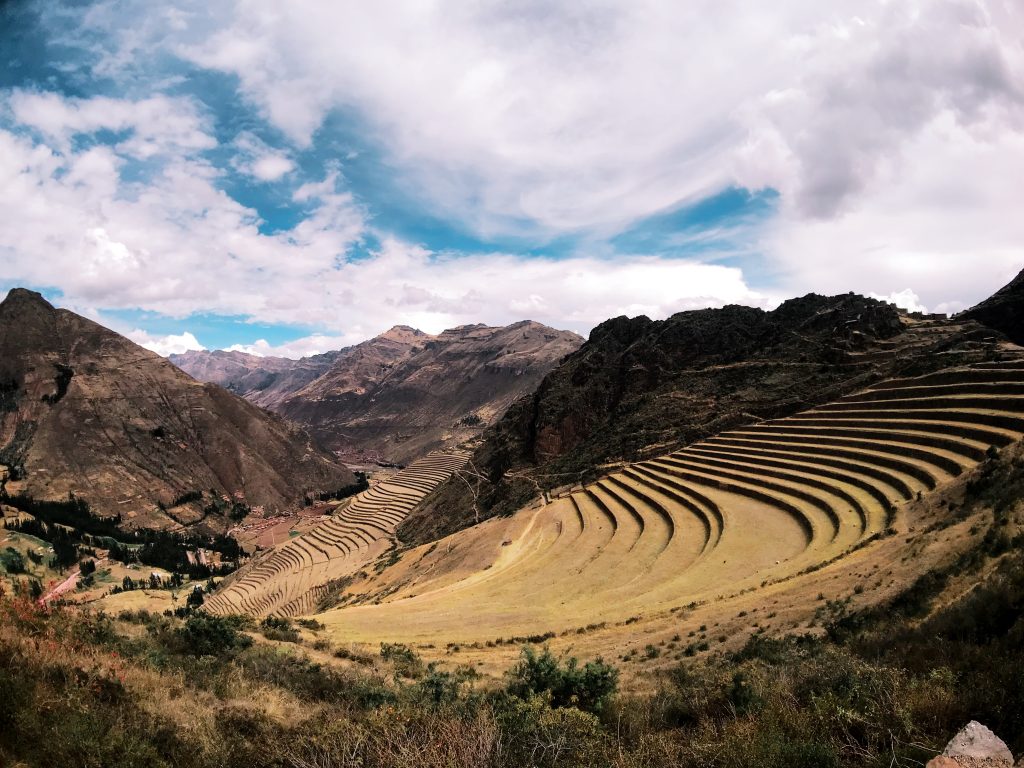
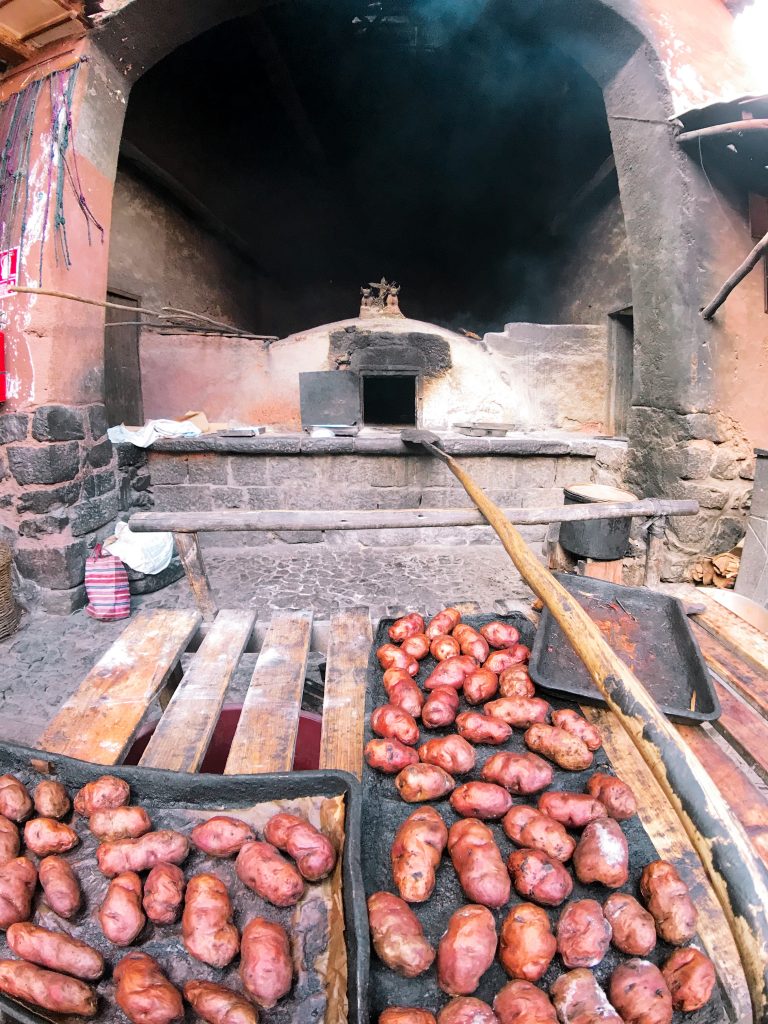
Day 6: Easy morning. Head to Cusco at 11am with a stop at the Pisac ruins (again EMPTY and gorgeous) and the Pisac market. Once in Cusco head to Hotel- Illa Cusco. Walk around and explore the city (very touristy) but we had the BEST food of our entire trip and finally a Pisco Sour.

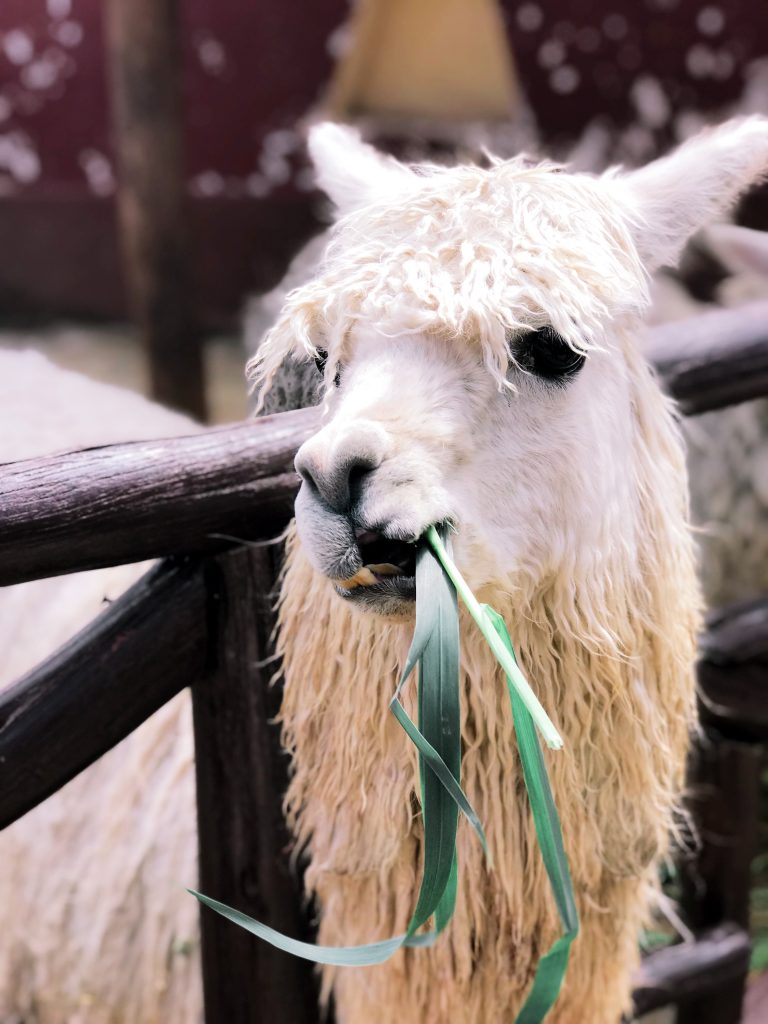
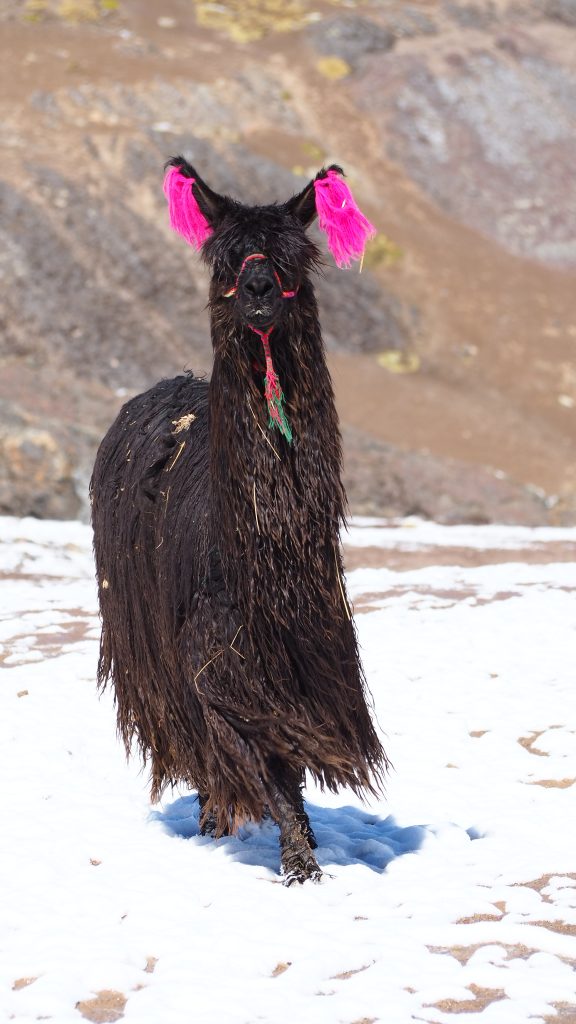
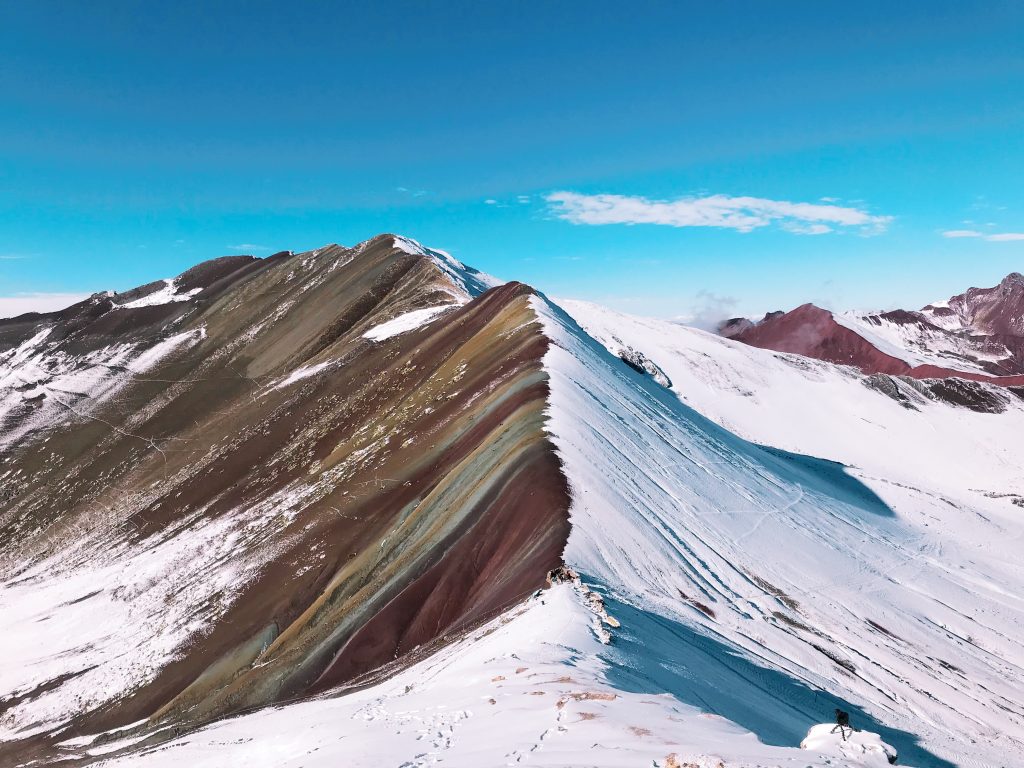
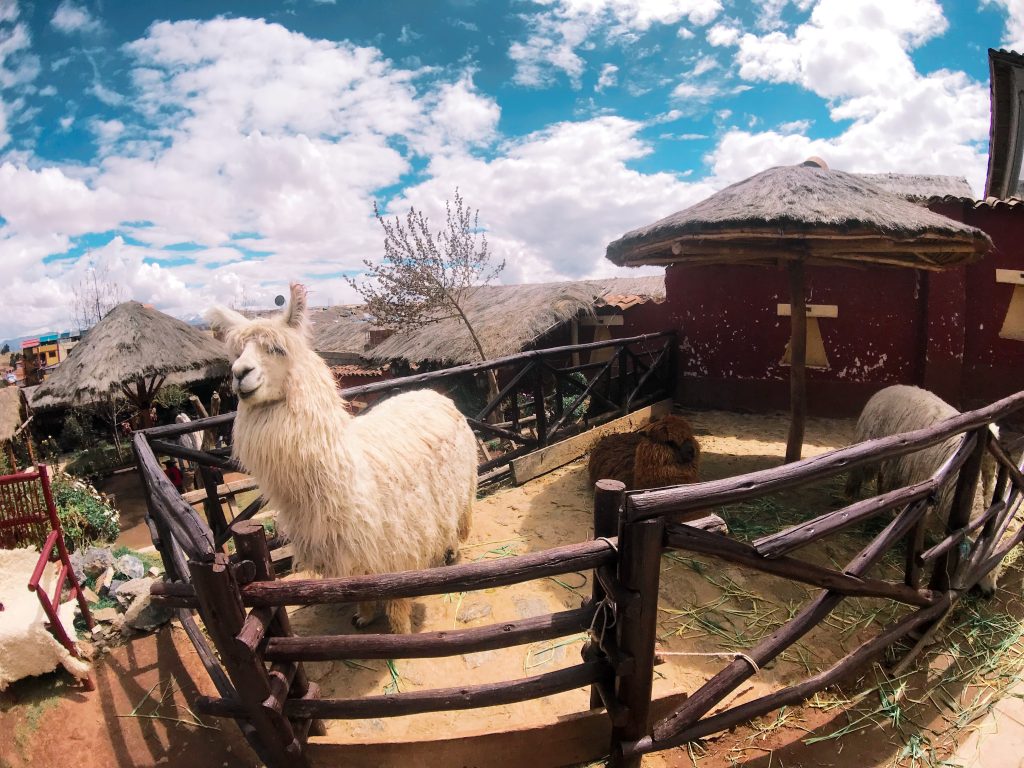
Day 7: Starts at 2 am. Check out of Hotel and get picked up by our guide for the Rainbow Mountain Hike. Long bumpy ride to Rainbow Mountain, start our hike in the snow as the sun starts to rise. First group (6 of us hikers) to the top with a stunning view and elevation of 17,000 feet. Decend the mountain, meet a llama again, and generally feel like a total badass. Back to Cusco City main square for a few hours, grabbed some food and took a Taxi to our overnight bus.

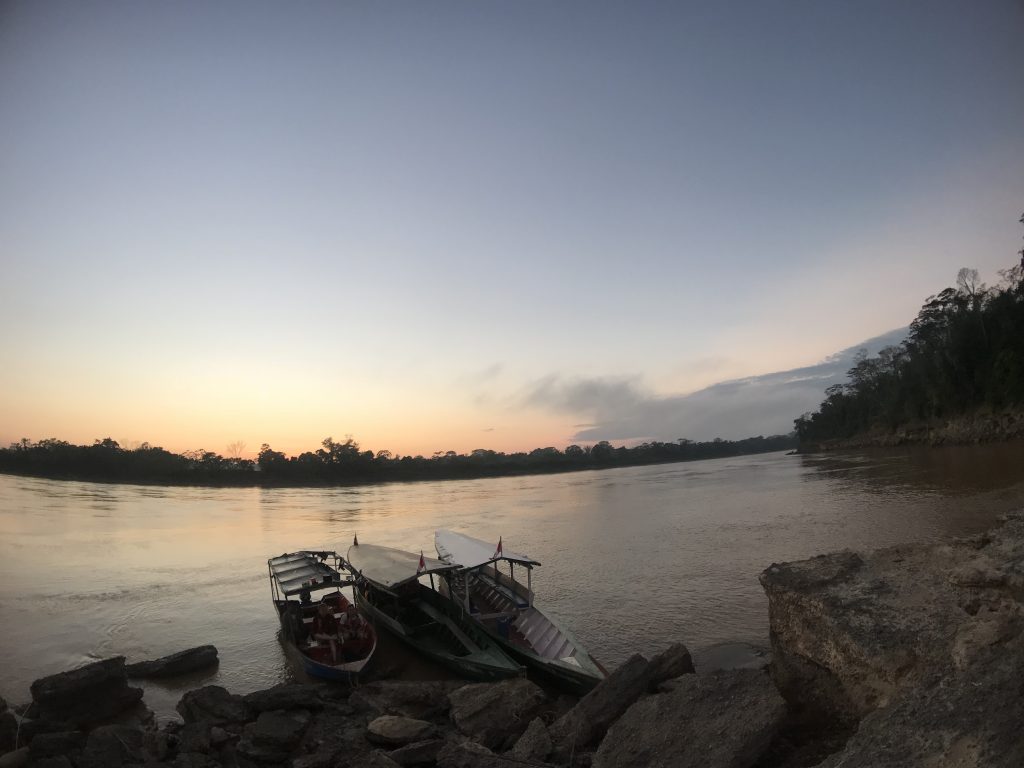
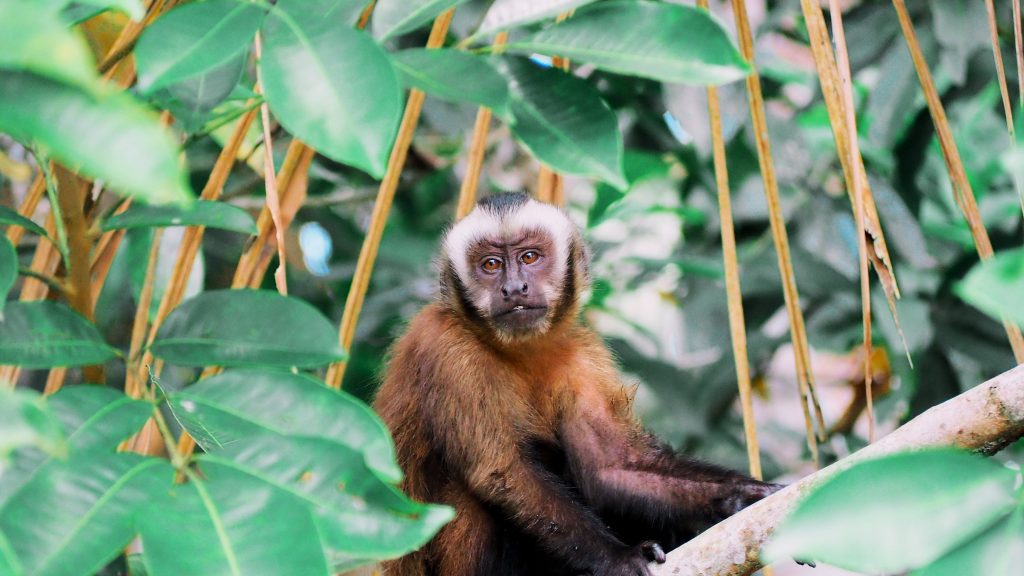
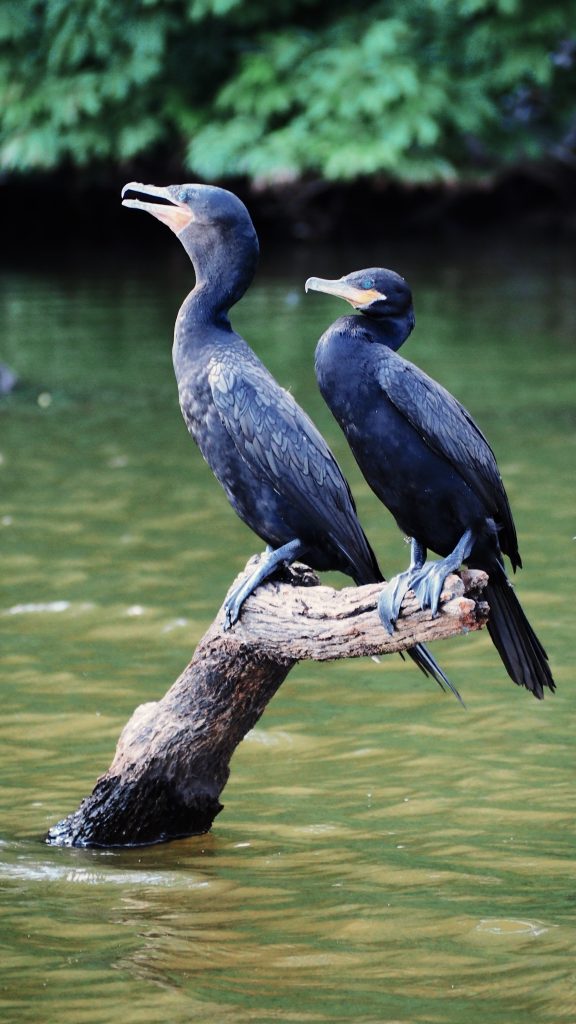
Day 8: Overnight bus to the Amazon (Puerto Maldonado). Wake up in a hot, stuffy space, feeling less than rested or well. Wait at the bus station for driver from our lodge. Head to the port. Take a boat to our lodge on the Amazon. Check in. Start sweating- only to find out you will never stop while in the jungle. Afternoon boat to the Island of the Monkeys and return by dusk for some dinner. Do a night boat ride to see the Camen.

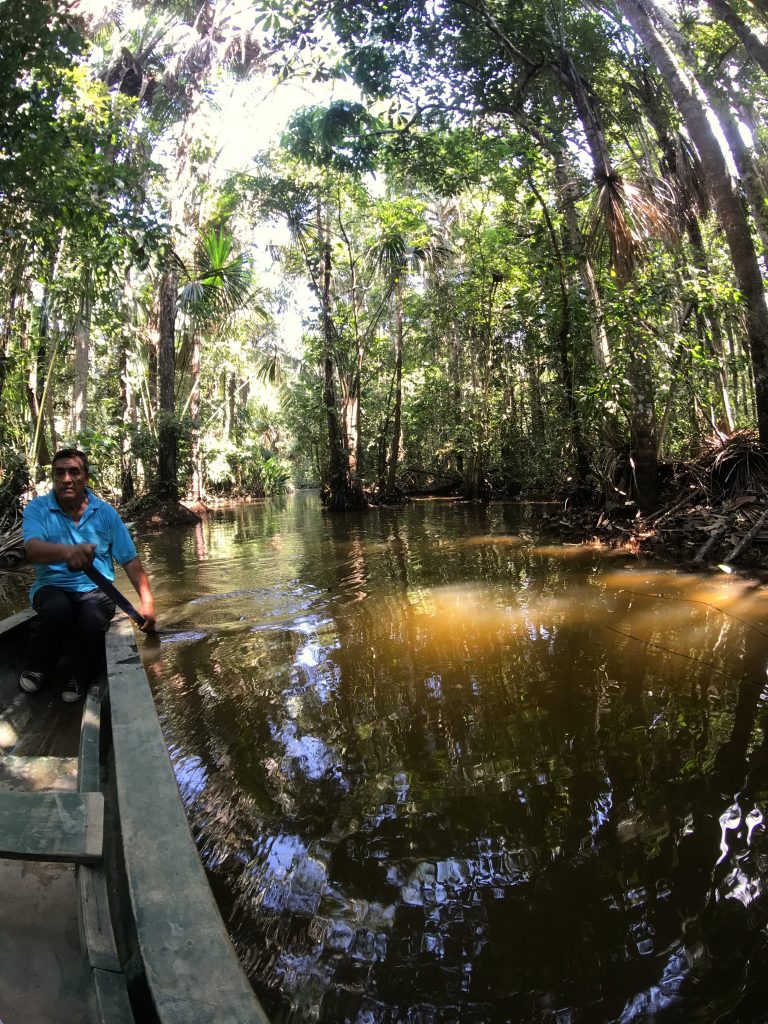
Day 9: Leave at 4:30am by boat to see the parrots who come in droves to lick minerals from this rock wall. Return for breakfast. Leave again by boat to hike Lake Sandoval. Then get in a rutted canoe in a swamp in order to get out to the lake. See SOOOO much stunning wildlife. Return to lodge and eat dinner. Do a night walk to see the insane creatures out there like Tarantula and feel a little more respect for the jungle.

Day 10: Breakfast and time to pack up. Boat ride back to the port. Bus ride to the airport. Get on a plane to Lima.

Day 11: ORIGINAL PLAN: Get to Lima and have a 12 hour layover. Go past security and pay to get into a lounge so we can shower, get some sleep, and free Wi-Fi. NEW PLAN: Get to Lima. Realize they will not let us past security until the day of our flight at 2am…meaning we have 10 hours the sleep on a concrete floor in a hallway with many other smelly passengers like us. Luxury was not happening.

Day 12: Get into Toronto Canada. 6 hour layover. Feel blessed to brush teeth, wash face and use toilet paper. Change in the bathroom with a pit wipe and watch my sweat drenched hair finally dry after 3 days in the Amazon.

Day 13: Arrive home (Portland). Shower. Crash.

______________________________________________________
0 Facebook Twitter Google + Pinterest

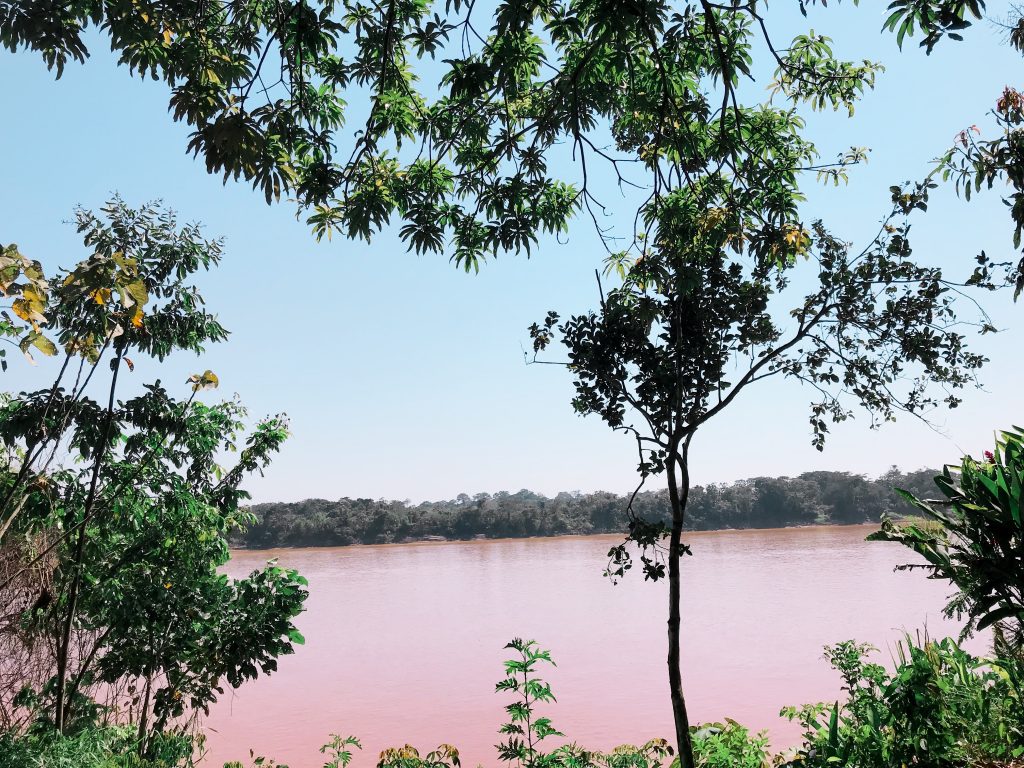
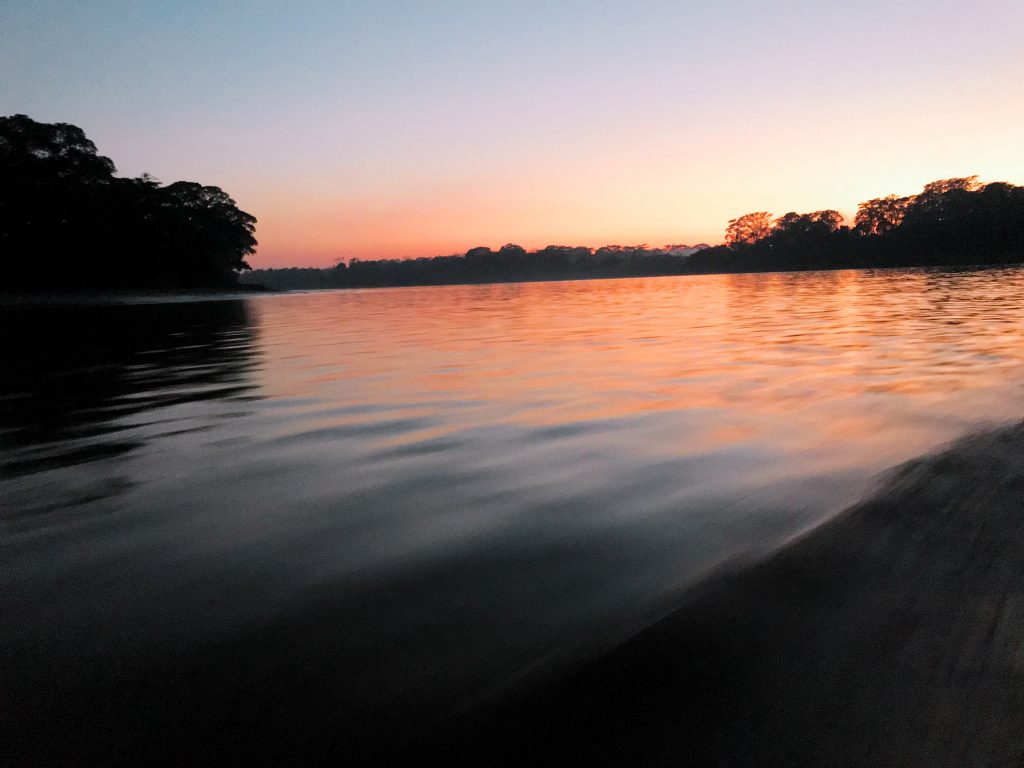
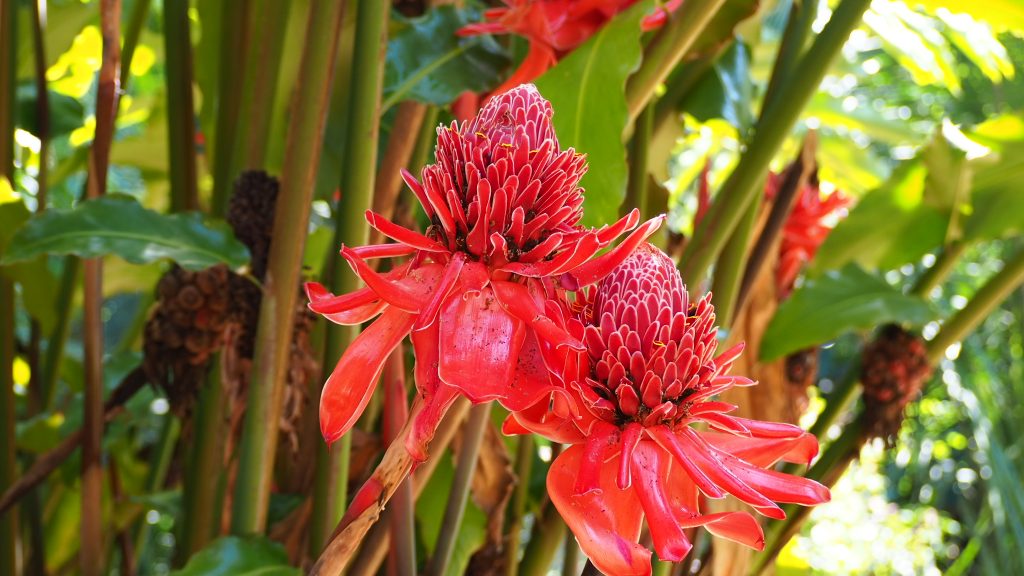
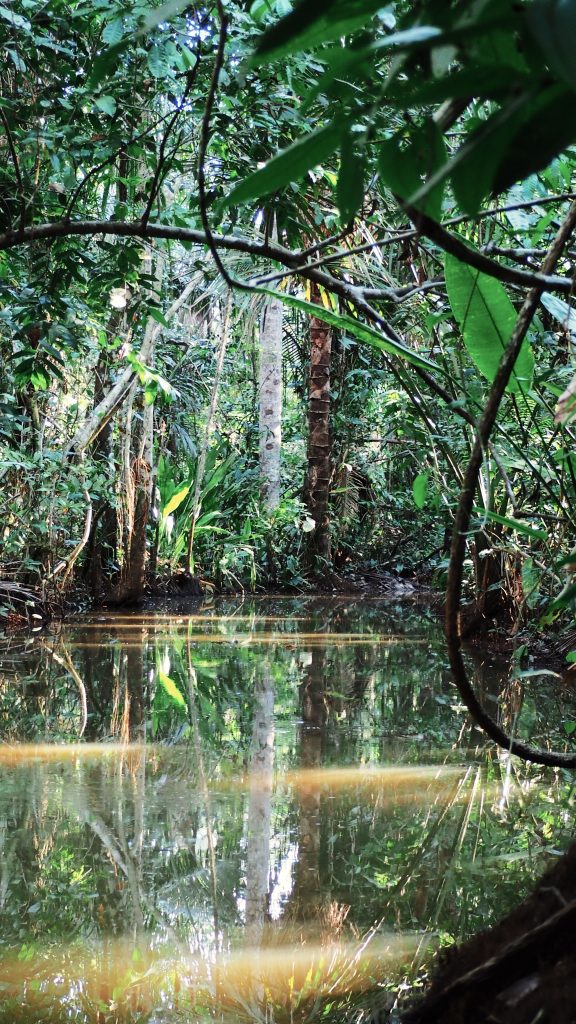
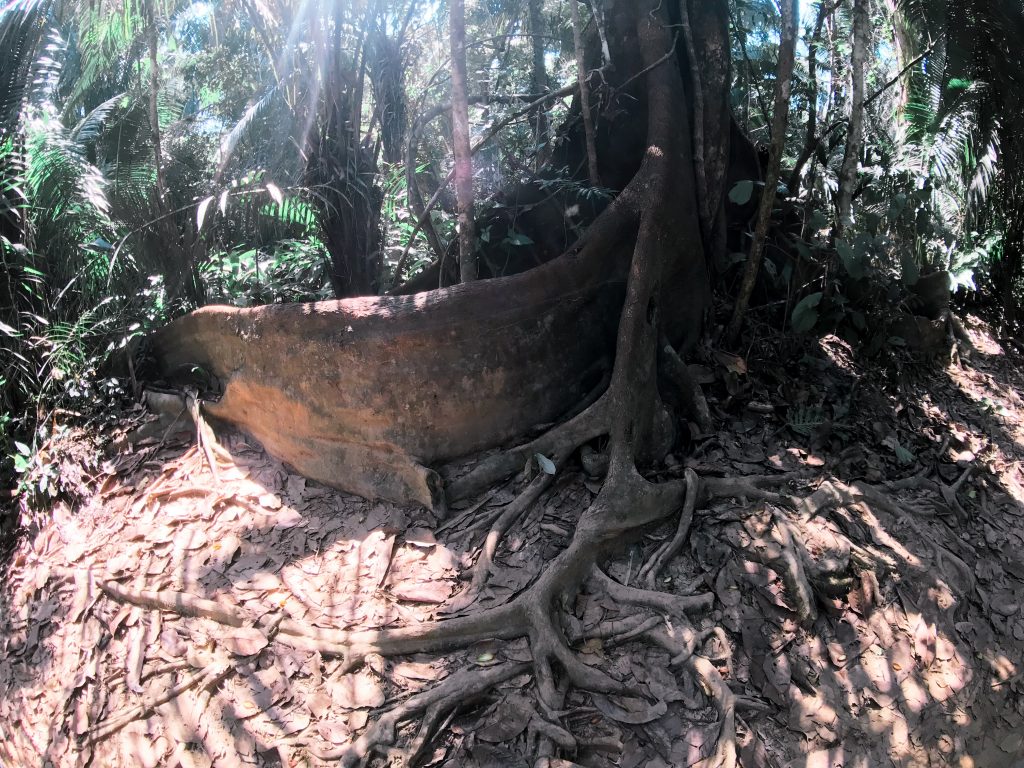
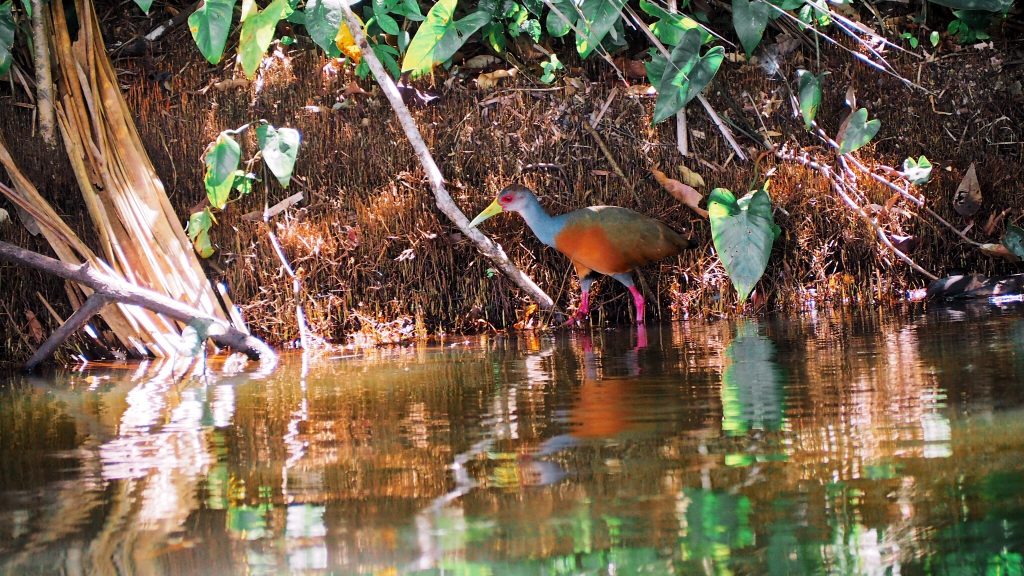
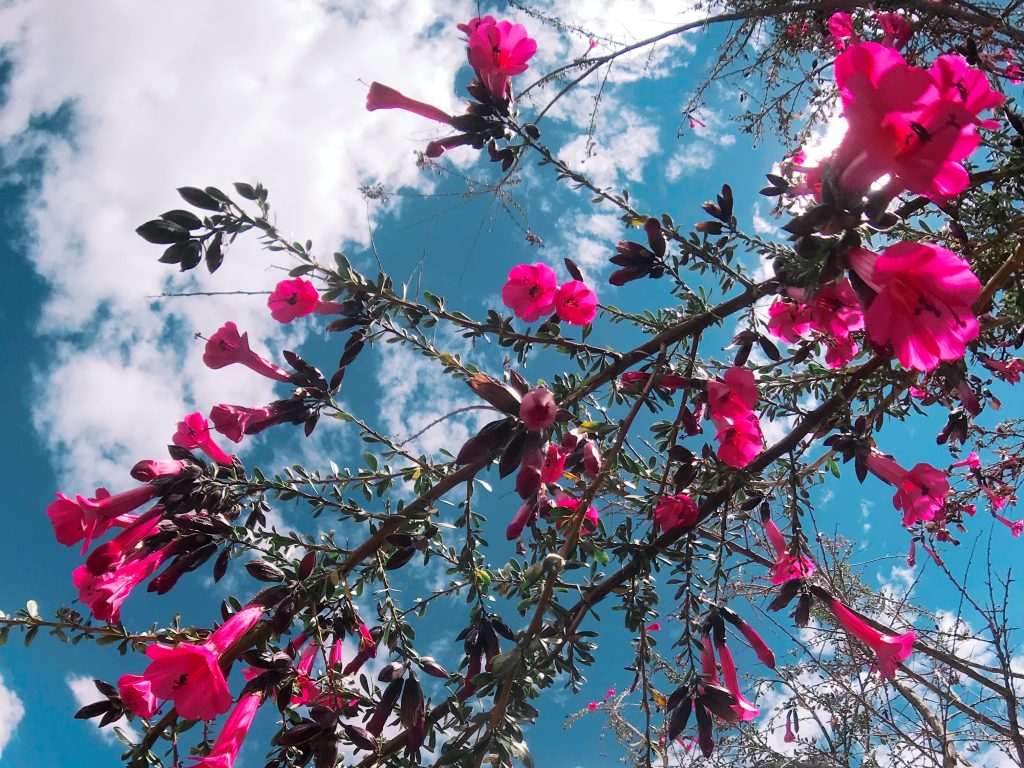
We ended our trip to Peru with some time in the Amazon. To say it was hot is an understatement. The humidity was around 90% so we stayed a moderate degree of damp while there.

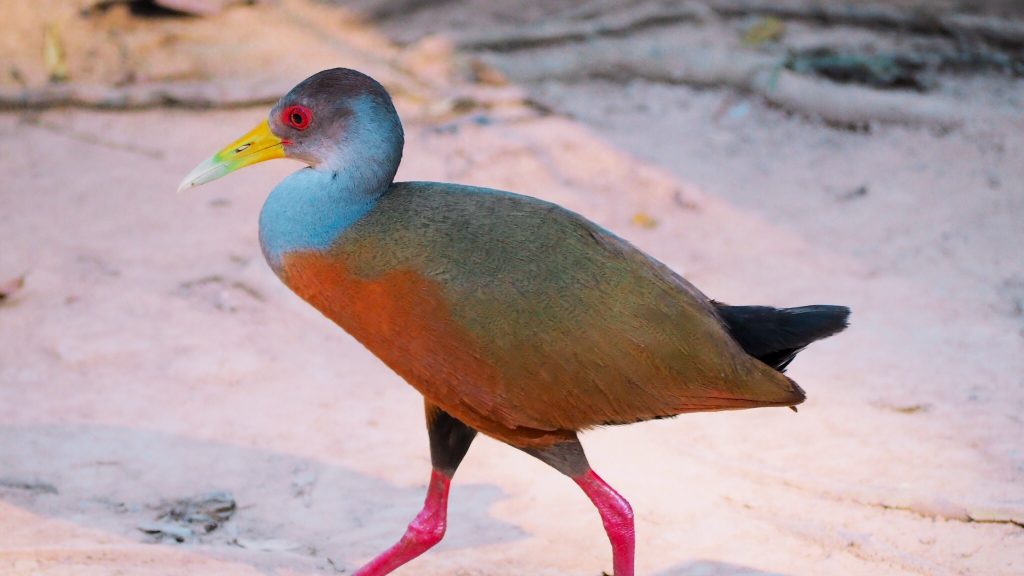
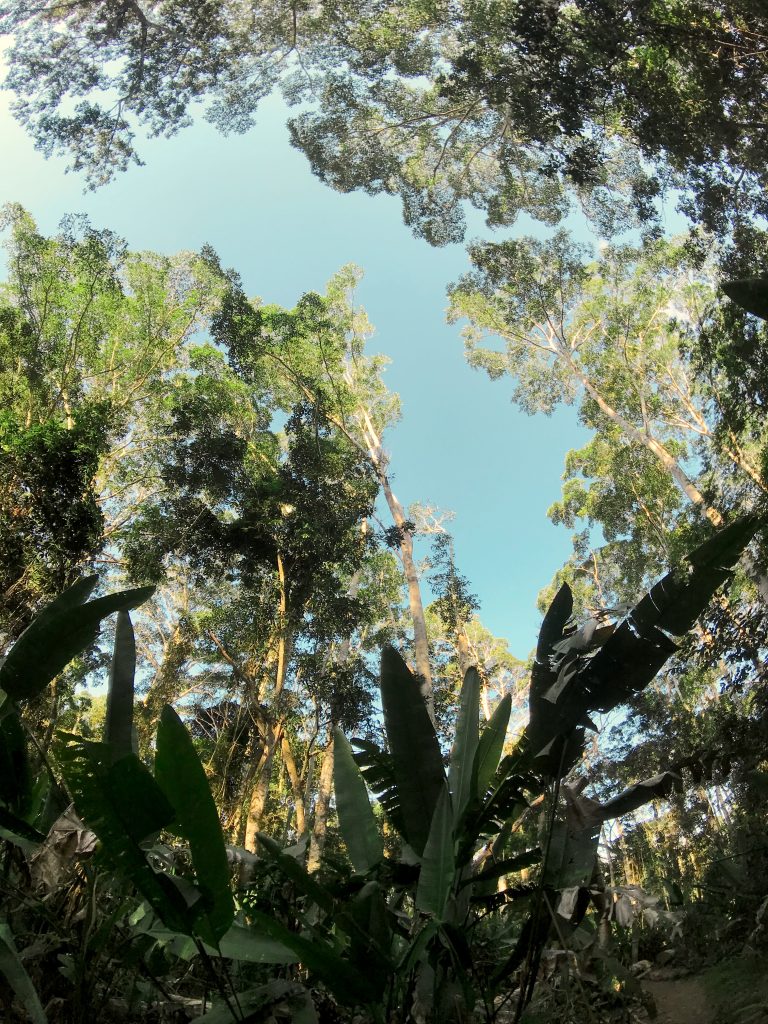
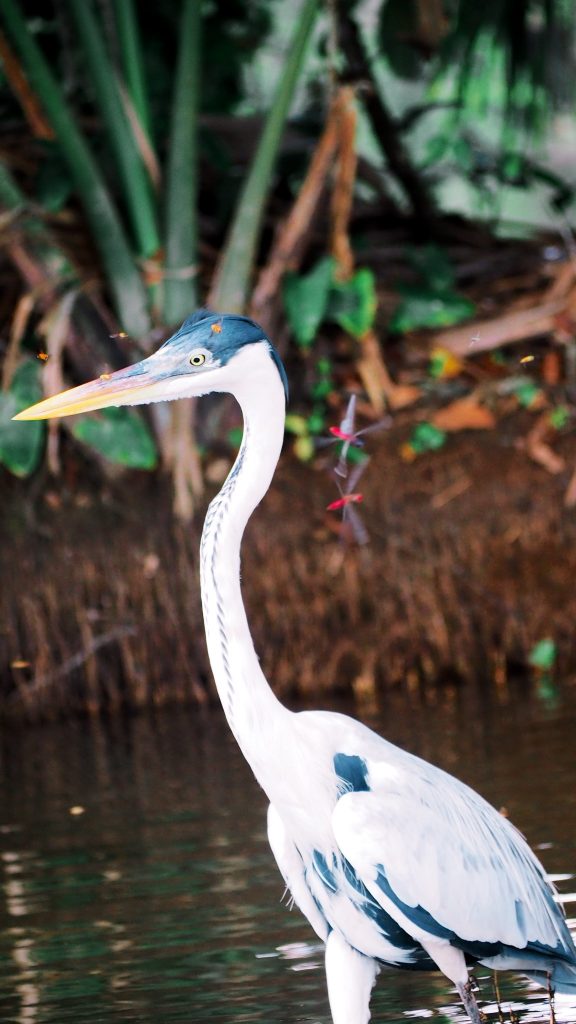
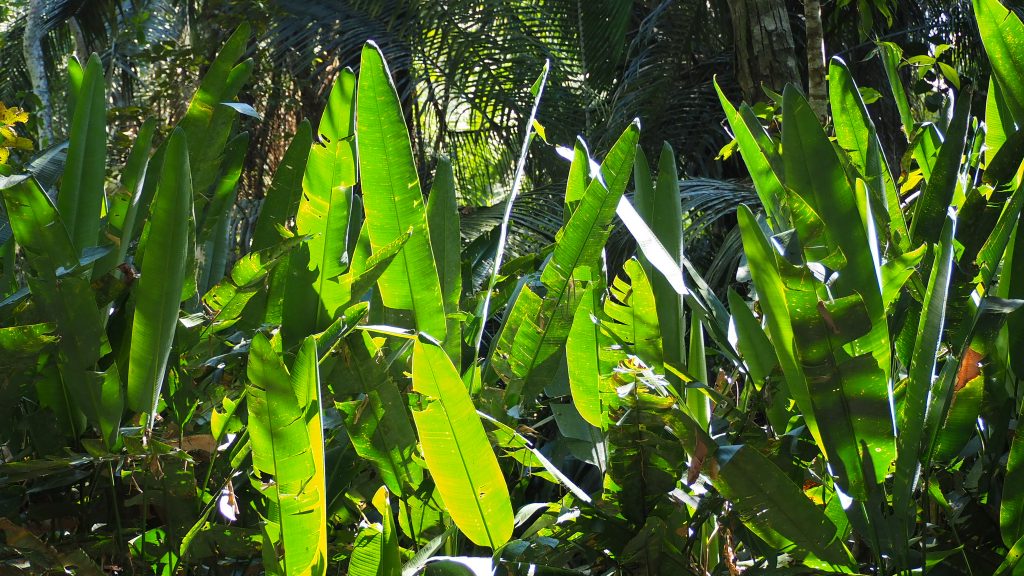
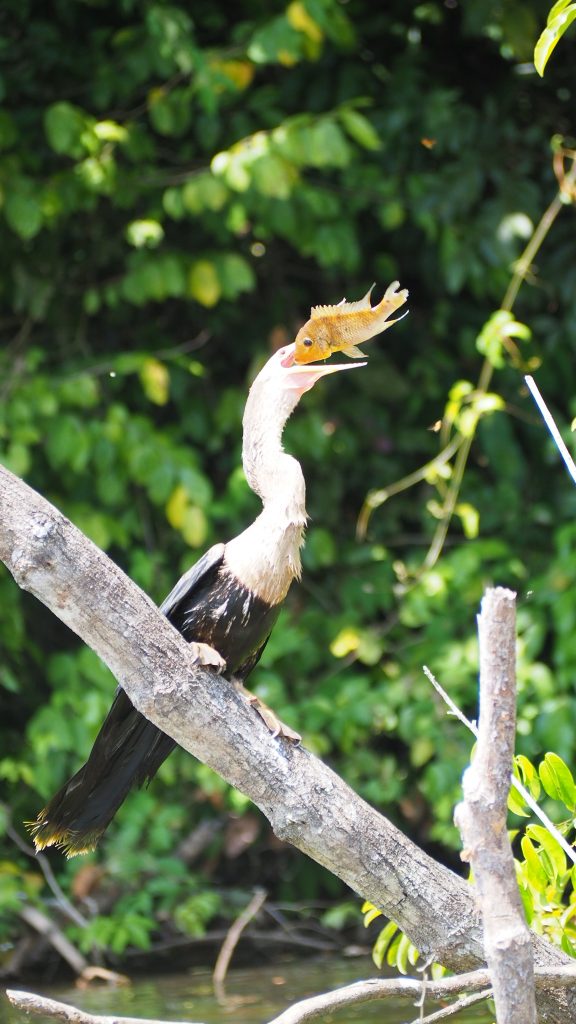
Despite this and the bugs and how everything can kill you- haha! The nature was stunning. The colors were vibrant and the animals were wild and alive.

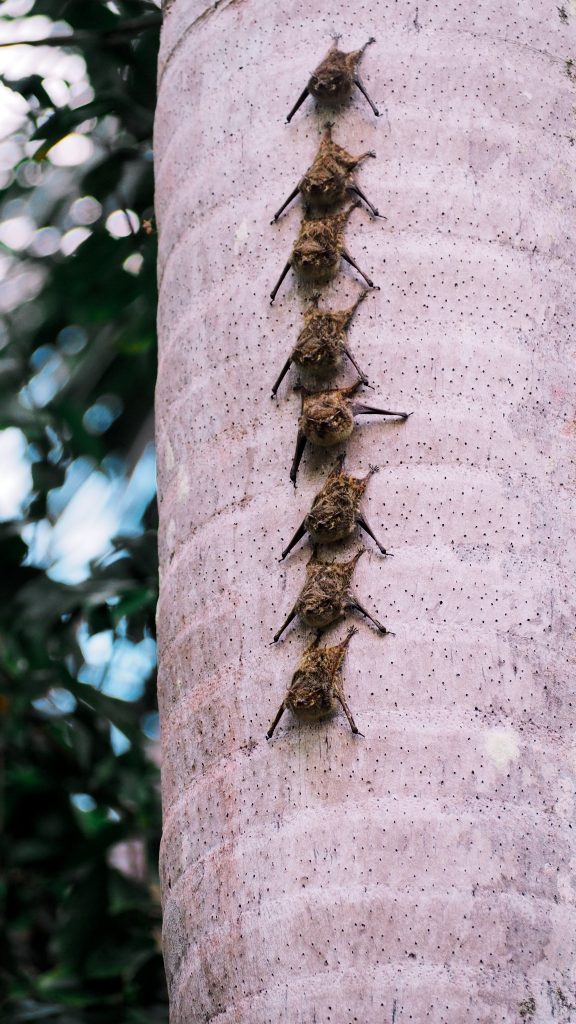
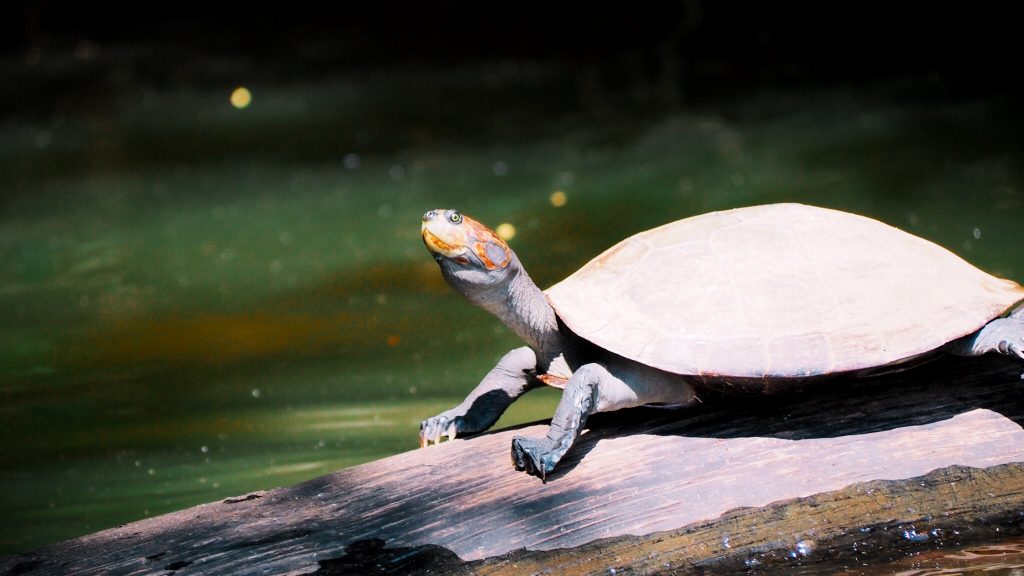
Our hike to Lake Sandoval was my favorite part of the Amazon as it was filled with wildlife and exotic species.

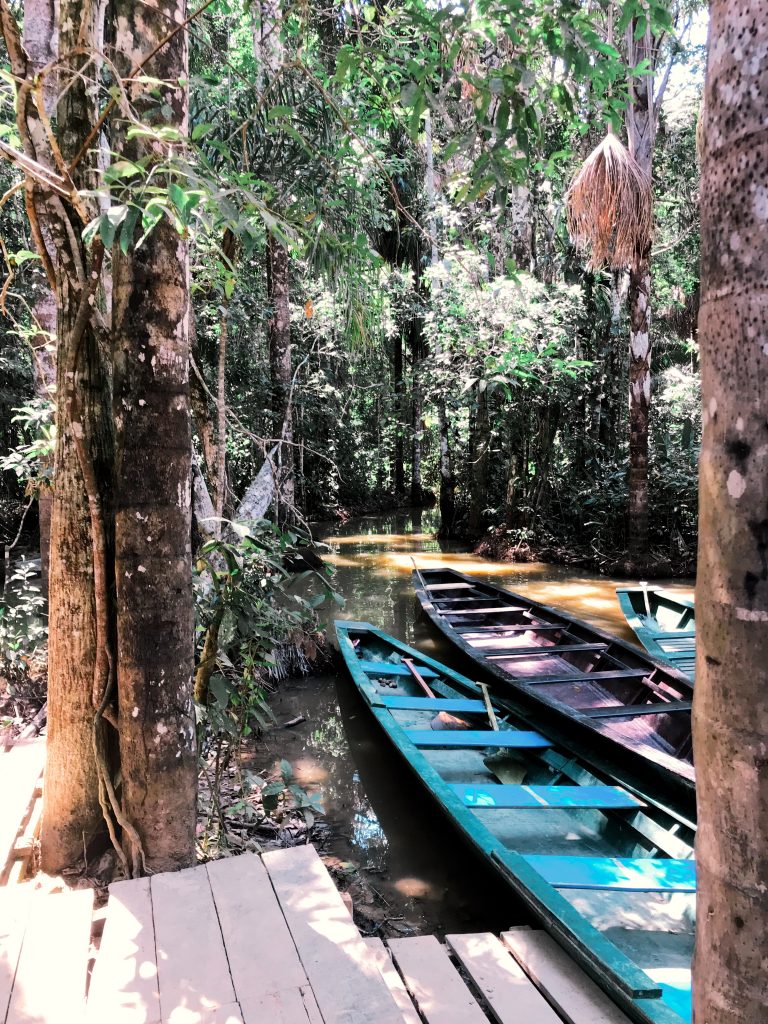
To get to our Lodge on the Amazon we took an overnight bus from Cusco to Puerto Maldonado. A van to the Port and a canoe to the Lodge. Once there our main travel was by canoe or by foot.

_____________________________________________


0 Facebook Twitter Google + Pinterest

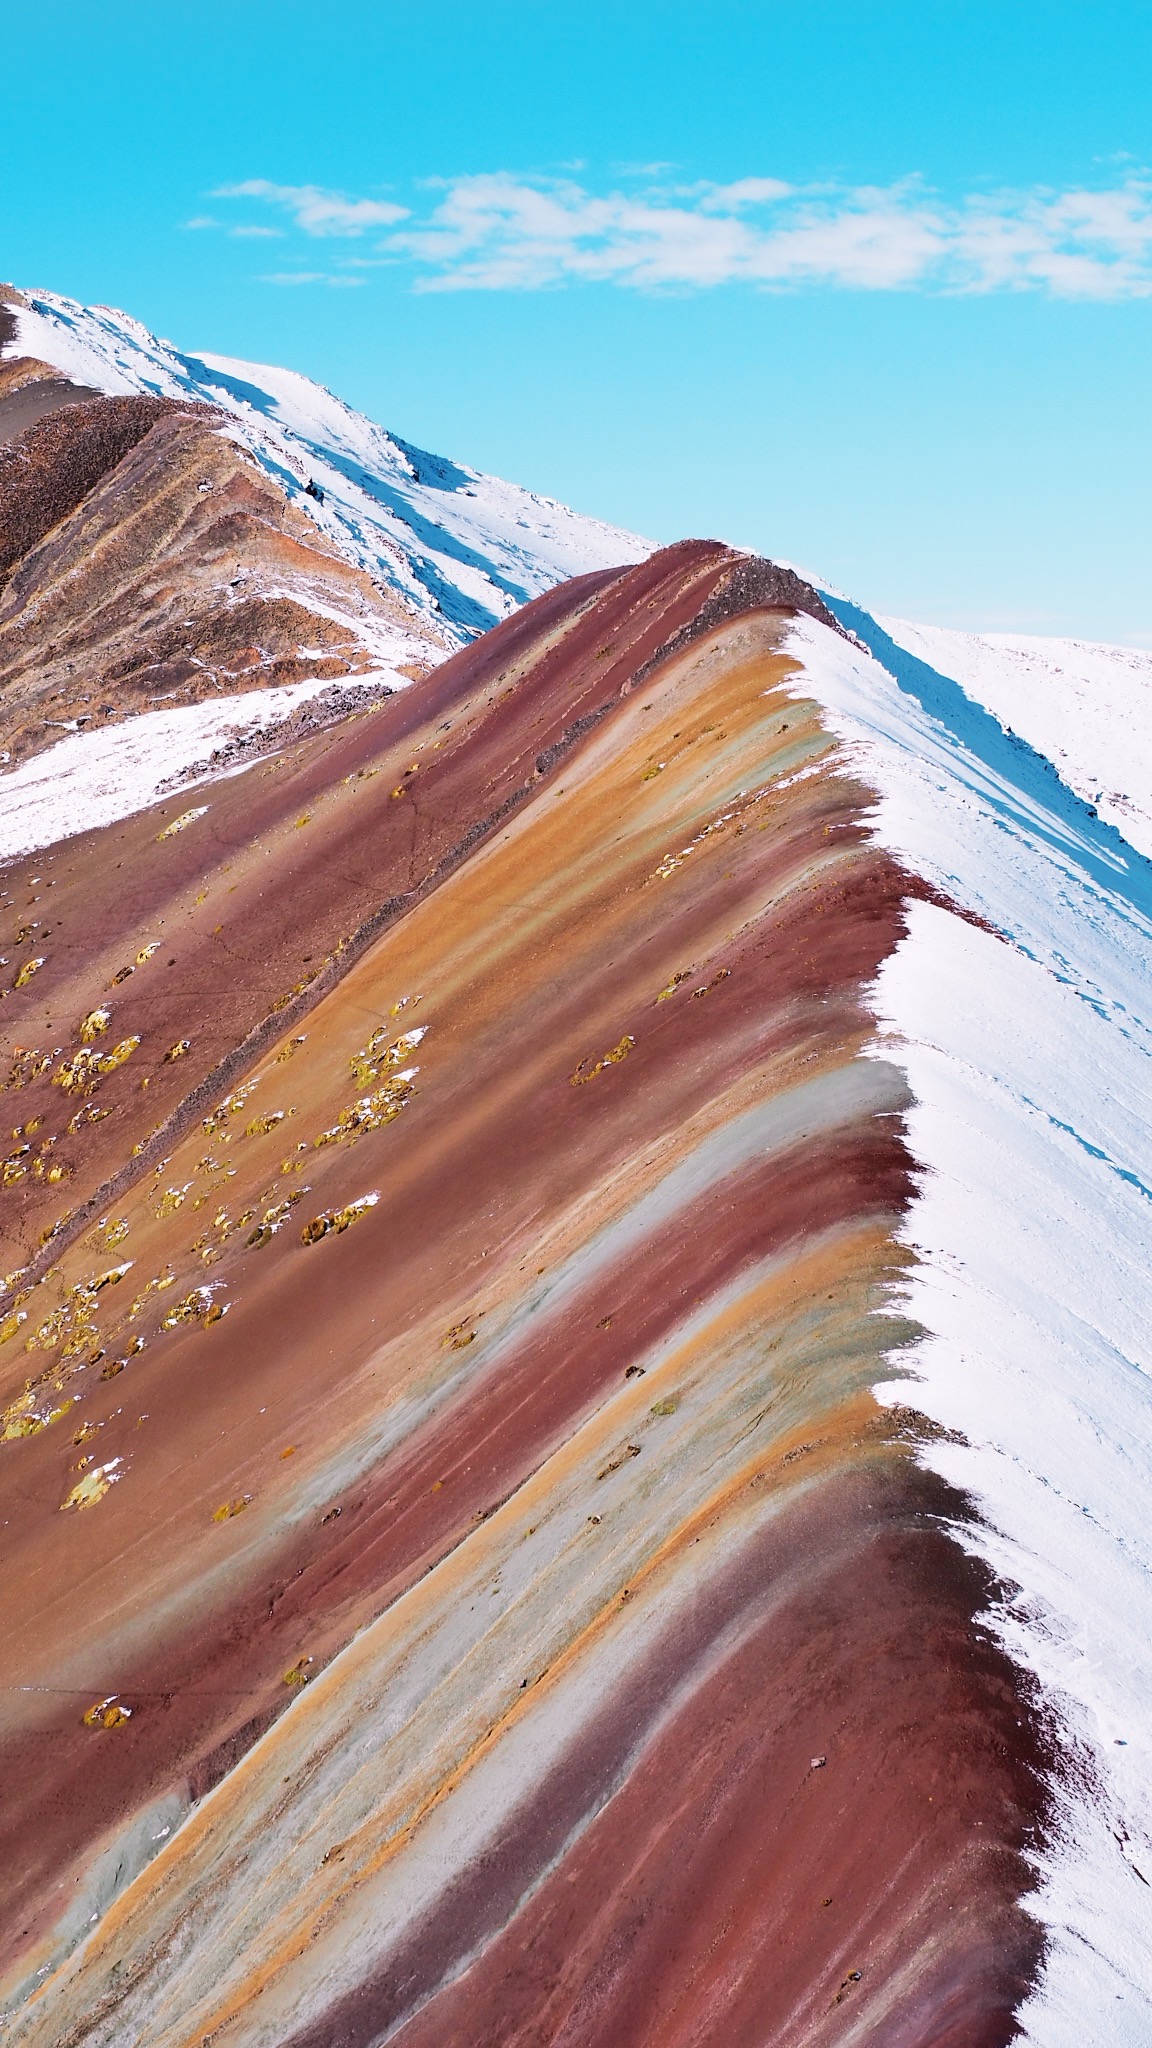
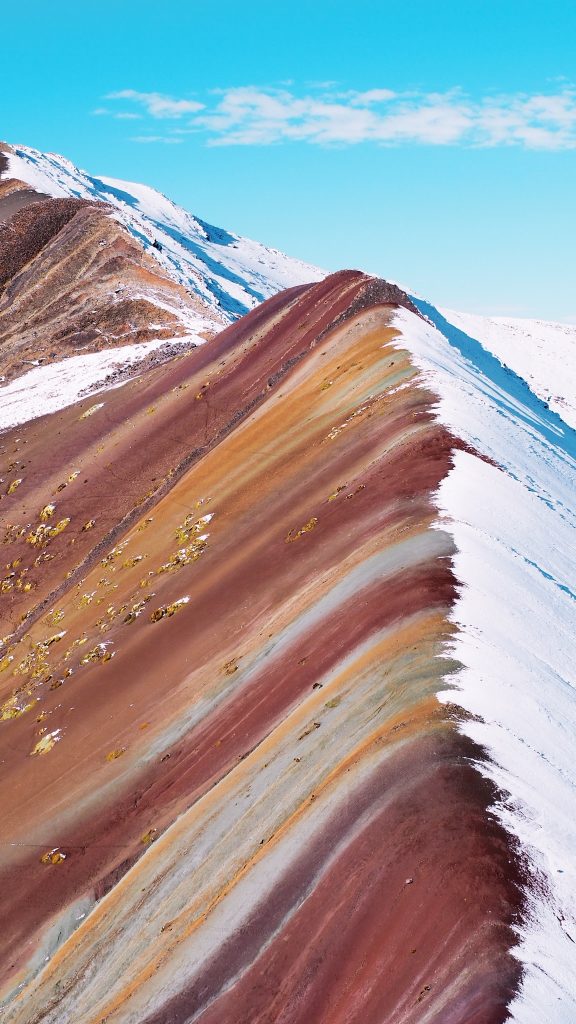
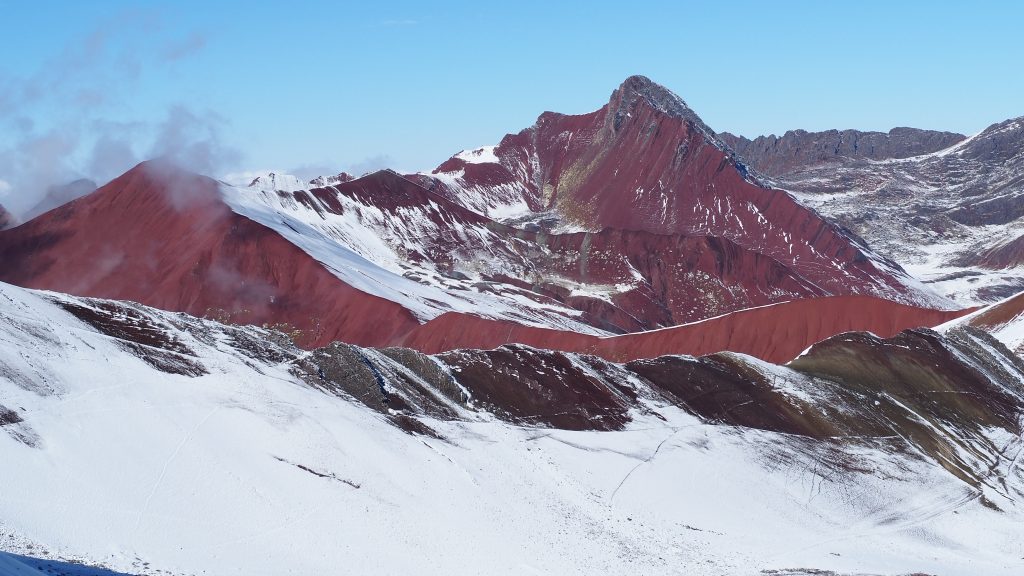
We spent a good portion of our summer in Peru and the Amazon. While there we had some life changing experiences and saw things that took our breath away. Literally, in the case of Rainbow Mountain that reached a peak of 17,000 feet.

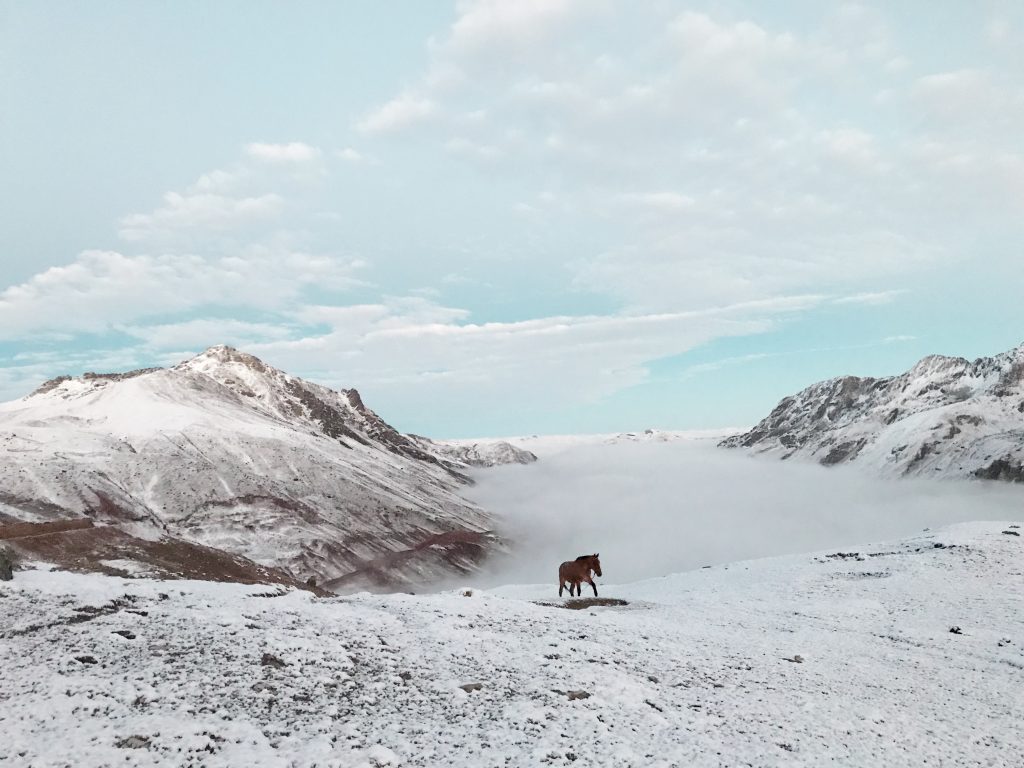
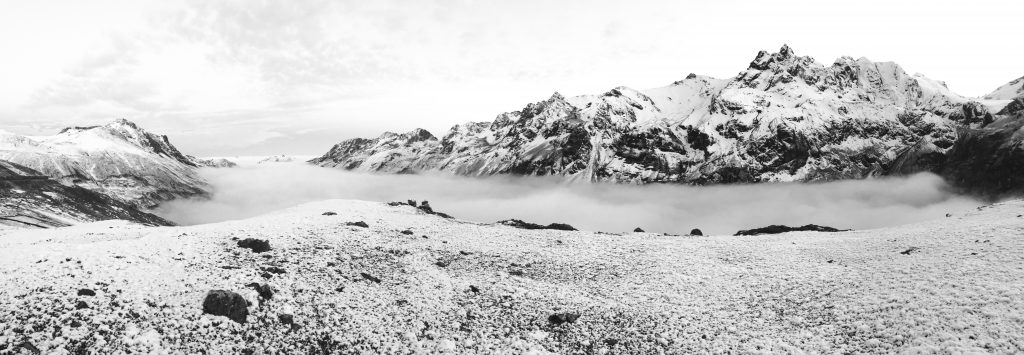
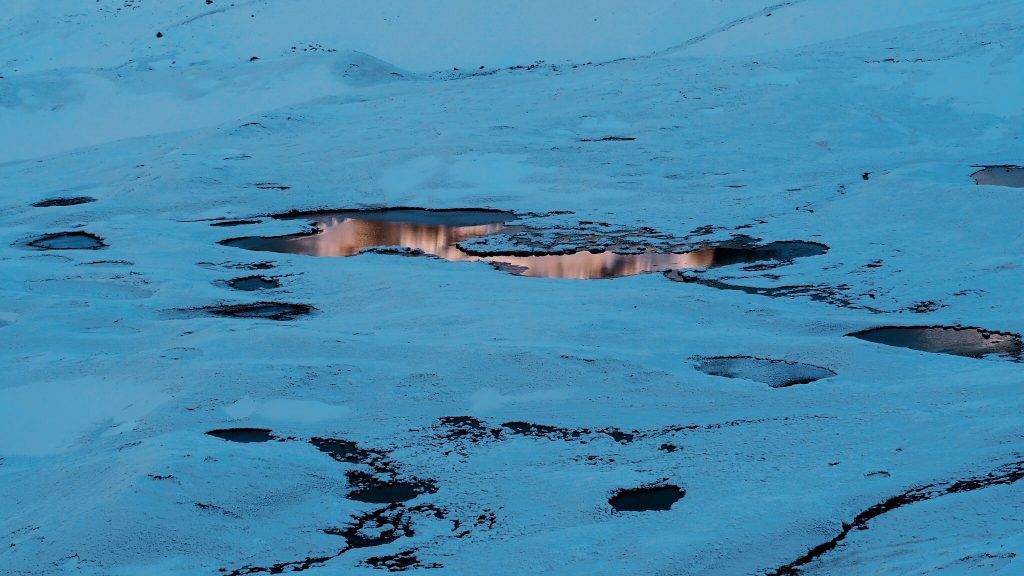
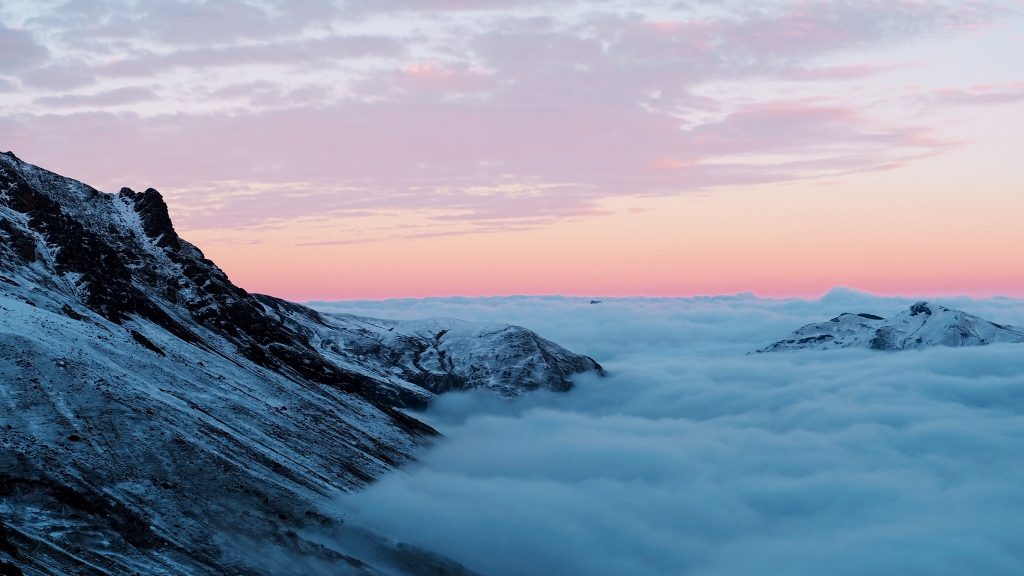
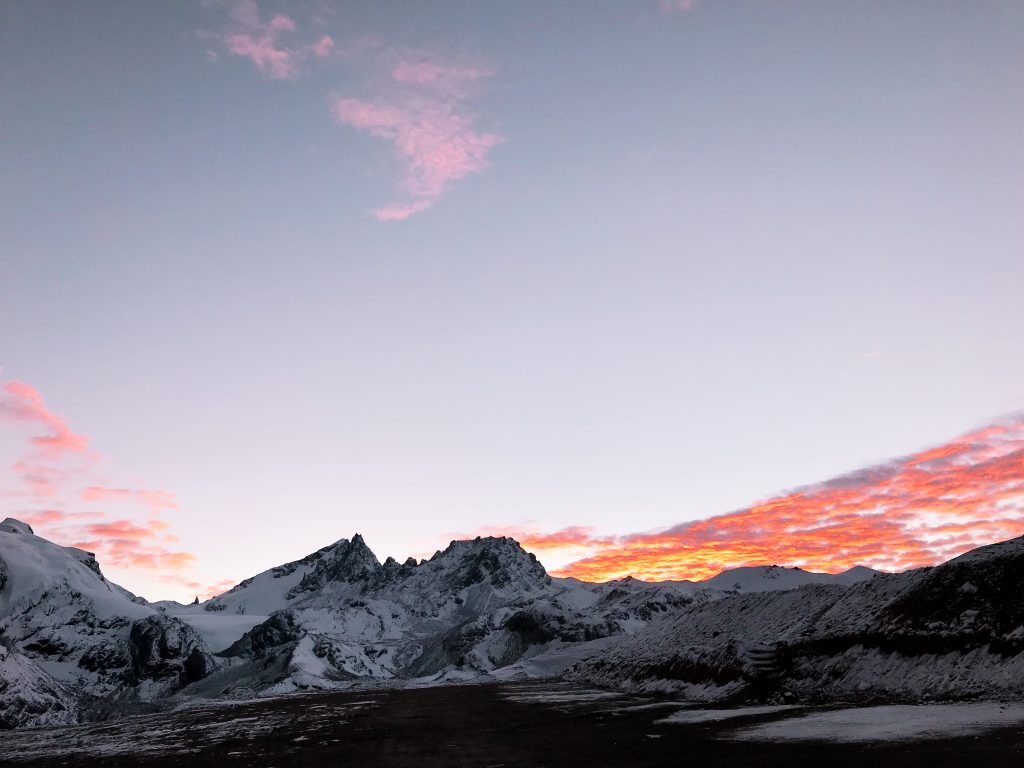
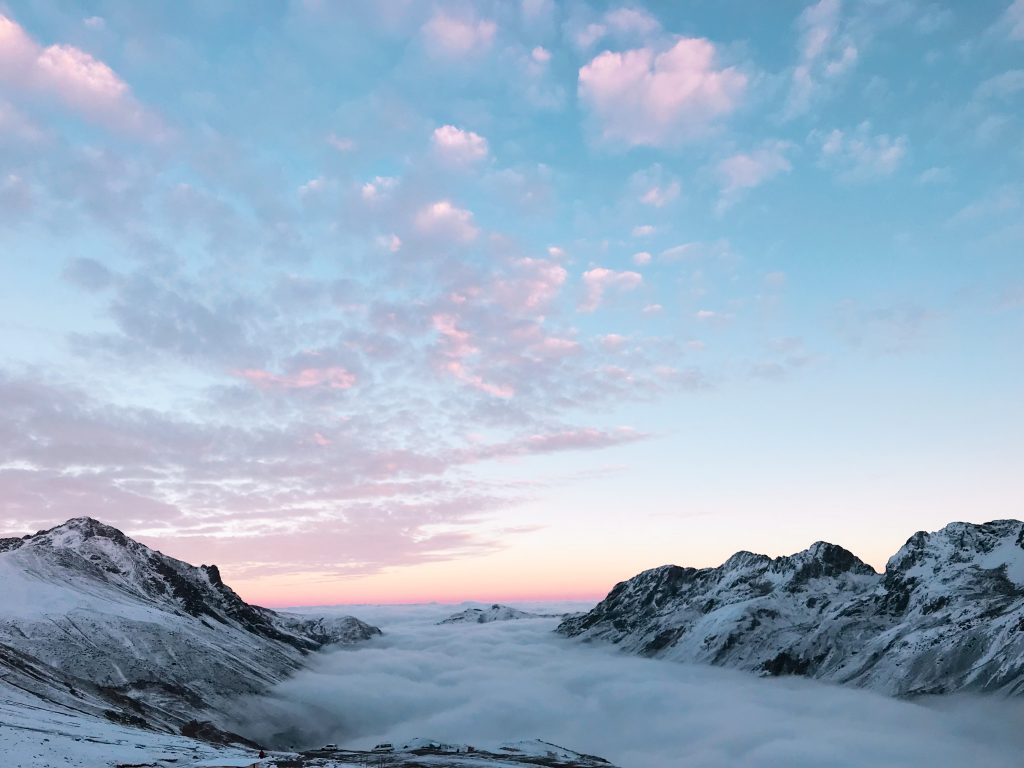
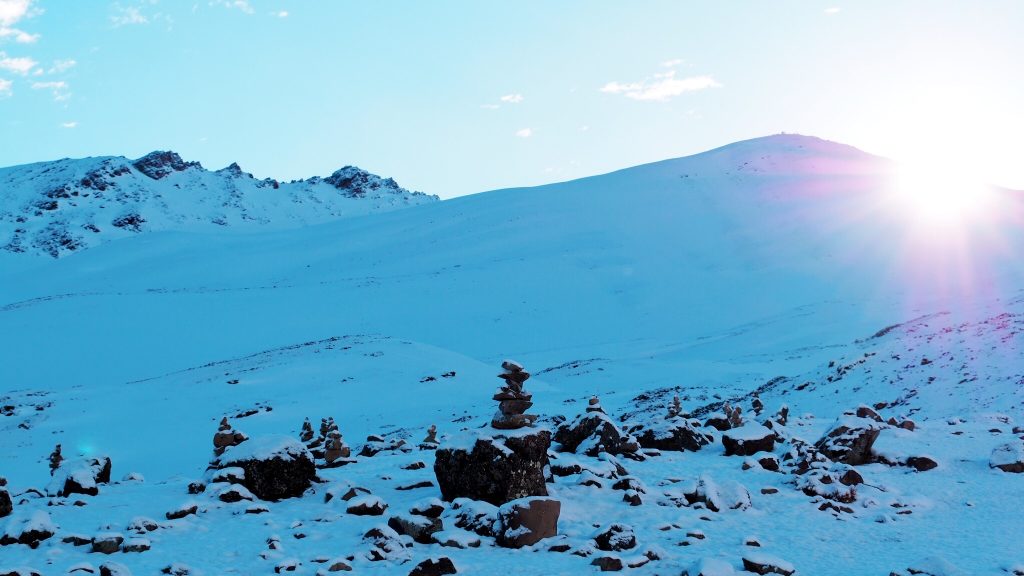
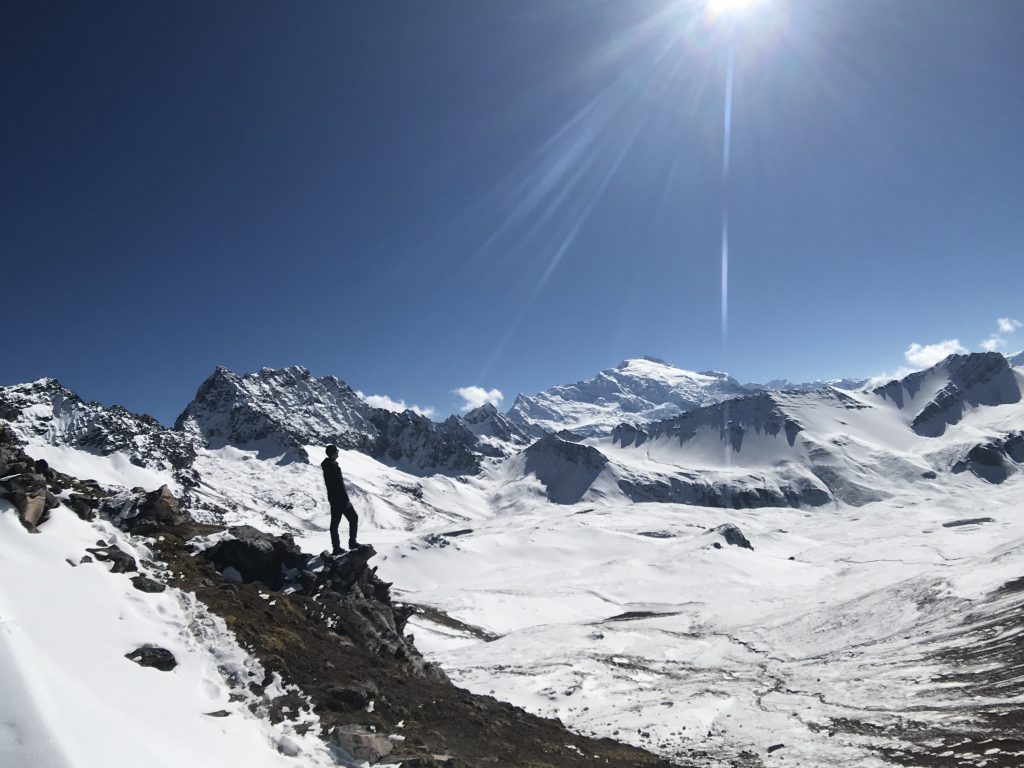
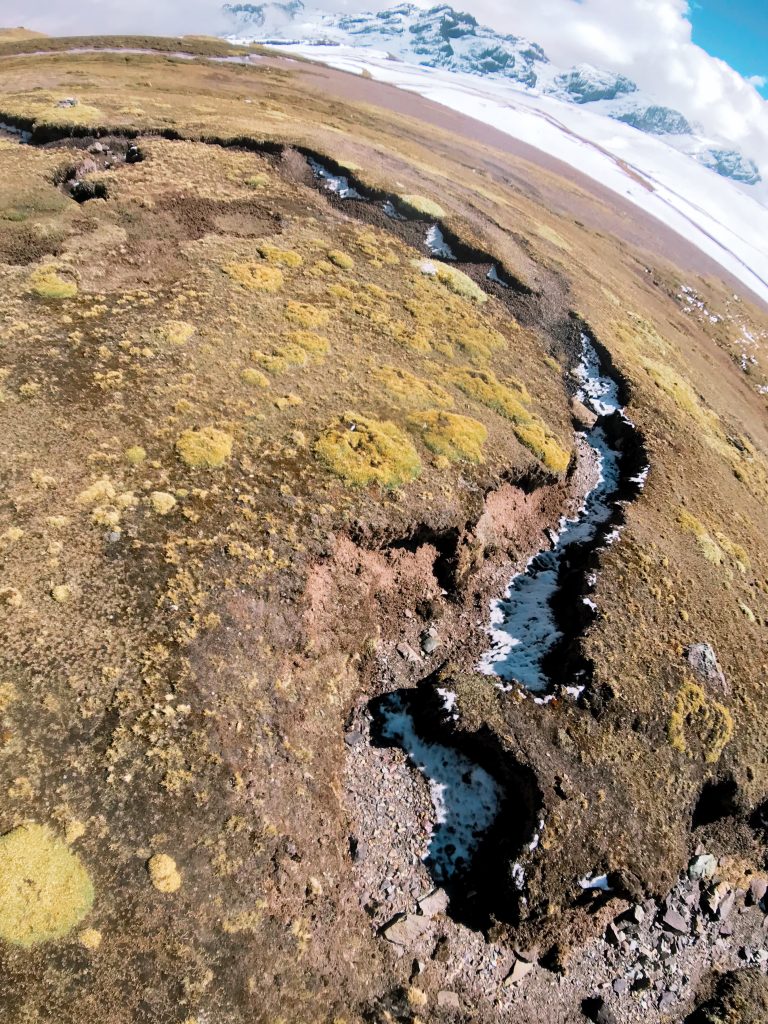
The hike started at 2 am departing from the City of Cusco with 6 other hikers. A long jolting ride car ride of 2 hours to the base where we were already above the clouds. The Andes Mountains are truly stunning. They were covered in fresh snow and the sun had not even appeared yet.

We ate some warm quinoa porridge and used the bathroom in the hole in the ground.

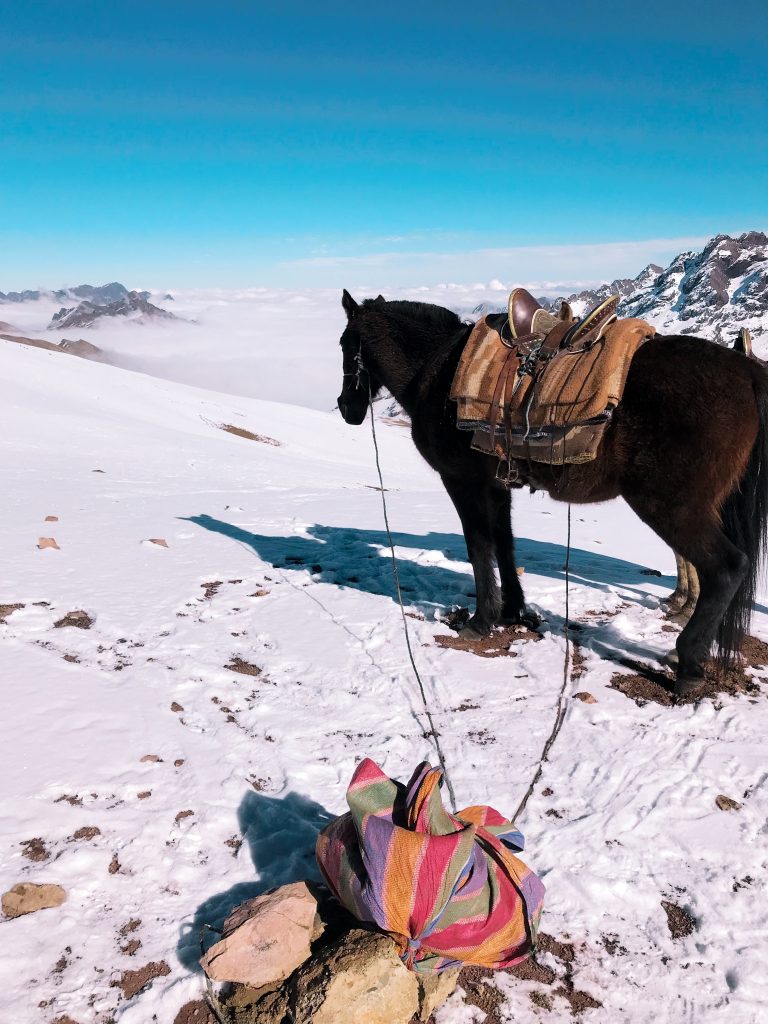
I looked out over the blue cast of the morning and pick up my camera to photograph the cloud cover and snow capped peaks when a lone horse came riding up. It was majestic and magical.

Shivering and ready to warm up we began our climb. Only a few steps and I was short of breath. I looked at the ground and stopped with the group as we made the slow crawl to the summit. The sun was rising and everything had a pink glow.

It was probably a good thing it was so dark at first. It made the 7 mile trek to the top seem shorter since we could not see. It is worth it. If you are reading this because you are debating. There is no debate. If you love to hike and enjoy nature you cannot skip this one.

Our group was the first to the top that day an we had the Mountain to ourselves. I cannot explain the feeling in words, but know that tears welled up in my eyes.

______________________________________________
0 Facebook Twitter Google + Pinterest
https://www.instagram.com/p/Bl4Ir2CAi_E/?hl=en&taken-by=bethanymccamish

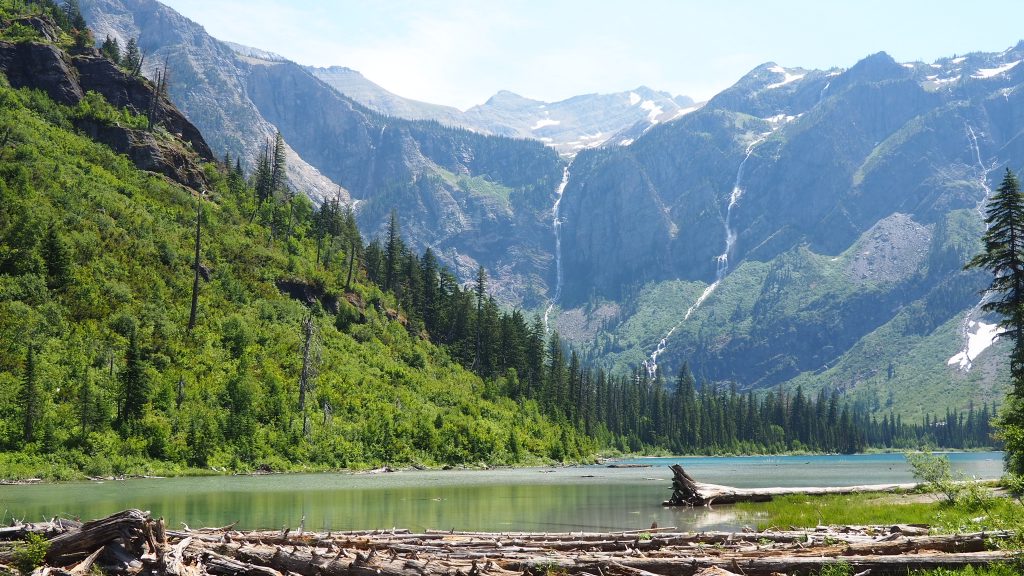
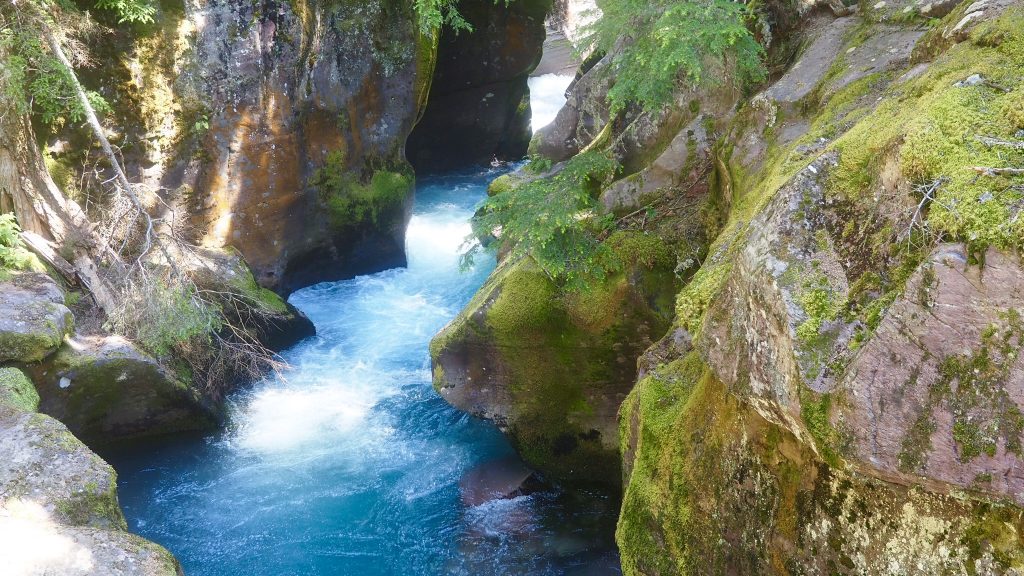
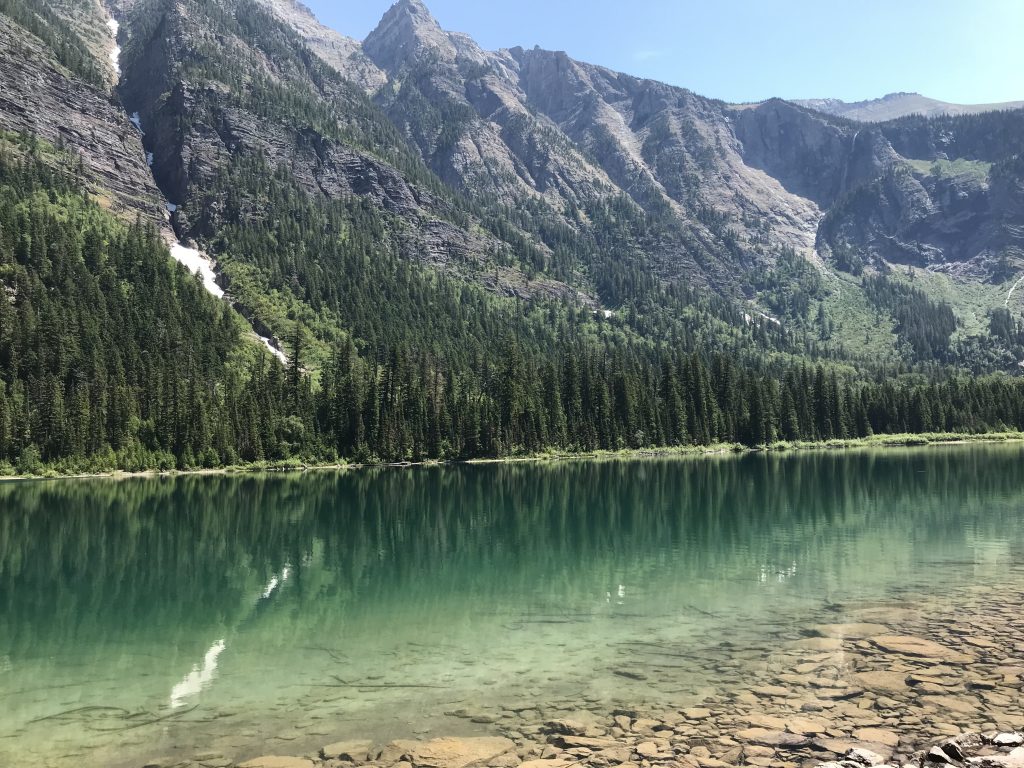
I was able to fly out to Montana and check off one of the parks on my bucket list: Glacier National Park. It was as gorgeous as I imagined and I was able to hike it with my best friend.

We took the scenic route and stopped at all the Montana attractions along the way. The weather was perfect, the scenery was breathtaking. I can say I would happily go back and keep exploring the beauty of this park.

Our Trail:

Day 1:
  • Arrive on Sunday evening to Missoula MT
  • Check into Hotel-
  • Head out to eat at the Tamarack which has a killer Hummus Plate and grab a drink.
  • Get some rest for our road trip in the morning
Day 2:
  • Early morning- go get breakfast
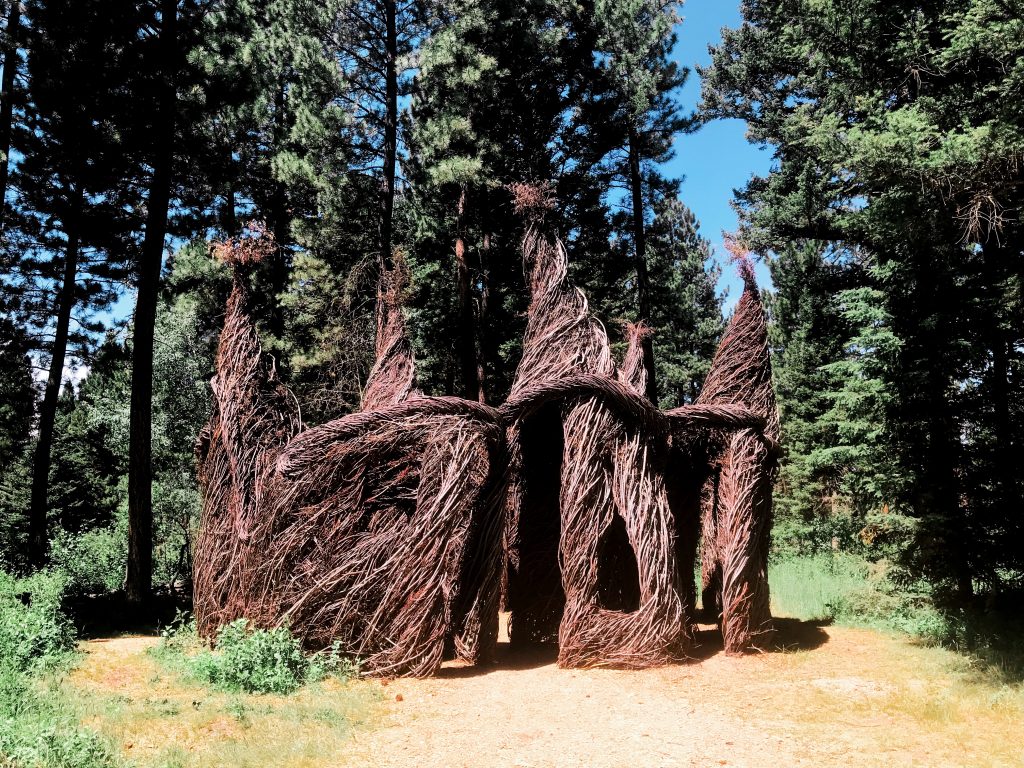
  • Head to Lincoln and go to the Lincoln Sculpture Park.
  • Go to Phillipsburg for Sapphire Mining, the Candy Store, and some late lunch.
  • Next stop- Hamilton and climb a waterfall on the way.
  • Stay the night with my friends parents- enjoy the good food, company and views from the hot tub. Stay up too late for our early morning- who could expect anything else?
Day 3:
  • Go to Glacier National Park and spend the day taking in the glorious nature.
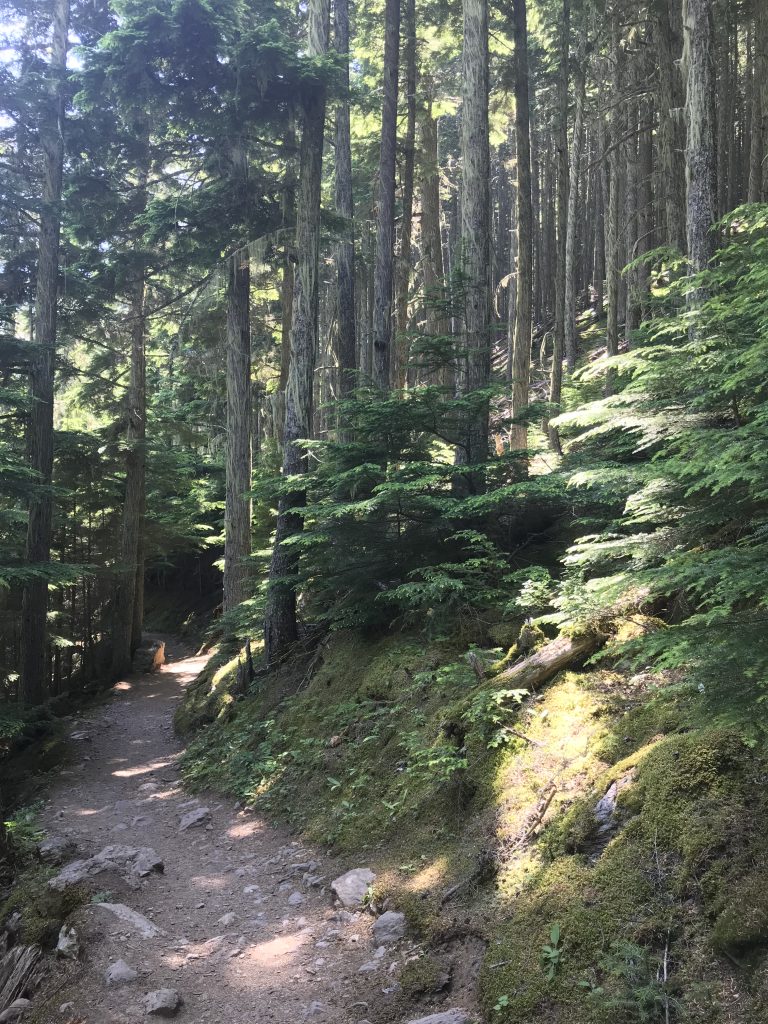
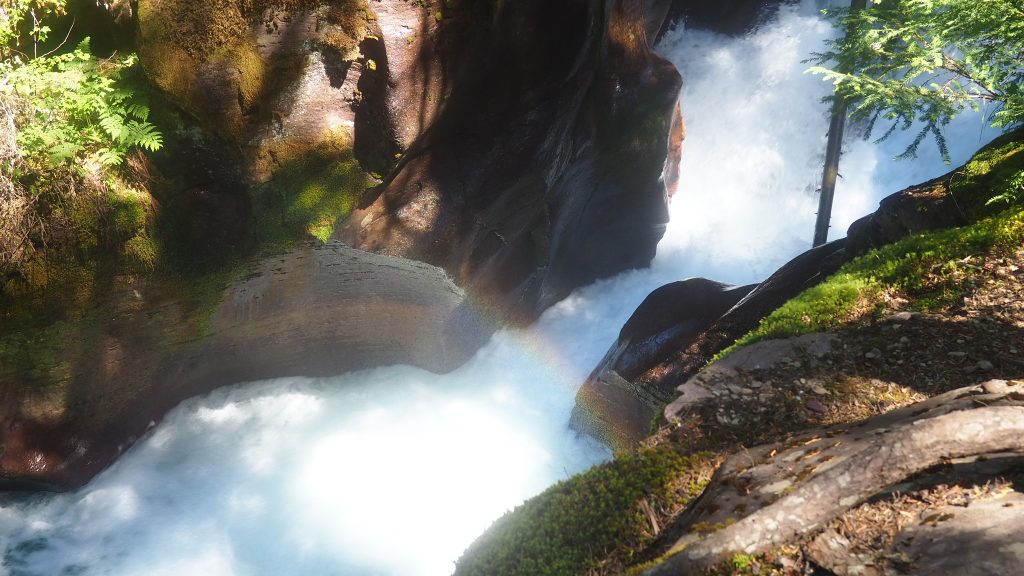
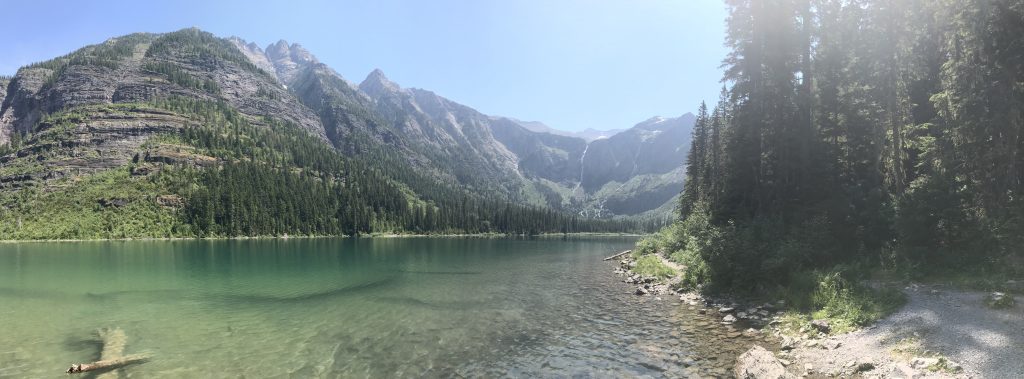
  • Hike Avalanche Trail at the Park
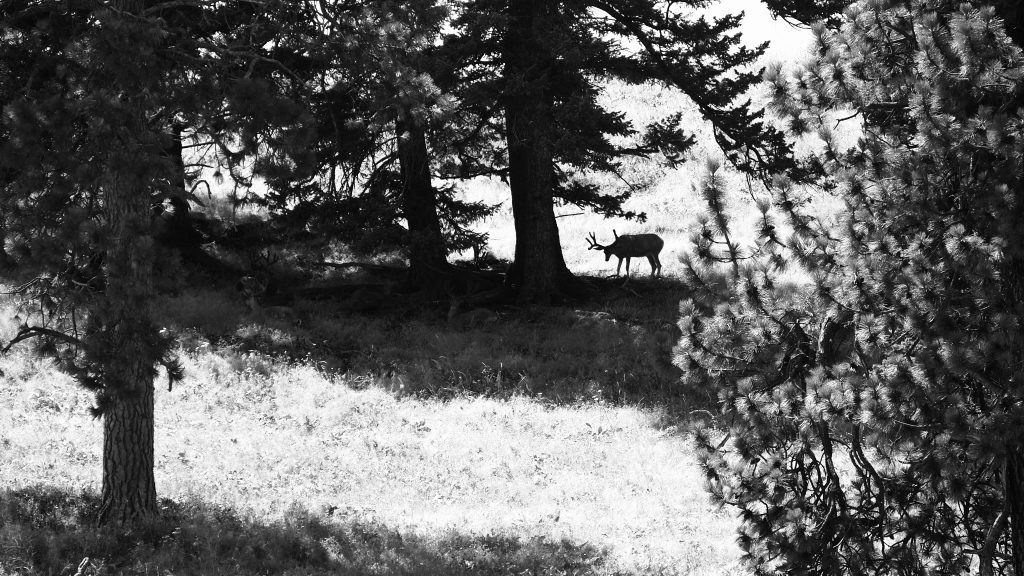
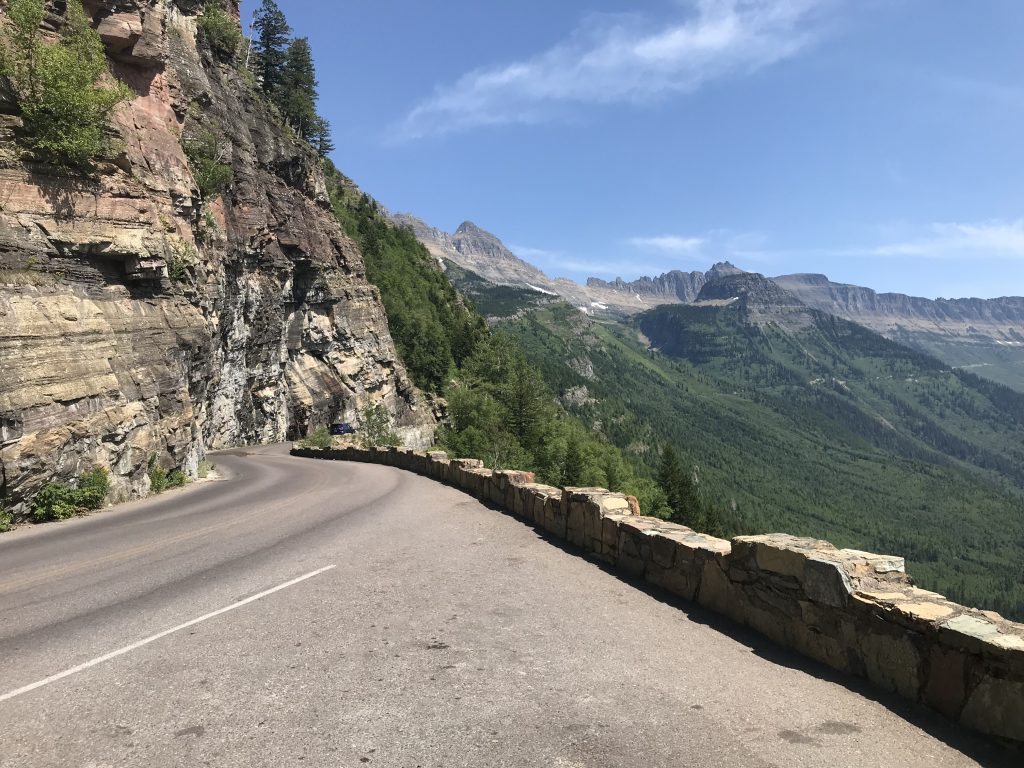
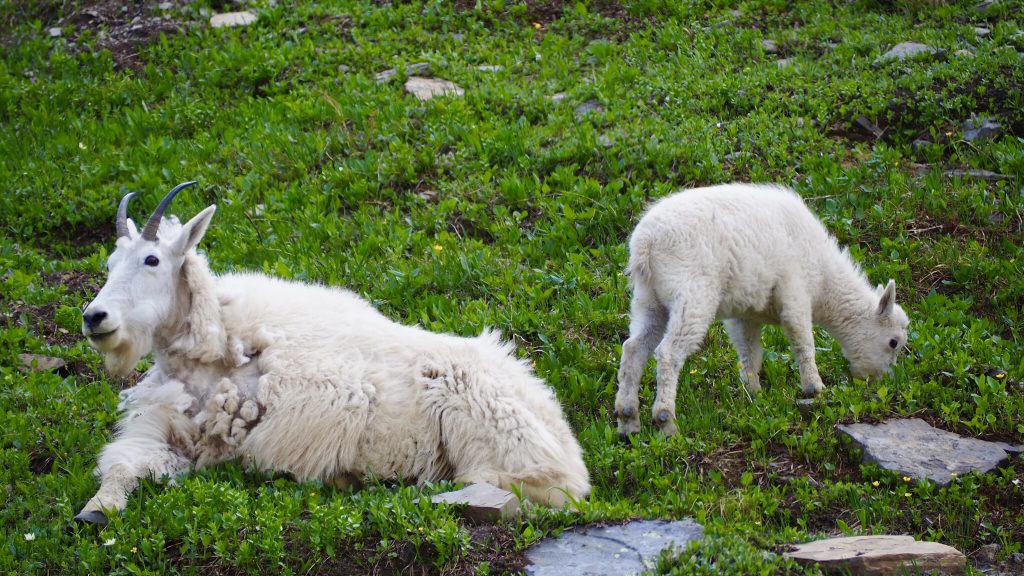
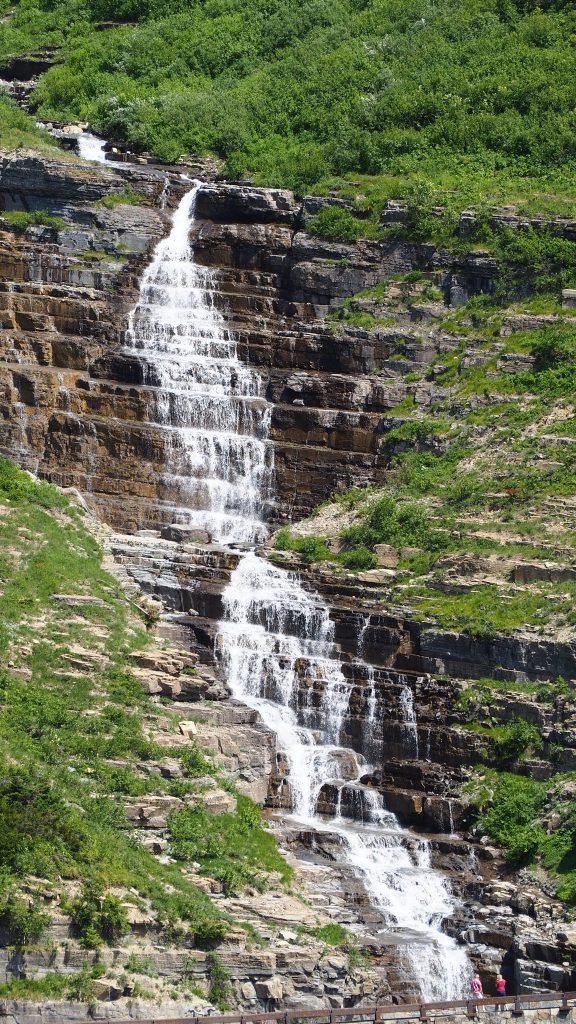
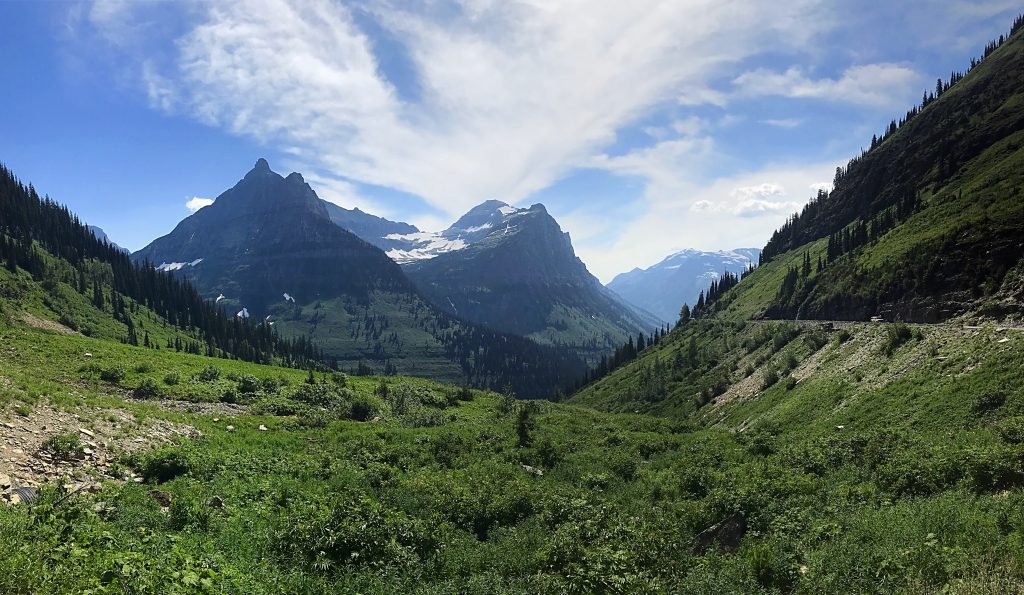
  • Drive the 53 mile “Go To the Sun Road” in the park and stop continuously for the breathtaking views and wildlife.
  • Head back to West Glacier to purchase dinner, charge our phones and buy a T-Shirt.
  • Drive to our Cabin in the middle of no where – 47 minutes into the park. Booked it on Air BnB.
Day 4:
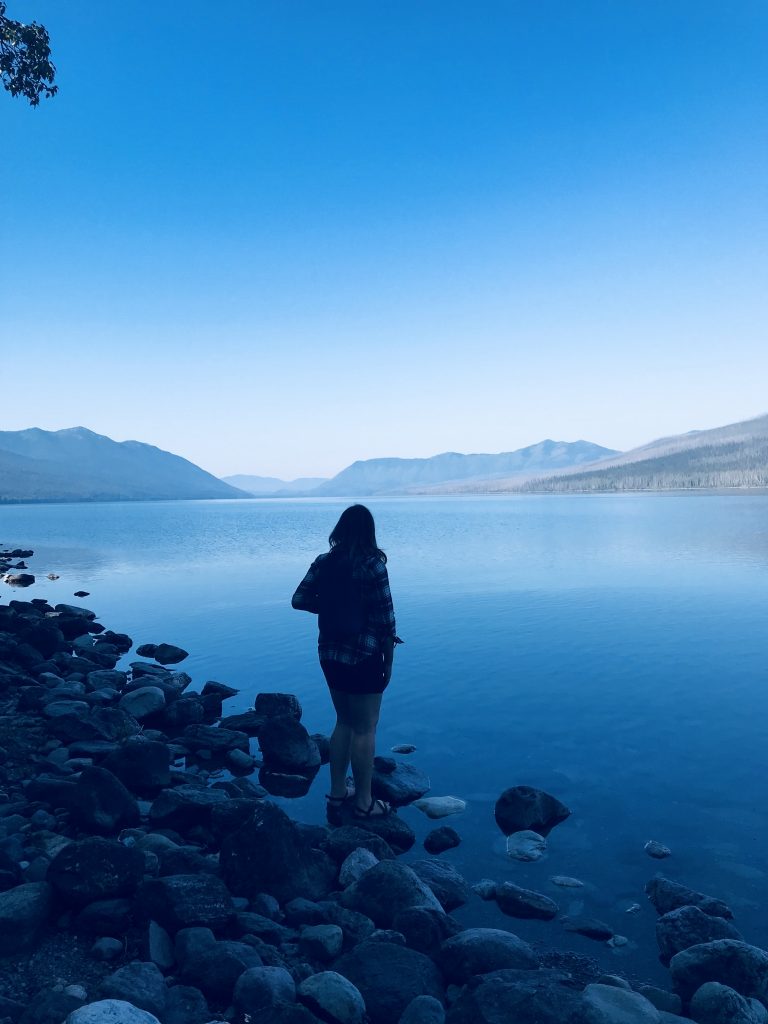
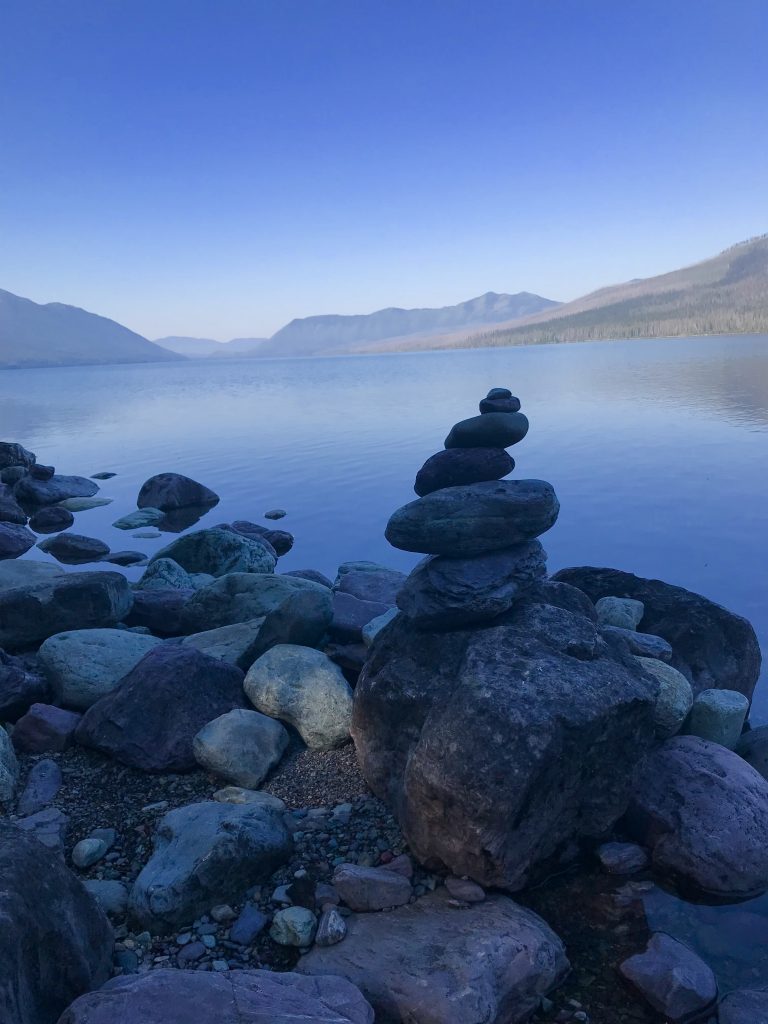
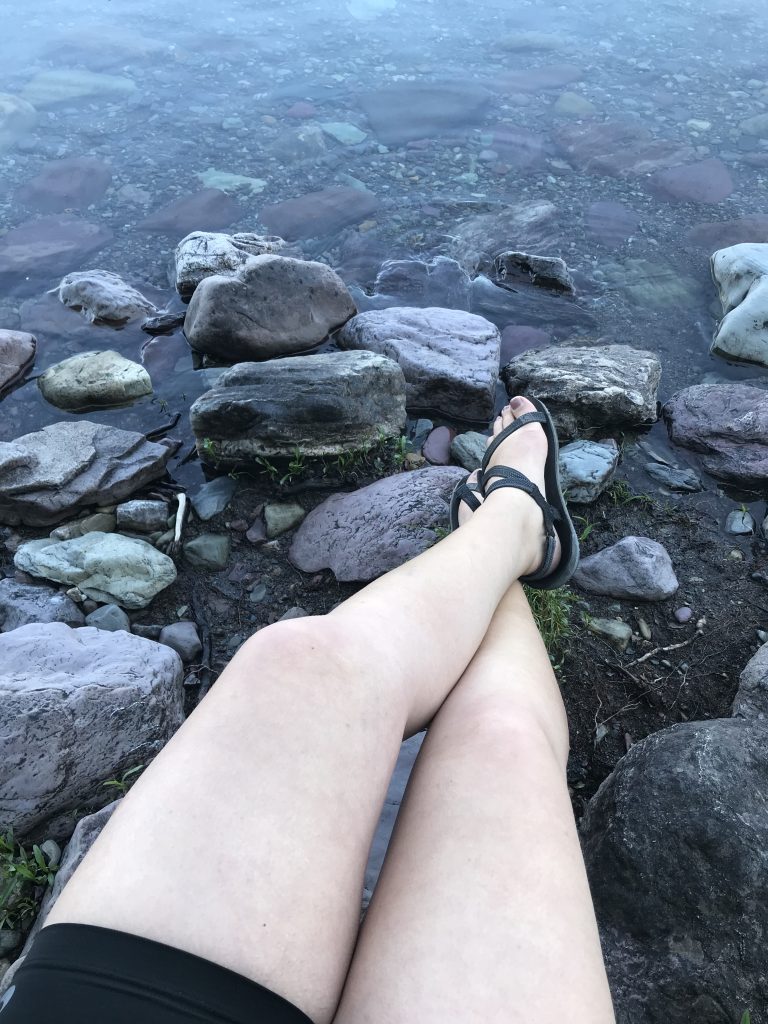
  • Get up and head into Glacier for a hike along Lake McDonald
  • Say Goodbye to Glacier and take photo by the sign
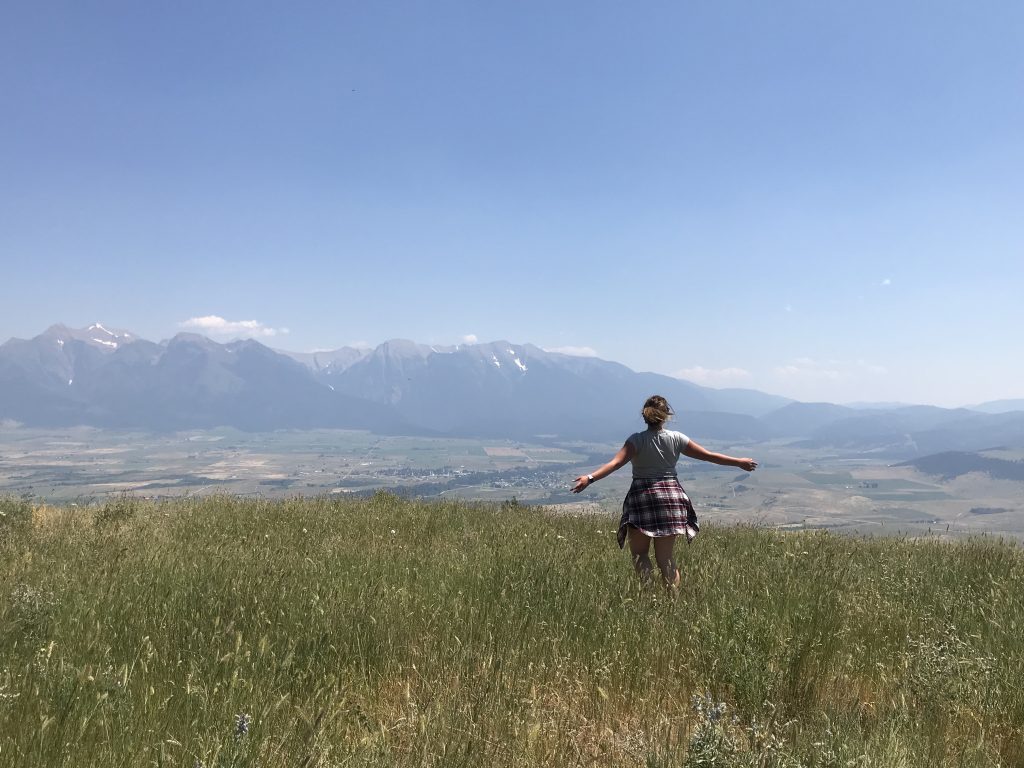
  • Go to the National Bison Range and see Bison- plus views of the Mission Mountains.
  • Drive to The Garden of 1,000 Buddhas
Day 5:
  • Sleep in since checkout is at 12.
  • Tour the University Fine Art building and amazing pottery room – ranked in the top 15 in the nation
  • Head into Missoula for  a look at the city and shops
  • Head to the airport and I say goodbye to my dearest friend to fly home.

_______________________________________________
Lincoln Sculpture Park

0 Facebook Twitter Google + Pinterest
https://www.instagram.com/p/Blnm3L4n-jg/?hl=en&taken-by=bethanymccamish

This summer was packed full of travel. This is why my posts have been few and far between. I also decided to change focus and work on making my own work. I needed a break from teaching and the “How To” kind of work.

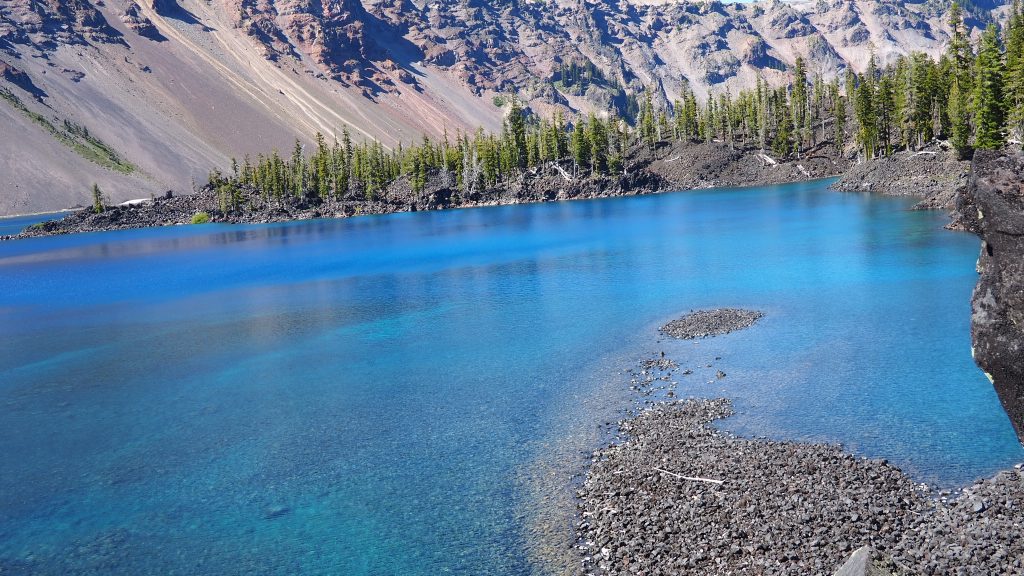
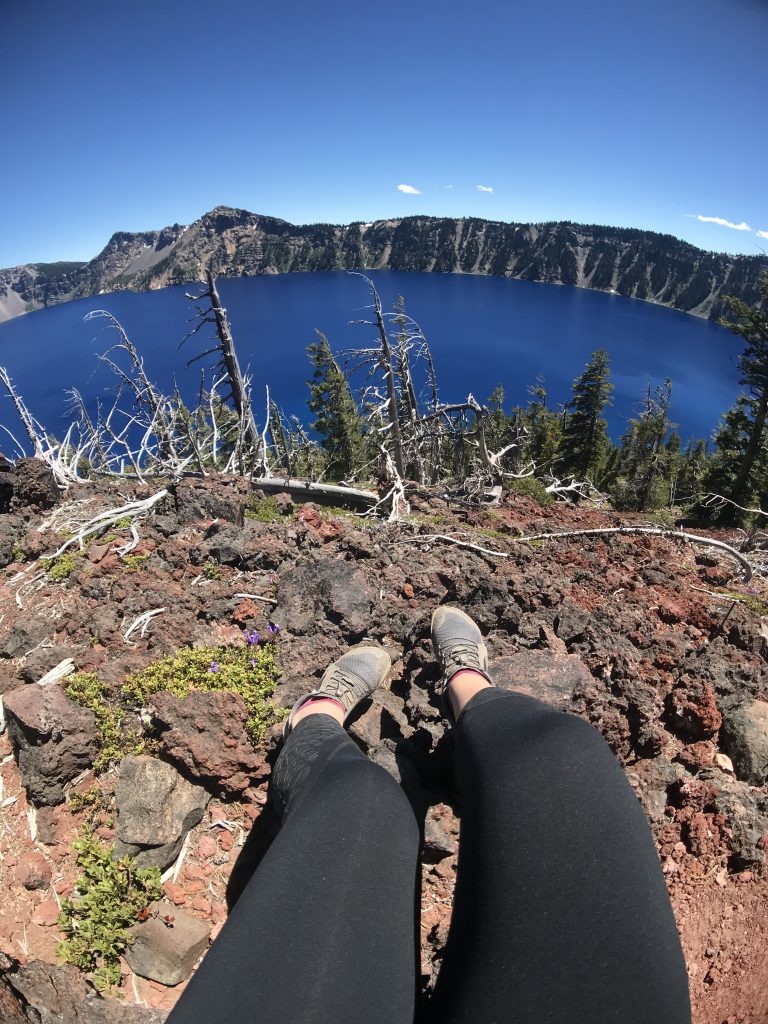
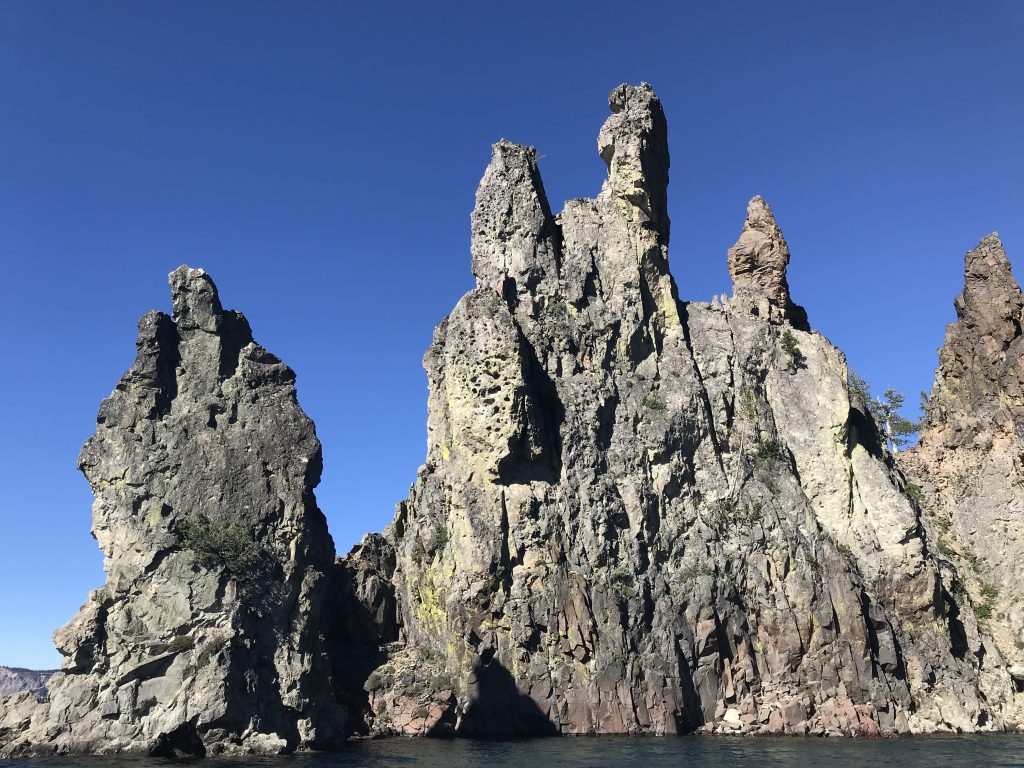
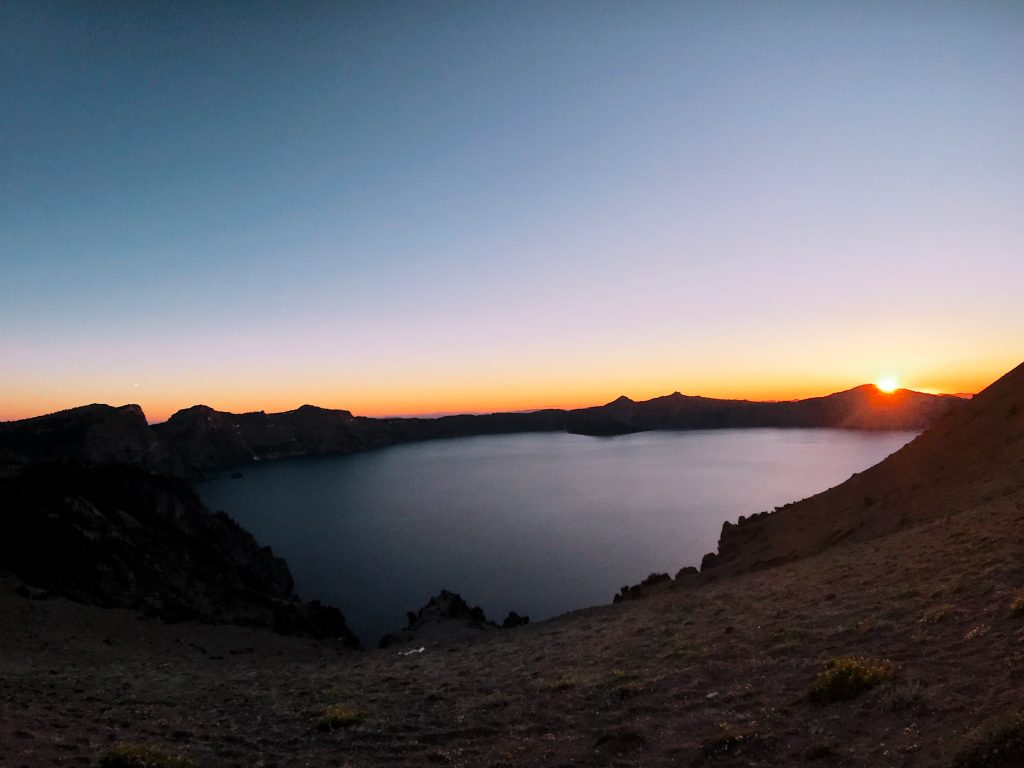
We kicked off our adventure with a road trip to Crater Lake National Park in Oregon.

This post may contain affiliate links. If you click and make a purchase, we receive a small commission at no cost to you! For more information, please read my disclaimer. 

Our Path:

Day 1
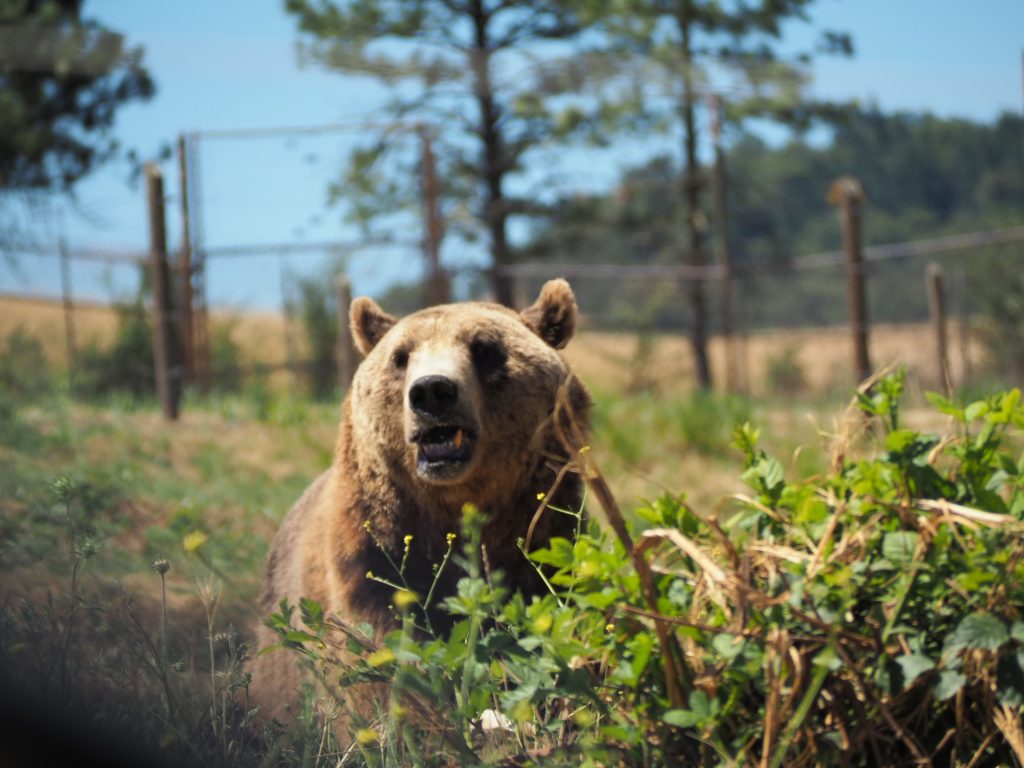
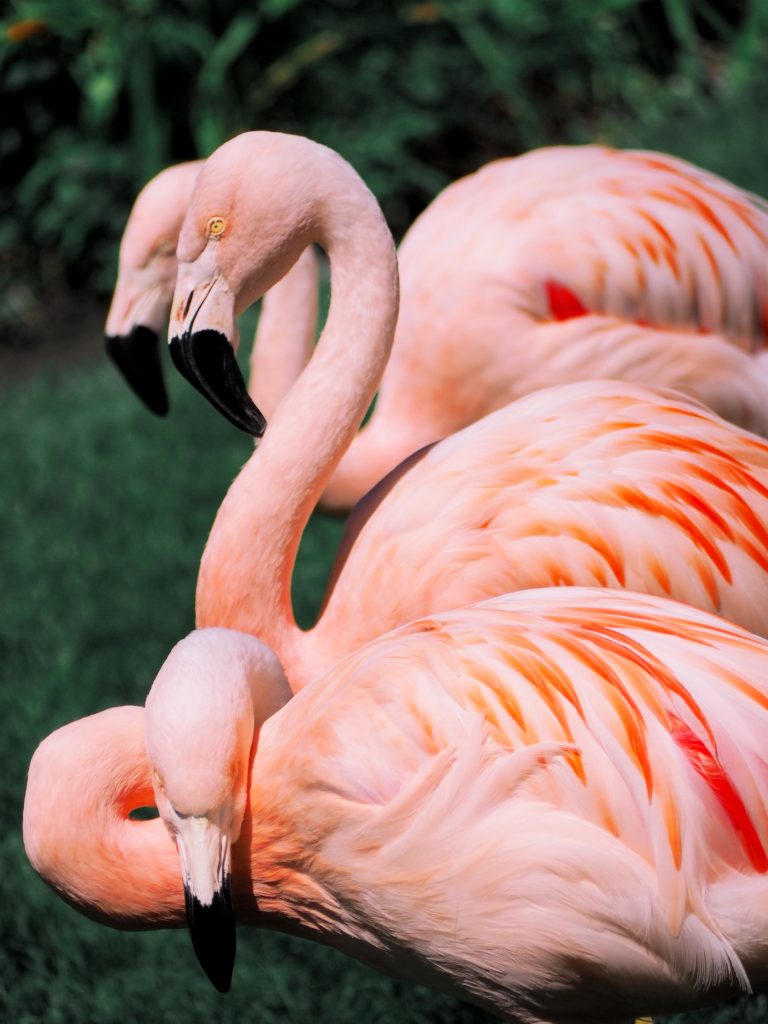
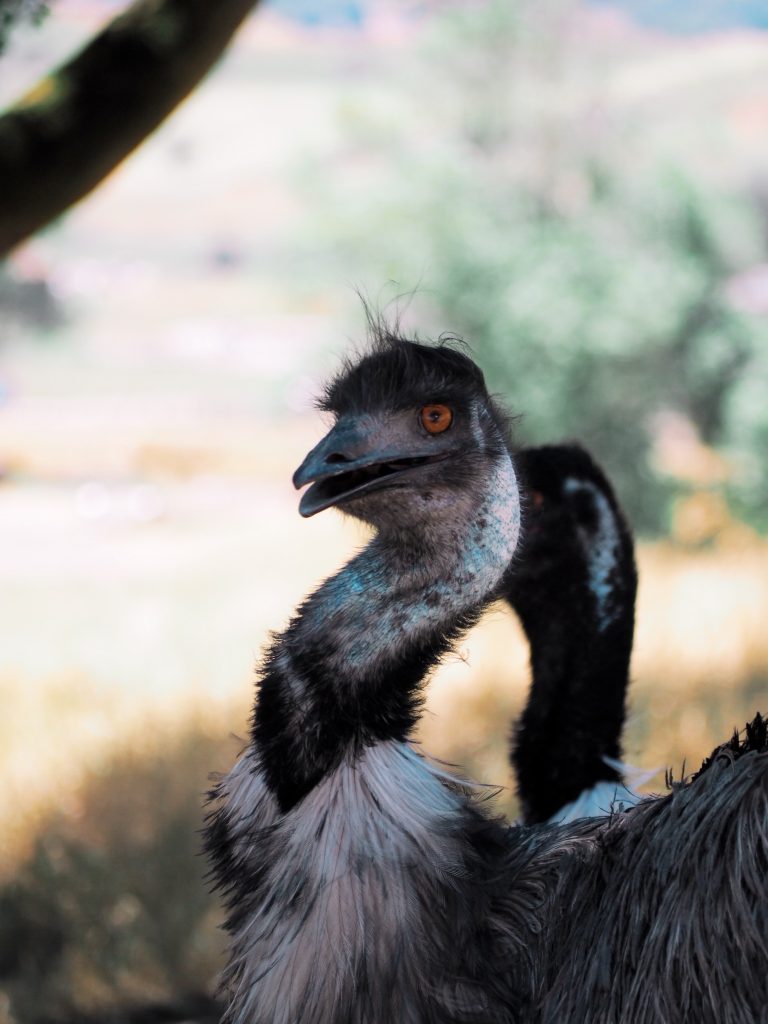
  •  Drive to Winston Oregon (a slight detour) and check out the Wildlife Safari that works with endangered species and has a significant presence in the global conservation mission. Most animals roam free within the 600 acre park.
  • Head to our Air BnB Home in Chiloquin and check in- get settled
  • Panic because we did not buy our tickets early for the hike on Wizard Island (You need to do this)
  • Go to Crater Lake Rim Village and see the lake for the first time.
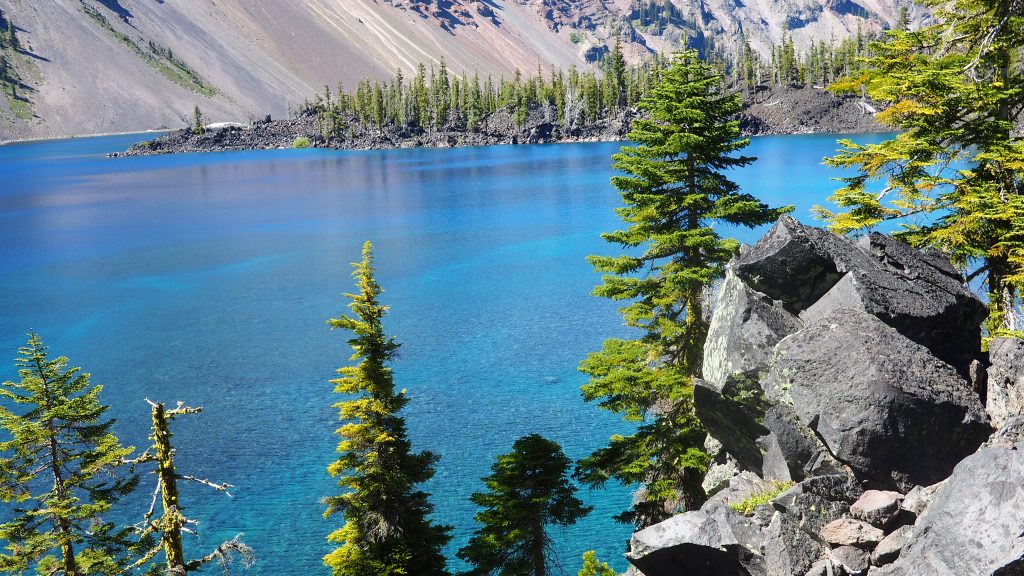
  • Buy the two tickets for the boat tour and hike of Wizard Island. This is the volcano inside a volcano and so worth it! In the future I would have just skipped the boat tour and only done the hike.
  • Dinner at Annie’s Cafe in the Park (Vegan burger option) One of only two places to eat in the area.
Day 2

Note: After Day 1, all other meals we had packed and did not eat out again.

  • Head back into the park. Take obligatory photo by the entrance sign.
  • Wait in line to get into the park.
  • Take East Rim Drive halfway around the lake with GORGEOUS views and get to the trail for the boat docks.
  • Hike 1.1 miles straight down into the Caldera at Cleetwood Cove and get to the docks. NOTE: You need to check in for the hike at the TOP of the trail ranger station with your receipt from the tickets. Thankfully, they were kind and did not make us go back up the hill.
  • Take boat tour around lake- stop for 3 hours at Wizard Island and hike straight up to the top and back to the bay. Panoramic views. Everyone who loves to hike should do it. Back on boat for the remaining 2 hours of the tour around the entire lake.
  • Hike back up the 1.1 mile caldera cliff.
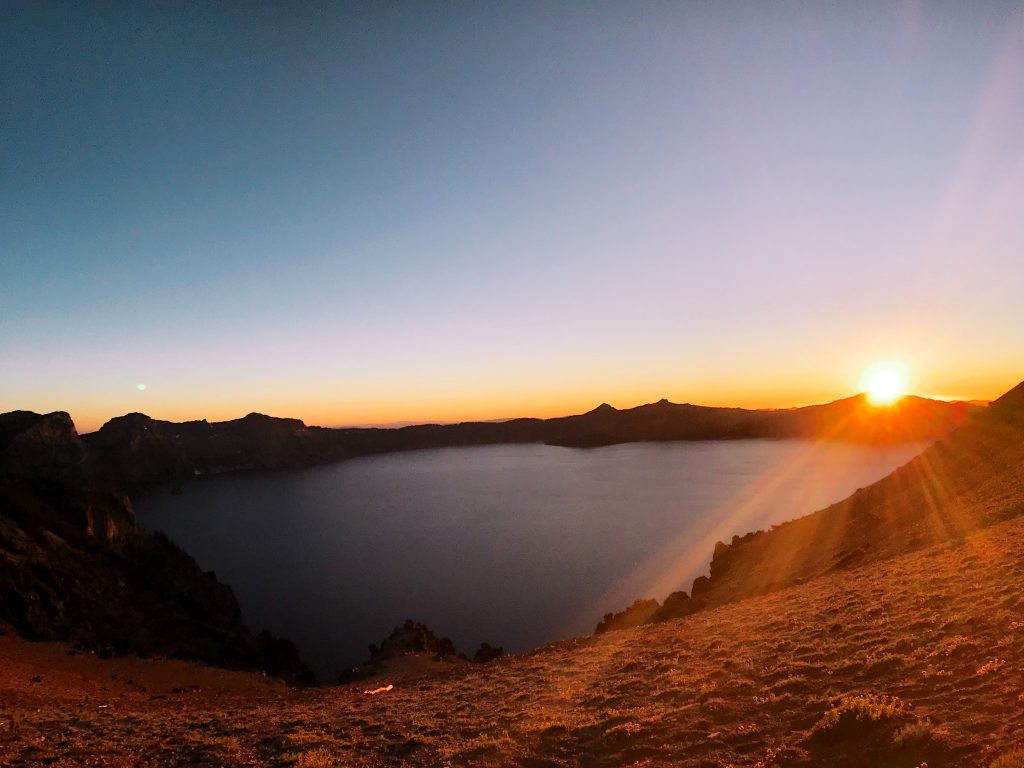
  • Take the rest of the drive around the rim and stop at Cloudcap Overlook to watch the sunset
Day 3:
  • Easy morning. Pack up and start the drive back home.

__________________________________________________________________
Winston Safari

Crater Lake National Park

0 Facebook Twitter Google + Pinterest

I have been shooting small pieces of footage throughout the past 6 months while hiking and and exploring the Pacific Northwest. I am of course drawn to water and this is the culminating result of these clips. My very first study was in Black and White and full of shake as I learned how to do video.

I thought that this would be about shooting cinematic video. This is how most project start though: thinking it will be one way and turning out totally different. I soon lost interest in putting together a plastic and too polished video like what I had seen before. Instead I strived for rhythm and made it about my own personal experience. After all, I needed to consider am I making this for myself or for a client? Myself.

Striving for the authenticity, I hope you enjoy.

These shots are taken on my iPhone 7 Plus using the Osmo Mobile Gimbal (version 1) or my Tripod. For more about my gear I use check out this post and video here.

0 Facebook Twitter Google + Pinterest

As some of you know I live for travel. It is my constant dream to discover new places and people. Eat good food and explore cultures. It is when I feel the most alive and inspired to photograph. Discovery can happen right in your won backyard  so consider traveling locally.

Of course the two big things that stop most people from travel are time and money. While I am fortunate to make it out of the country every summer, I do have to watch my budget otherwise to make this happen. In order to feed my wanderlust and continue to take some of the best photographs I travel locally. (For Travel Hacking Tips and how to do it head over to my other blog and read this) 

Local Travel

The perks are endless. You will not have to spend as much and can make it out and back in a weekend giving you plenty of time to keep hustlin’.  Everything from the day trip to your touristy spots or the weekend getaway I promise there is something for your yet to discover in your own area.

I find that when I set the intention to “travel” even when in my own local area, I am also setting the intention to photograph in a new a different way.  Photographing the familiar and photographing the new are approached very differently. One asks you to get out of your own way and remove pre-conceptions.

Here are a few ideas to get you started and traveling locally.

Buy a Train Ticket or Hit the Open Road

It is seriously so fun to take the train, plus no stress for having to drive. I recently took the train to Seattle and it was actually relaxing. See if you can’t plan a getaway by train. Bonus: the sweet views out the window will be fun to capture.

If you can’t take a train, consider a road trip. Go with your partner or friends so you can take turns driving and stop at every viewpoint possible! 🙂

Go Camping

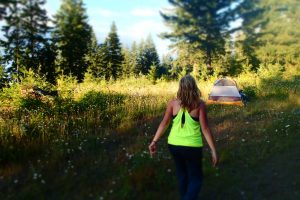
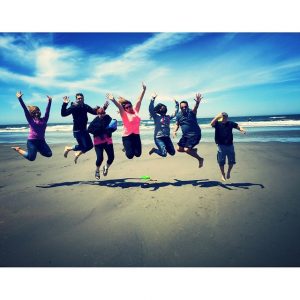
Who doesn’t love camping or at least a good smore.  We love camping and backpacking, plus you can bring the pups if you have them. Do not be afraid, getting dirty is good for you. (Yes! You can camp on the beach too!)

Get Outside and Hike

One of my most common past times. I LOVE to disconnect from all the “extra” in life and reconnect with nature by making photographs along the way of course.

You can see all of my hiking images and the latest trails I am on by following my Instagram. I also made a #GetOutside video in support of a movement that encourages others to avoid the insanity of consumerism and Black Friday shopping

Visit the Ocean or a Body of Water

We live a short 3 hours drive from the Pacific Ocean, so find our way here several times a year to splash around. Although most often it is to watch a storm and aget hunt.

I am pretty sure I am part mermaid, so I try to find my way to the waters edge as often as possible. 🙂 It does not have to be the ocean, any body of water will do you some good. Put your toes in, go fishing, play by the banks and feed your inner child.

Find a New City within a 3 hour Drive to Visit

We live less that 20 minutes from Portland Oregon, so this city is fun to go to for the night out, but I love our sister city Seattle for the more “travel” type vibe. It is strangely familiar, yet new. For more of my recent Seattle photos go here.

Drop a pin and find a city. That is all that you have to do. Once you get there start exploring and stop at your local pub to connect with the real locals.

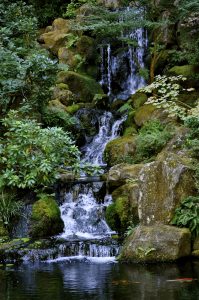
Portland Japanese Garden

Be the Tourist

Look up the top 10 things to see and do in your town or city. Start checking them off your list. Only then can you truly call yourself a local expert. 🙂

Make a Reservation at the New Restaurant

New food. Yummmm. What could be better! Find a new restaurant or new to you and make it a night. Don’t forget to take photos of that spread too.

Get your Friends Involved

Travel is so memorable because of the people you are with and the ones you meet. Get your friends in on it too.


So if that wanderlust bites you- feed it and be inspired. Continue to look and be curious about your own surroundings.  Travel locally and then travel like a local when you can get out of the country. I encourage both and have adopted them into my life.

0 Facebook Twitter Google + Pinterest

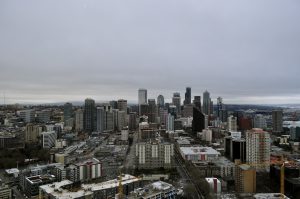
This post features recent photographs in Seattle taken on my iPhone 7 Plus with the usual gear I carry in addition to some work from my last trip. All photos on this blog are my own unless otherwise noted. 

Travel and the Trip

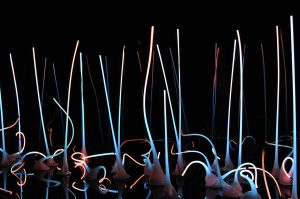
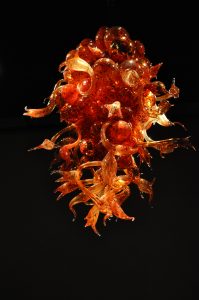
Glass Museum

While Portland is my home city; Seattle’s towering space needle, glass gardens, art museums and the famous market with flying fish hold many happy childhood memories for me.  I have been to Seattle at least 30 times as a Pacific Northwest Native and it is only a short 3 hour road trip away.

As a teenager it was a popular trip to make on a long weekend when we had nothing better to do than sit on the waterfront, ride the ferris wheel and generally run around laughing at nothing too specific.

This past week I had a conference for work in Seattle and found myself dreading the drive for numerous reasons. Traffic, the fact that I was not in a car full of friends with the aroma of coffee and sounds of inside jokes, and that it was for well… work.

Space Needle

I decided to do something I only faintly remember from when I was very young: take the train from Portland to Seattle. I then I arranged to meet a few friends while I was up there in between my conferences and break out sessions. I am so grateful I did.

The train was delightful and I highly recommend it to anyone. Seriously, no stress, no traffic, and you can just bring your carry on with you. Look up ahead of time which side to sit on for the views of the river.

While I was slightly worried about navigating the city without a car (since this is how I had made all of my other trips), it was actually simple and stress free. Plus no parking!! The train station in Seattle was only 2 miles from my hotel and I opted for an Lyft ride to get settled in. You can also take the tram most places in Seattle.

Arranged to meet with a friend within walking distance of the hotel and managed to trek the city by foot all 4 days of the conference.

The food and company were of course superb and lets not forget about the views. I stayed away from the touristy stuff this time and enjoyed other portions of the city. So the images of those things were from past trips to Seattle.

Composing and Contrast: Photo Tips

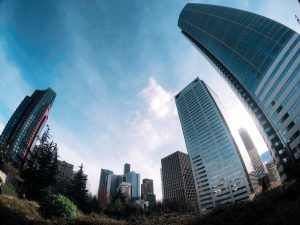
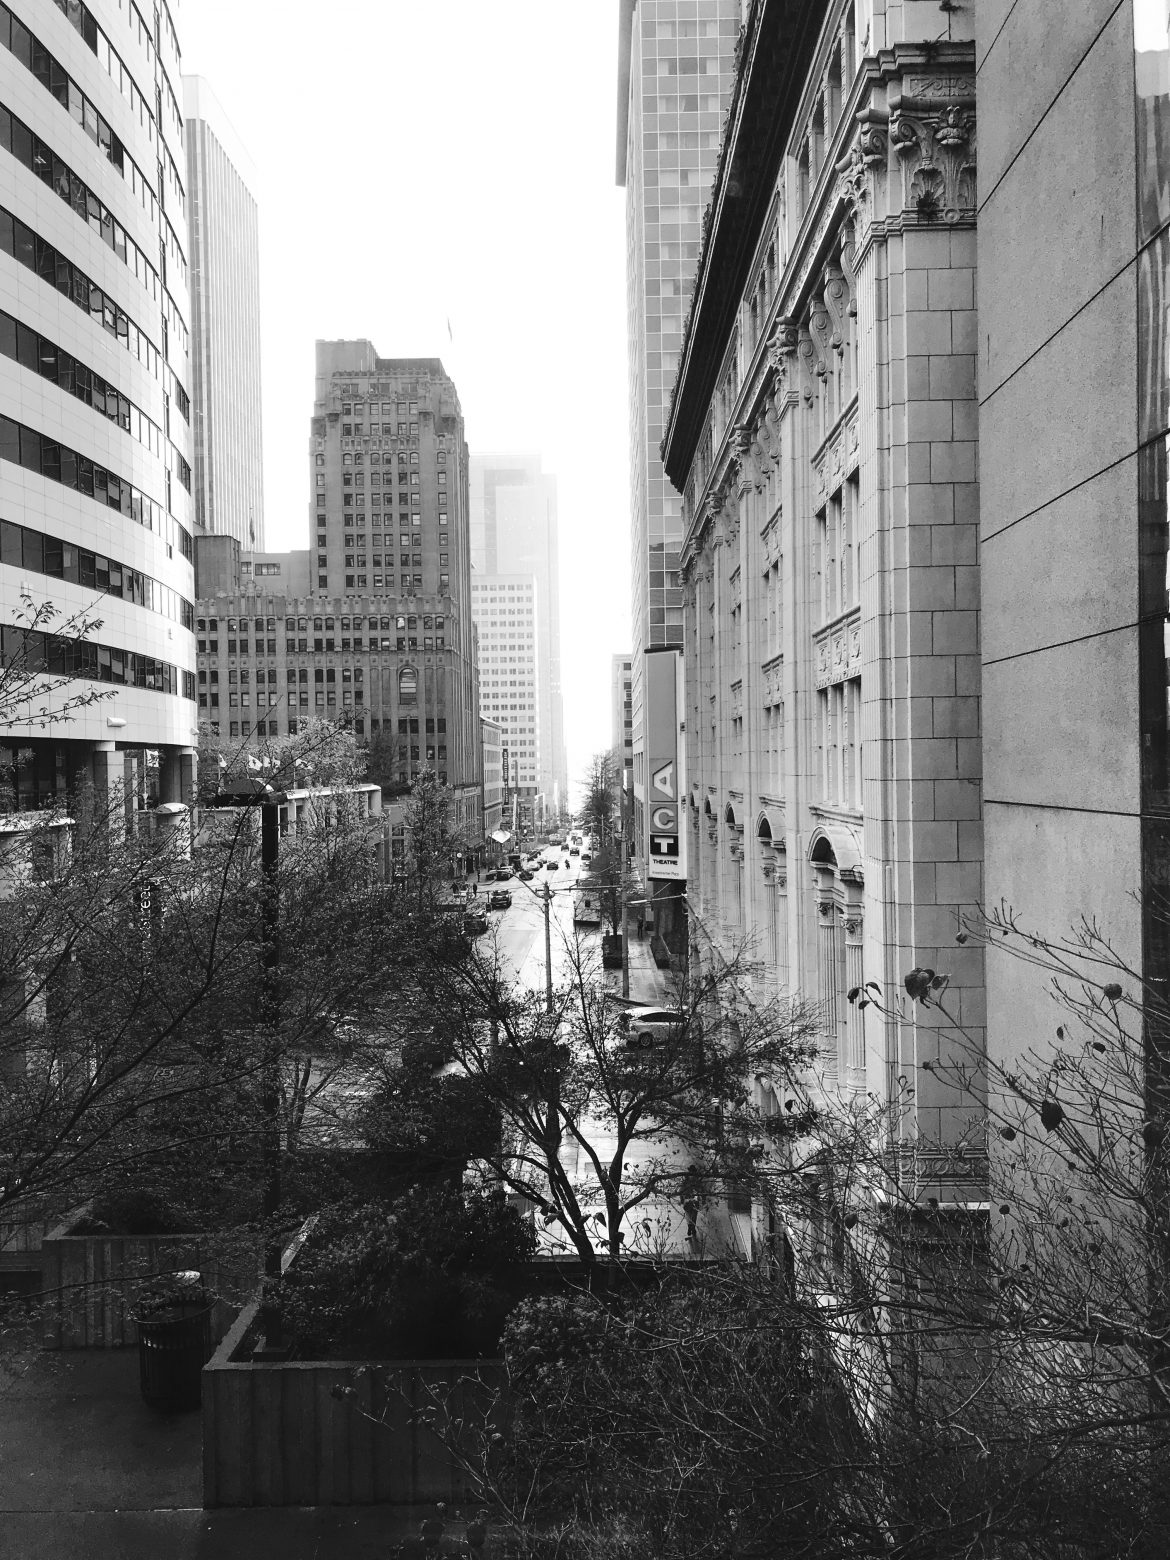
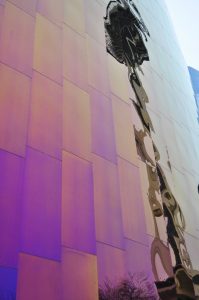
Downtown by the Convention Center

Photographing in Seattle always brings a stark contrast to what I normally shoot.  Composing in nature is my tendency and comfort zone. I can easily frame the bend of a river or edges of a cliff. The forest is living and takes calm flowing breaths to surround me.  The curves and turns in nature easily find their way into a well composed image for me since this is where I spend most of my time.

When in the city I have to switch my focus. It is busy and thriving. Breathing heavily from the weight of buildings and cement. I am often looking in linear directions and considering thousands of objects.

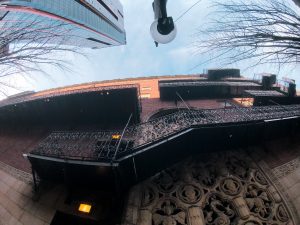
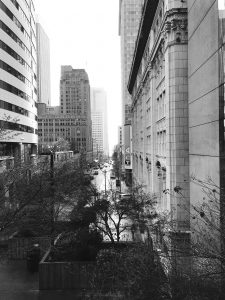
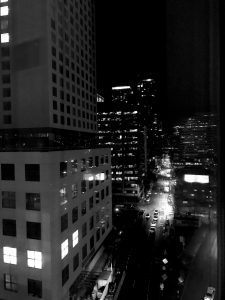
I enjoy using my Fish eye lens when shooting in the city and tend to turn many images black and white. I feel this leads to a classic look. I find I am even less drawn towards photographing people in the city and instead choose to focus on the architecture. That which is not alive.

Tips and things to look for when shooting in the city:
  • Reflections in the skyscrapers and windows
  • Balance in your images (this is important when so much is happening)
  • Shoot in Portrait orientation occasionally  to allow for the city to look as tall as it needs to.
  • Look up (Always)
  • Edit and turn Black and White for a classic look
  • Go into building and look down or out of the windows
  • Focus on architecture and the character of the city- if it is gray let it be gray
  • Pay attention to the edges of the frame- do not have weird things flying out of the edges
  • Use the creative architecture to inspire you
  • Make them your own- avoid the skyline images and touristy shots everyone else has- create your own work.

Recommendations and a To Do List

These are some links to get you started on your own trip planning if you are thinking Seattle is calling your name.

Amtrak:

Pros:

  • Easy to Navigate
  • Comfortable Travel
  • Photo ops
  • No Stress of Traffic or Driving

Cons:

  • Depending on where you are coming from the tickets can be more expensive
Hotel: Hyatt Olive 8

Pros:

  • Comfortable Stay
  • CLEAN Rooms
  • Great free breakfast
  • Walking distance to major attractions
  • If you use Chase Points  they work here!

Cons:

  •  No free Breakfast at this one (rare for a Hyatt)
  • It is a Hotel and not a hostel so a bit more spendy
  • Views are not great for photos unless you pay the extra $$$$$
Food:

Pros:

  • ALL of it is good.
  • Try to food carts – especially La Creperie
  • Palomino was fresh and delish
  • Juicy Cafe is a healthy on the go lunch option
  • Starbucks on EVERY corner
  • Pike’s Market has the best donuts

Cons:

  • Dinner is expensive in the city
  • Harder to find a grocery store
To Do:

Don’t forget to check out Trip Advisors Top 10 things to do list before visiting any city. So far these have never steered me wrong. Maybe even do this for your own city to get some great shots of things you normally don’t think about.

My recommendations for this city are the following:

  • Pike’s Street Market
  • Space Needle
  • Chihuly Glass Museum
  • Sculpture Park
  • Seattle Art Museum
  • Original Starbucks
  • Waterfront
  • Ferris Wheel (only if it is nice out)
  • Scavenger hunt for the Troll under the bridge


You will get some fantastic shots and be so inspired by the architecture and life of the thriving city of Seattle. Of course, let me know how it goes.


0 Facebook Twitter Google + Pinterest

Hello Friends!

I have been experimenting with video outside of the “How To” realm. This started with my “On the Road” series which will continue, however now I am starting to create  new series. These will develop overtime in 2018 and I already have a whole list of ideas.

These will be cinematic videos and all titled “A Study of ______”. I was inspired to explore this idea after I put together a small sequence of square black and white images titled “A Study“. This can be viewed on my Artists website bethanymccamish.com along with additional series.

For years photography as been used to capture both the real and imagined. It can be a close and intimate look at the photographers world. It can also be an objective assignment to gather data or document.  In my case it is always the latter.

0 Facebook Twitter Google + Pinterest

Hello Friends!

This is the last of the Colorado videos! I cannot wait until my next trip to share even more with you. Garden of the Gods is located right outside of Colorado Springs and offers hiking for the beginner to the advanced.

We arrived in the afternoon and had that gorgeous evening lighting that allowed the rock formations to truly shine in that bright orangey red. I love textures and was so inspired by the dessert surfaces here. Reminded me of my summers in Arizona growing up.

Enjoy friends!

0 Facebook Twitter Google + Pinterest
Newer Posts