Home Tech & Tips
Category:

Tech & Tips

When selecting the orientation of a photograph, it is important to consider what you want the image to say. Their is a major difference between portrait and landscape orientation and even more still with the square image. While this may be a short post, it is an essential one for the photographer.

Your life as a photographer is all about choices. You will decide in the moment or pre-plan. You decide how to arrange the elements in the plane and what message it is sending when you hit publish. One choice is the orientation of the camera and this should be a choice. This means your first step is to slow down a bit and start to consider the orientation if you never have. Soon it will become instinct for what looks more appropriate for the scene.

Landscape Orientation

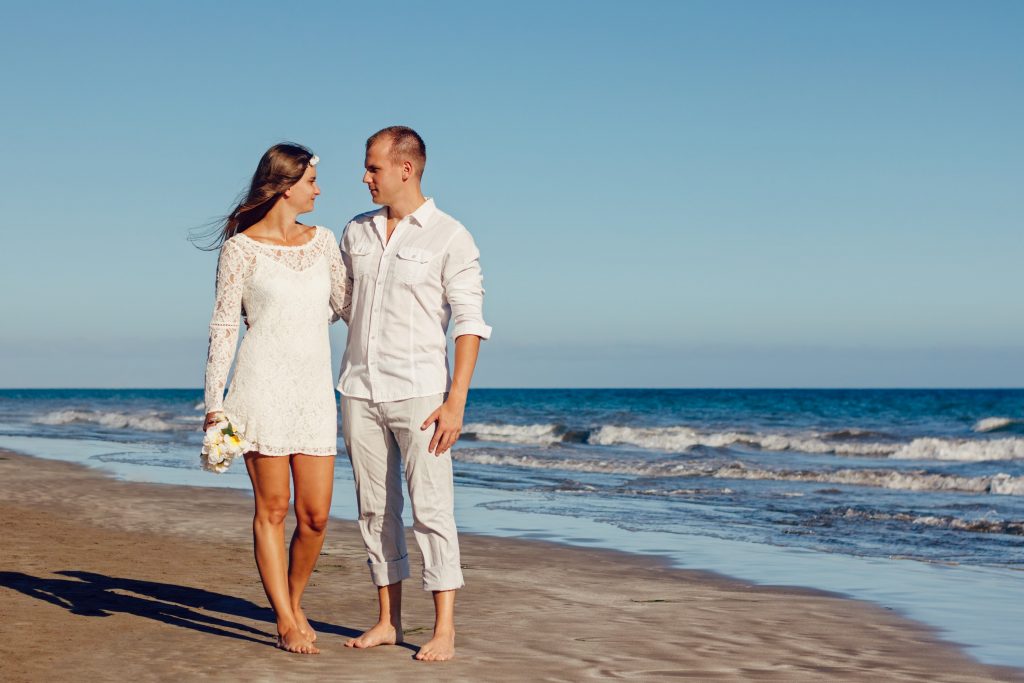
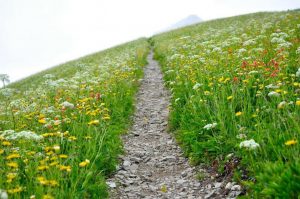
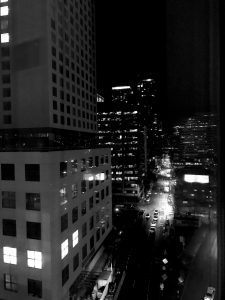
This is a traditional orientation and mirrors that of classic 35mm film. The rule of thirds can easily be applied atop this in order to find a pleasing composition. This is also the orientation I suggest for Phone Photographers to use in order to improve their photography only for the fact that it reminds us of  a more professional look.

However, Landscape is not always the best choice- while professional it can look flat and often does not lead to dramatic engagement. Landscape photos also ask the viewer to be an observer and stand on the edge of the image looking in . This is what makes it perfect for shooting- you guessed it- the landscape.

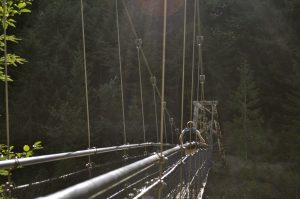
It can also be one of the best orientation for sports. Any live action where the subject is moving could use the extra room to move that the Landscape orientation provides.

The sprawling nature and professional aura of the landscape orientation make it a positive choice, but let’s not forget about the portrait orientation.

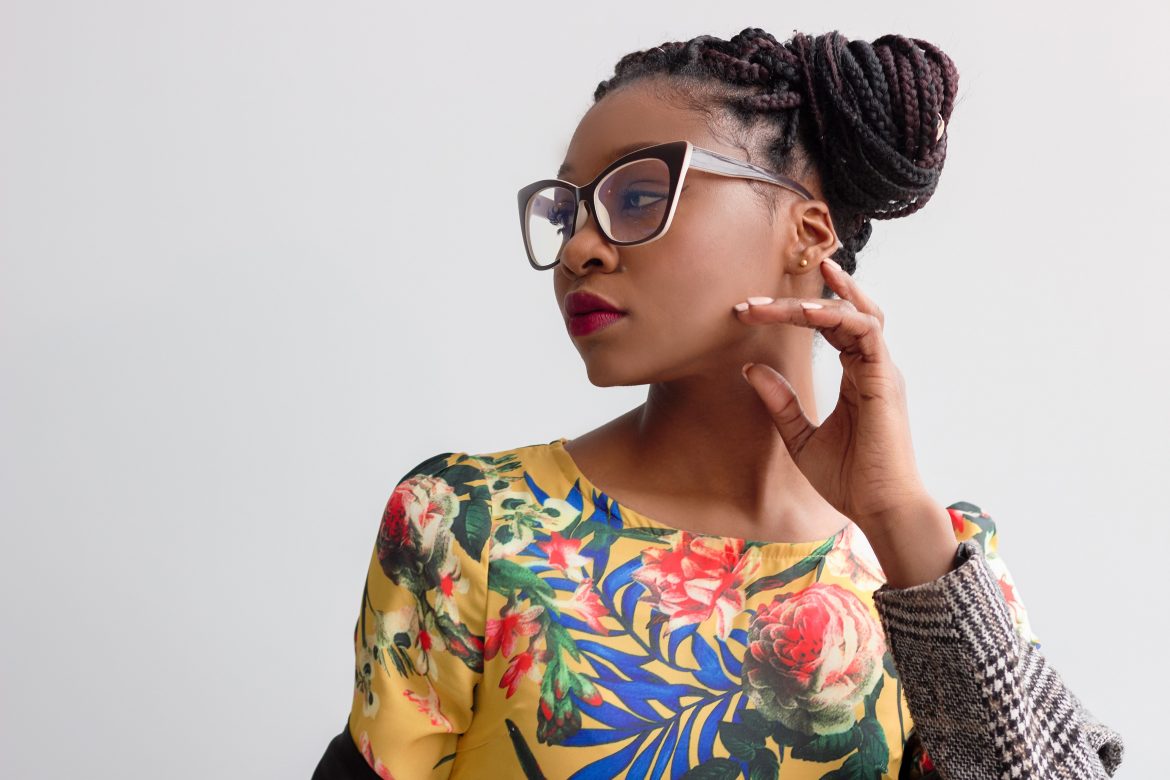
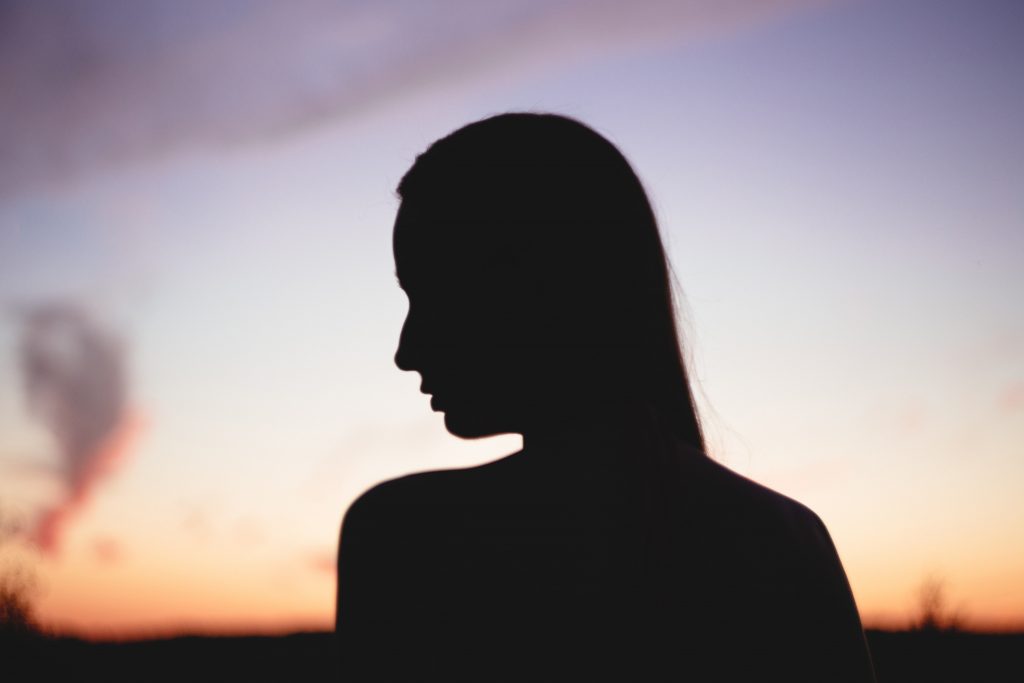
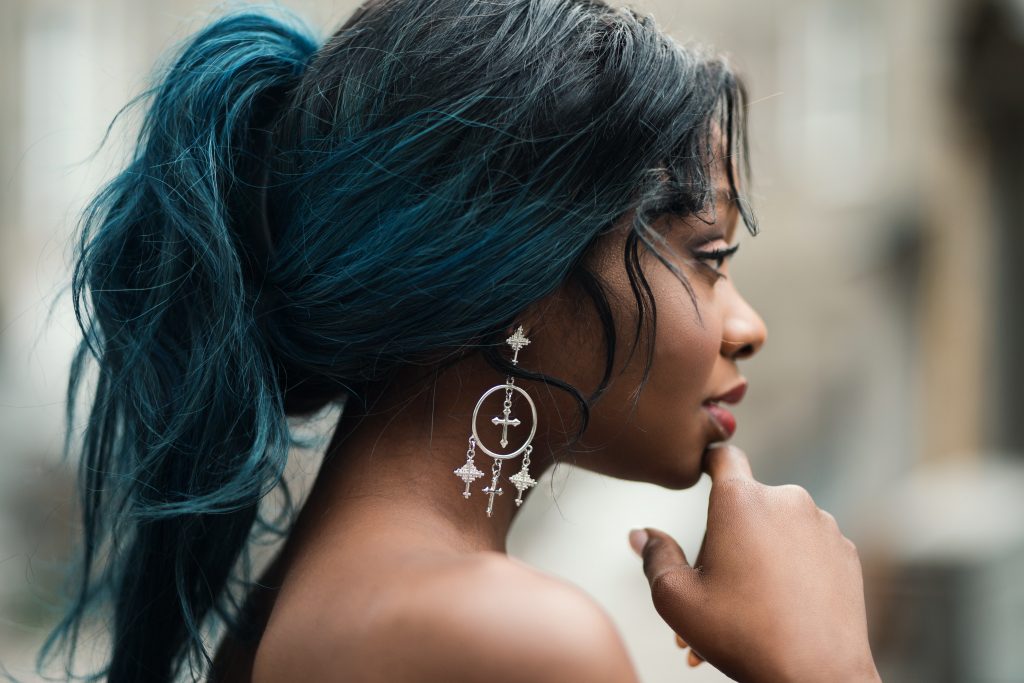
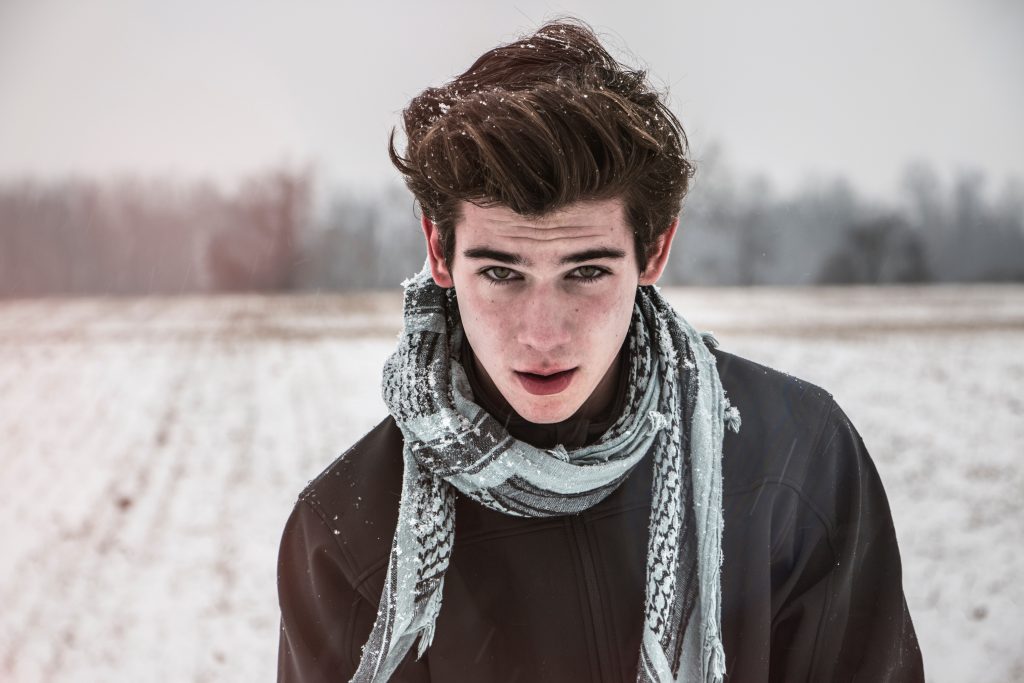
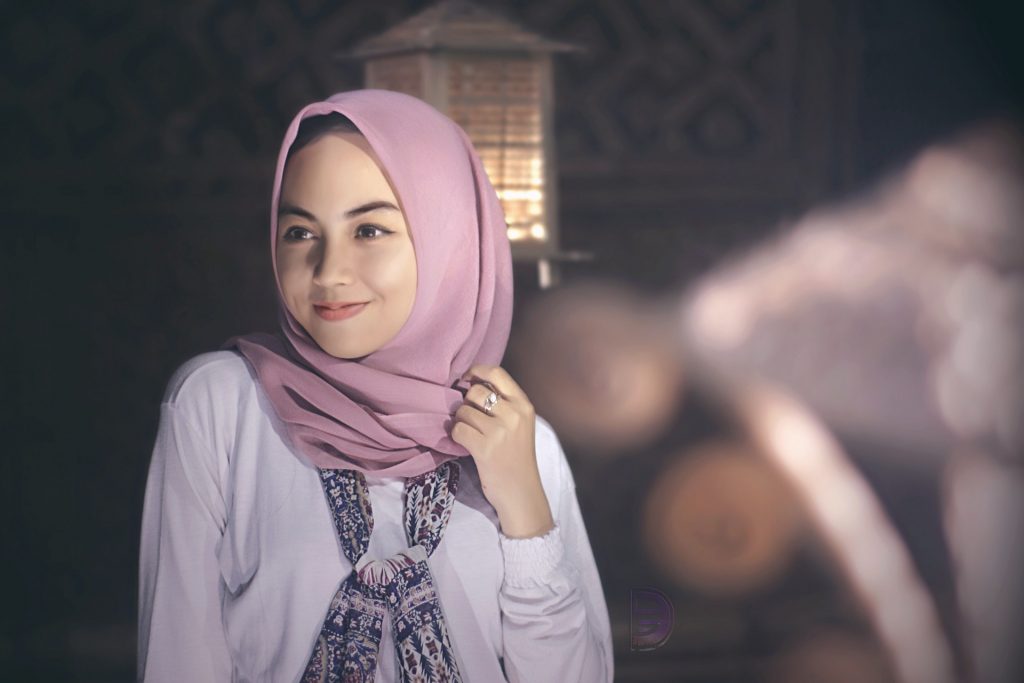
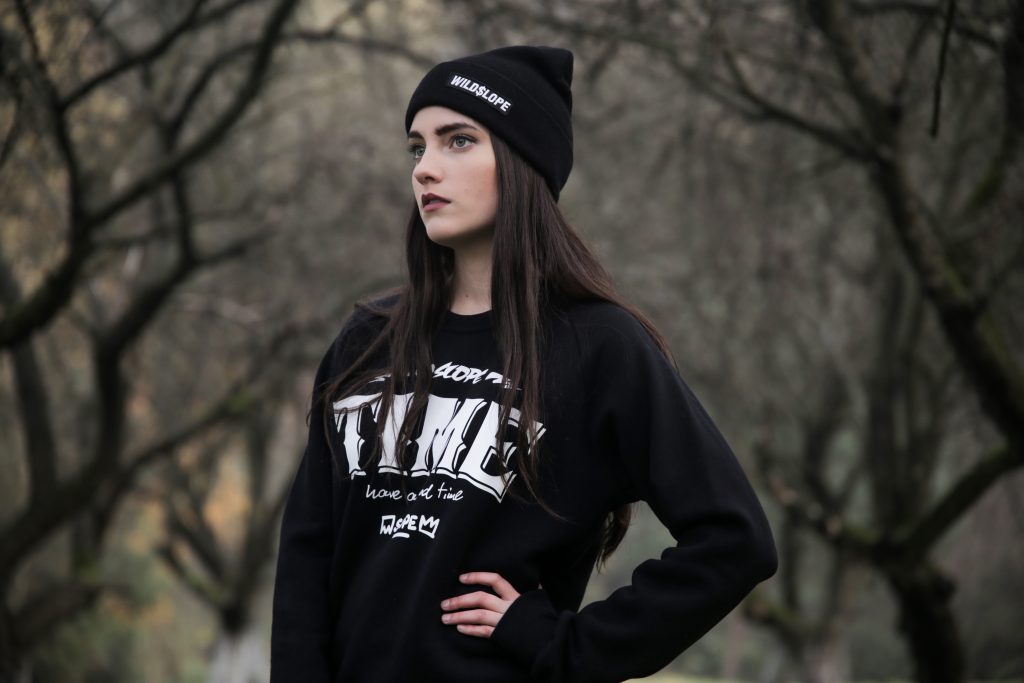
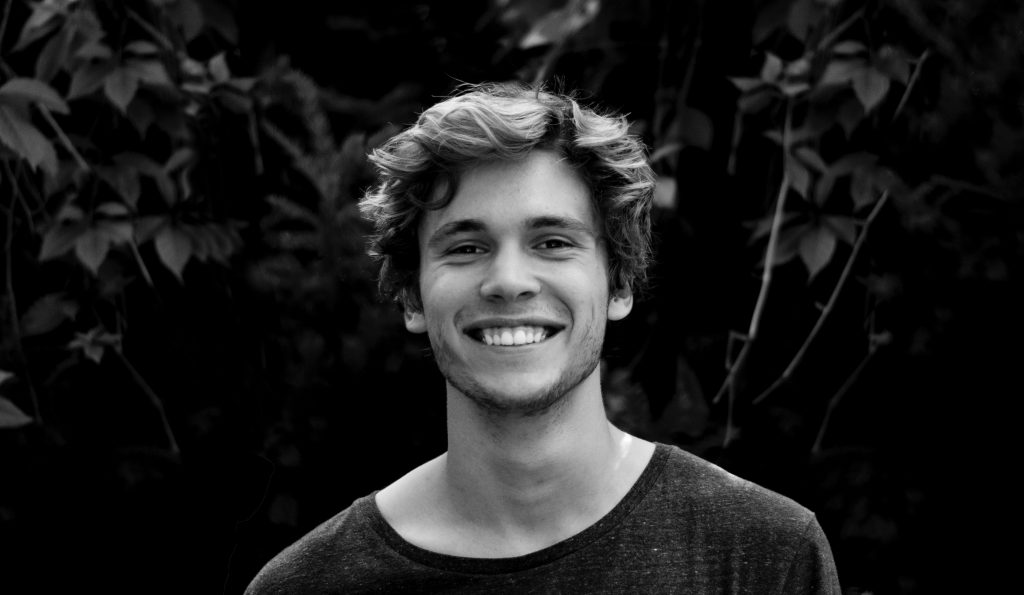
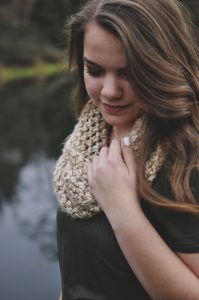
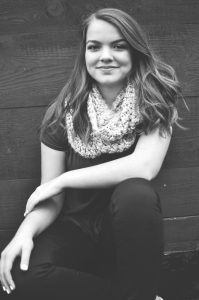
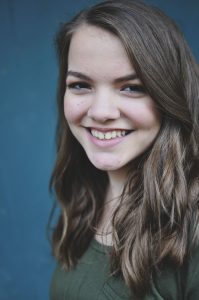
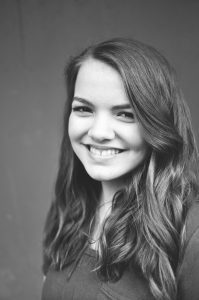
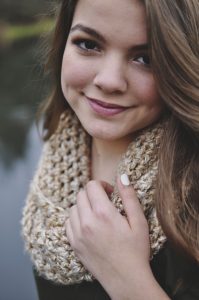
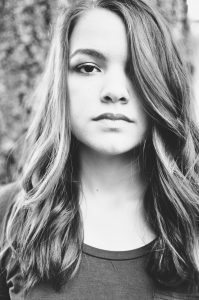
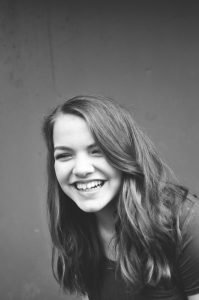
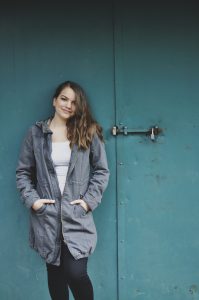
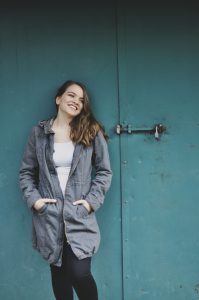
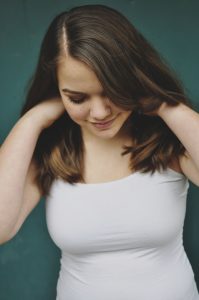
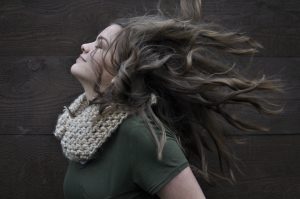
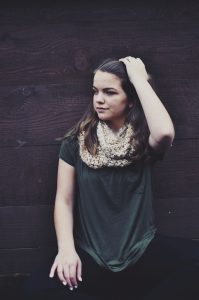
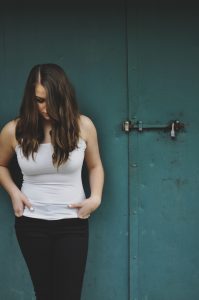
Portrait Orientation

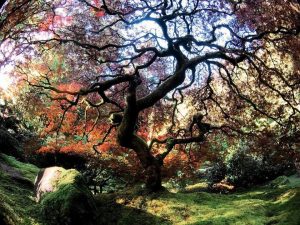
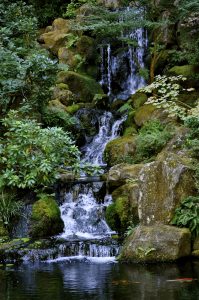
Portrait is appropriate for, of course, portraits. This is because it tends to be more flattering and elongates the human form or face- while a Landscape format can make it appear more “squatty”. You may also choose Portrait orientation for anything that is tall- even in landscapes and nature: such as a tall tree, tall heron, or a extensive waterfall.

Portraits have a different feel because they can ask the viewer to move from being an observer to actually stepping into the image. It is shaped like a doorway and can feel more inviting in some cases.

This frame can also lead to a dynamism that extends the basic elements and principles of a photograph.

The Square

The square is a more common orientation now- especially thanks to Instagram. While found in a classic Rolleiflex and later the Hasselblad  and circulating with photographer since around 1930’s. This format prospered until the 80’s and the rise of the 35mm camera that found its way into everyone’s homes. Then it was rectangles all the time- portrait or landscape format.

The square stayed beating with cameras like the Polaroid and Diana as a “retro” or “Artistic” look. It really had it’s comeback thanks to Instagram and is now a built in feature in many DSLR’s and Mirrorless cameras made today.

While some claim the square is rigid and confining- its perfect alignment allows for balanced and focused compositions. It asks for an entirely different approach to composition. The rule of thirds can still apply, but may seem a bit cramped.  It is often considered a style or trademark for photographers and is worth trying out if you have not already.

If you are fascinated by the Sqaure and it’s psychology you should check out this article by John Suler on the Image and the Psyche.

I have a series of small square black and white images called “A Study” that focuses on shadow, shape, texture and most importantly rhythm.It seems that the square likes to march together.  To see these go here.

A Exercise in Format

Beyond these three main choices- you have panorama and even the ratio of the rectangle itself. These can often be changed in your camera’s settings or in your phone using the swipe panel. As an exercise try to shoot the same location using all three of these formats.

What did you notice? Did one work better for the close ups?

What format do you gravitate towards? Tell me in the comments below.  


0 Facebook Twitter Google + Pinterest

Writing about art can daunting. After all, aren’t we creating work to communicate in a visual way? Finding the right words to describe art work is like looking for the wind sometimes. Ever changing and invisible. However, the wind has some major impacts- we can see its shifts in other ways. This is how we have to look at examining our own work- the subtleties.

Thankfully, I had 5 years in art school that taught me writing about art was not only a challenge but also essential. Compelling work will ask for more- including those magic words that describe your work.

What is perhaps even more of a challenge for some of you will be narrowing down words to describe your work. I know this is the case for me, since I am inspired by so many things- see the image of my ‘Inspiration Web’ below. All of these pieces  are true inspiration, but not all of them are evident in my work.

The Exercise

Step 1: Gather and Observe

You need to be looking at something in order to decide the words for your work. So, gather some of your favorite pieces or alternatively look at you Instagram or Website Gallery. Spend at least 10 minutes if not more scrolling through your work.

Now grab out a piece of paper or your journal to start some brainstorms.

Step 2: Decide what Elements of Art or Principles of Design  are most prevalent

Elements of Art are the foundation building blocks for composition and how we choose to arrange elements in the frame. It is important to recognize that these are conscious choices and not random (even if some artists prefer to think this way). You brain is constantly processing visual information and making choices about it.

Elements:

  • Line
  • Color
  • Texture
  • Shape
  • Value/Contrast
  • Form
  • Space

Principles of Design are the general ideas about HOW you arrange the elements. These are often intertwined with your theme.

  • Balance
  • Unity
  • Variety
  • Emphasis
  • Movement
  • Pattern/Repetition
  • Proportion/ Scale
  • Rhythm

After looking at both of the lists- narrow down the elements or principles most evident in your work. You list should include about 5, but no more than 8. Keep it precise.

Step 3: Consider Moods and Themes

Mood is created by one of two things: lighting or subject. Cliche mood images with light are things like a sunrise or sunset. However, lighting such as fog or bright harsh light can create different moods. Subject created mood depends on the viewers relationship to it. For example, a puppy can bring a joyful mood while a lone park bench can bring a solitary mood.

Mood is the viewers feeling to your work. Tone is your own (the photographer’s) attitude regarding the subject. So try to keep these separate and examine your work from he viewers perspectives.

To get you started here are a few Mood Words: (Some of they may apply, but don’t hesitate to Google a mood word list)

  • Abandoment
  • Vulnerable
  • Intimate
  • Harsh/Removed
  • Energetic
  • Judgmental
  • Observant/Voyeuristic
  • Proud
  • Provocative
  • Respected
  • Worthy

Themes may also come forward during this brainstorm. Themes are general categories for us to store information under. A way to describe our work that is a bit more removed from the feeling. This may be more accessible for you work than a mood.

Themes can also be closely tied to genre’s of art or art history as shown in the examples below.

Here is a list of themes to give you some examples:

  • Pop Art
  • Motown
  • Found Objects
  • Nature
  • Questions
  • Faux
  • Photo-journalistic
  • Garish
  • Vivid
  • Artificial
Step 4: Time to Journal

One of my favorite books that changed my perspective on photography and art in general is called “Photographs Not Taken” by Will Steacy. It is a book about Photography that has no photographs – only the words of photographers describing a photo they did not take.

This journal prompt has been one of the best parts of this exercise for me and insightful for what I find valuable or beautiful about images.

Get out your pencil and do as all of these photographers did; answer this question.

Describe a photograph you did not take, but still vividly remember today? If you can, consider what stopped you from taking that image?

Step 5: Review what others have to say

Lastly, take an opportunity to read what others have to say about their work. Choose photographers that you admire or follow. What words do they use?

Careful not to fall into the trap of using their words- but instead see how they line up with the work and how they have chosen to approach the pieces. To read interviews with 5 photographers who have inspired me with their work and how they describe it go here.

Final Three Words:

The idea is to be succinct and have words you can utilize in a variety of ways (see below). After all of your note taking stop and put it away for two days. Come back and scan over your notes. Circle the first three words that still pop out at you. While this may be it for some of you- others might be dissatisfied with the three words. Perhaps this means that your work needs to grow in a new direction OR go through again a few days later and see what else pops out.

Write down the three words that most describe your work.

My three words are: Textured, Reductionist, and Natural/Organic.

I am also open to these words changing and evolving overtime as I do. At one time I did everything from documentary to the narrative and now I tend to remove elements in order to create a minimal, piece. (Reductionist).

Where you will use these words:

Hopefully you came up with three words to describe your own work or style in art. After this, you have the opportunity to use them in a variety of ways. Artists have to do some self advocating and often are expected to explain their work at some time or another. For example you could use these words as the building blocks for any of the following:

  • Artist’s Statement
  • Artist Bio
  • Resume
  • Cover Letter
  • Applications or Entries to Shows/Competitions
  • Talking to your parents
  • Talking to your friends or generally anyone who has not been asked to consider art
  • As journal prompts
  • For inspiration when you feel like your work has lost touch
  • On your Instagram or Twitter Bio
  • You can create a poll on Facebook or Twitter for your followers to see which of the words they feel like describes your work more

Self Reflection can be one of the most powerful tools for continuing to create. This is the process after all. This can also be one of your powerful tools in self promotion and growth- connection and understanding between you an the viewer. Photography and art is always a two way street and the viewer is important. Let these words guide them.

What are your three words? Please share them below in the comments! 

Have you ever had a time when you needed to talk about your work and were at a loss for words? I would love to hear these stories as well. 

3 Facebook Twitter Google + Pinterest

After the popularity of “Posing Tips: Make your Subject Feel (& Look) like a Model” I decided to share some posing secrets for portraits that are not as obvious. There are a few mirco-movements that make a major impact when posing for portraits.

As always, make your subject comfortable and feel at ease. The first 10 shots or so in a session I rarely let them see. They are just a way for us to find a rhythm and connect with this strange object I keep pointing in their face. After those initial shots and established relationship, then you can start to employ some of these secrets for posing in portraits.

Note: This is the very first post where the images were taken from a free stock photo website. This is due to the fact that I do not have permission from all my subjects to share and blog about our sessions. However, all tips are mine and ones I use often. 

Secret #1 

Place the tongue to the roof of the mouth.

What it does: Creates a muscle tension/flex and lifts the chin skin up.

Area of Concern Addressed:  Double chin/lack of a defined jaw

Use When: Shooting profile views or 3/4 views

Secret #2

Part the Lips

What it does: Creates a sultry look or elongates the face

Area of Concern Addressed: None- only an added effect. Can be useful for those with especially round faces when paired with a upper angle.

Use When: Shooting close ups or during boudoir sessions

Secret #3

Angle the face

What it does: Creates structure and gives interest. Defines the jaw and intensifies the eyes. Universally flattering.

Area of Concern Addressed: Lazy eyes – this is the best trick for an individual who may have a lazy eye which is especially prominent in photos.  Angle the face and have them look in the direction of the lazy eye if possible. Shooting them straight on will not be flattering in most cases.

Use When: Shooting portraits or head shots

Secret #4

Hands on the waist (instead of the hips)

What it does: Creates a hourglass figure and gives the illusion of a smaller frame. Lifts the arms off the torso.

Area of Concern Addressed: Extra flowy clothes or a subject who has requested to look thinner (I get asked for this all the time).

Use When: Anytime you are tempted to say “Put your hand on your hips” . This will lift the arm from the torso which is good and flattering for how the camera picks up this part of the image, but it is not good for the size of the frame. Hands on the inner waist will cinch in the frame. This is also very helpful if your subject wore super flowy clothes since these have a tendency to drown your the form.

Secret #4

Lift the Collar Bone and Extend the Neck

What it does: Creates the illusion of a “thinner” look.

Area of Concern Addressed: None- only a effect (being thinner is desired by clients, but not something I think should ever be a “area of concern”)

Use When: Laughing photos or intense and serious photos (both will be intensified with this pose)

Secret #5

Cross your Ankles

What it does: Creates a point at the end of the frame and tilts the body slightly. Makes you appear taller.

Area of Concern: When two subjects are drastically different heights – have one subject cross ankles with one foot in front to appear taller.

Use When: Photographing couples or when using a wide lens (as those tend to make people look shorter and squatty)


That is all for now! Give it a shot and tell me how it goes. Or better yet, if you have some of your own secrets for posing, comment below.  Thank you all!

0 Facebook Twitter Google + Pinterest

Posing tips. It is not natural to everyone and your job is to make your subject feel good and look good. Even if you are not shooting professionally, you will inevitably be asked to take someones photo because you are “the photographer of the group.”. Here are my top posing tips that will keep the photos polished and have your subjects feeling pretty fantastic about themselves.

For these tips I am using the photos from a recent photo shoot with my sister. A performer and musician she needed some head shots and senior portraits. This was a mix of the traditional and fun.

1. Place the Hands Intentionally

Bring the hands towards the face or place them in the hair. Whatever you do, do not let them hang there. Give specific instructions for where they go. My lines for hands in the past have been the following:

  • Pretend like you are playing with your earing
  • Run your hands through your hair
  • Feel the texture of _________ (in this case the scarf)
  • Hands in your pockets- thumbs out like you are “Chillin”
  • Gently touch your fingers to your lips
  • Cross your arms (more masculine look)
  • Lay their hands on a rail (make sure there is not a intense grip)
  • Hands on waist (not hips)

Here are some NEVER’s for hand placement:

  • Over the crotch
  • Typically any “praying hands” look not so great
  • Hanging at the sides
  • Fists (unless they are a MMA Fighter)
  • “Just do what feels natural”

2. It is all about the Shoulders

I rarely will shoot the shoulder straight on- even when it is a man. A 3/4 approach is always more flattering.

Here are some phrases I used to position for the shoulders in addition to some taps and gentle movements:

  • Drop your shoulder facing me
  • Look towards your shoulder (now up)
  • Take a deep breath (lift shoulders with them) and drop
  • Shoulders back
  • Lift your hands to the sky and have them bring back behind them (BEFORE shooting)- this is good for the especially humpback prone

3. To Smile or Not Smile

Have your subject constantly switch between smiling with teeth, being serious and no teeth. Don’t forget to capture the candid in between moments too.

For a sultry look, have your subject breathe out of the mouth. A slight part also tends to elongate the face.

I typically carry some new chapstick or Vaseline with me in the case of dry lips since that tends to be a pain to touch up and remove from photos. Also – ALWAYS tell your client or subject when something is in their teeth. You must.

4. Catch the Candid

Catch those in between moments. Posing can be exhausting and sometime subjects get in their heads or build anxiety.

Take breaks, move locations or change your set. Crack some jokes and have a chat. They will let loose and you can get some genuine smiles. Who doesn’t love that?

Candid are my favorite, but only occasionally are my subjects favorite. So do not feel disheartened if they prefer the posed and rehearsed shots.


5. Where do I Look?

Eyes. The window to the soul right? Let’s make sure you capture them in a multitude of ways. Ask you subject to look in different directions. Do not get the whites of the eyes- pay attention to where the Iris is and where your camera is pointing.

Give direction. Subject ask often “Do I look at you?” Tell them before they even ask.

Phrases I use for direction:

  • Look just over my shoulder (specify right or left)
  • Look down at your shoe with your eyes (keep their head the same)
  • Look down and on the count of three look up right into the camera (Have your camera ready to snap)
  • Blink, Blink, Blink and Open
  • Smile with your eyes (They always smile with everything and its cute)
  • Pose them, and keep posing them.

6. Play with the Hair

Move it over one shoulder, all behind. Use part of it to cover their face.

Have them play with their own hair. If you want a really dramatic look start asking them to flip and then run it through Photoshop like I did for fun.

Even if you are shooting an individual with shorter hair having the subject interact with their hair can be fun and change up the shoot.

7. Move Around and Pay Attention

Move between close ups and far away. Try not to have them doing the same thing for long periods of time.

Make sure you keep the background simple. Pay attention that it is not cutting off your subject or distracting from them. Also, just because you blurred the background does not mean it is no longer distracting, the colors can be too.

For more posing tips check out How to Take a Better Portrait with your Phone.


0 Facebook Twitter Google + Pinterest

I thought it was high time to post another photo project. This is a favorite of mine and has a primary focus on training your eye. Making the mundane magical is exactly what artists do regularly. This project works on honing that skill.

First you will need to select a mundane object. Mundane simply means everyday or ordinary. Nothing special or particularly defining of this object. I will also say that the smaller the object, the more flexibility you have with your photographs.

Here are some ideas for mundane objects:

  • Army Man/ Legos
  • Banana/ Apple
  • Fork/Spoon
  • Soap/ Nail Clippers
  • Cup of tea or coffee
  • Most random item you carry with you in your backpack or purse

Remember simple is a good place to start and will offer you many options.

Challenge:

Choose a mundane object and focus at least 30-40 images on this one object. You must make your object look like the following:

  • Light
  • Heavy
  • Beautiful
  • Ugly
  • Tall
  • Micro-Small
  • Soft
  • Hard

Remember these words can have different interpretations for different people. That is the fun part! 

After you select your object, consider setting up a home studio of sorts. You will need:

  • Light- any type of house lamp or position you studio by the window
  • A Surface to Shoot on- Choose something with texture or pattern like a stump or bubble wrap
  • Background- Find a simple plain background- this could be a sheet, metal, foam core etc
  • Reflector – Grab a piece of white foam core or even white paper to pop the light back onto the subject from the window.
  • Objects and Items – Have some plants or other items to highlight your object

Here is my 2 Minute Home Studio when I need to shoot a product or item quickly.

Things to Think About

These are some suggestions to help you get the creative juices flowing.

  • Lighting- How can you use this to create drama and emphasis (maybe backlight it ?)
  • Shadows- the shadow of the object can also make a photo
  • POV – Point of View and angles can make a huge difference in the size of your item
  • Fishing Line- Consider a way to stage your object and have it suspended
  • Composition- Use the Rule of Thirds and make sure to check out the 8 Basic Composition Styles to help you.
  • Destroy it- if you have multiple, manipulate the form and break it apart
  • Get Close Up– Use a macro lens and focus on texture
  • Motion– drop it, throw it, or slowly drag it to capture the motion.

Results:

Spending this much time with one subject will be beneficial. It will be a challenge to force yourself to look at something for a long period of time. Whenever I do this photo project I am always challenged and inspired at the same time. Let me know how it goes! I would love to see your images, so make sure to tag me on Instagram or drop a link below.

0 Facebook Twitter Google + Pinterest

Hello friends! I am always shuffling through creative apps on my phone, but have a found a few keepers too. As a photographer it is important to switch it up and try new things. It should be only natural as we evolved as artists.

In addition to this, as a phone photographer having a system in place to organize creative content is also important. Most of us do not have multiple phone and use our devices for our work and daily lives as well. I have a few favorite habits and apps that help me keep all of this in check and keep my phone functional.

Watch the video below to see what is on my phone at this very moment and how I stay organized.

0 Facebook Twitter Google + Pinterest

Photographic images are containers for information. They tell a story. Or at least they should right? We are conditioned to expect images to talk about something so when they offer very little and are in fact abstract what does this mean? Abstract photography evolved out of frustration, but turned out to be one of the best things I ever investigated.

This talk investigates my path to the abstract photograph and the ideas behind that slur of information. On here and on Instagram I rarely share this portion of my work. I save this for my fine art that resides on my artists website.  However, I am still making this work and felt it could be appropriate to share my Ted Talk here as well.

If you struggle to understand the abstract or are drawn to creating the abstract this talk gives insight into both as well as my journey with photography.

As always, I welcome your ideas and commentary on abstraction and the photograph.

0 Facebook Twitter Google + Pinterest

Hello friends! As you know I am obsessed with the Moment lenses. They will transform your phone photography game. I decided to create a video featuring the Moment Macro Lens. Decide if it is worth it for yourself!

The moment macro lens has a 25mm focal length and diffuser lens hood. Although I do not remove the lens hood often, since you can basically just set the hood on the object and know it will be in focus.

0 Facebook Twitter Google + Pinterest

Hello Fellow Photographers! In photography you have certain controls within the camera that allow for “effects”, mood, and image interest. Today let’s explore the basic camera controls, what they do, and how you can control these on your phone camera.

Often when I capture a interesting shot, I am asked what I used to take the image. As if somehow my gear was doing all of the work. Trust me, you can go buy the newest mirrorless camera on the market or a top of the line DSLR and that does not mean you will be able to make the same capture or quality of capture.

0 Facebook Twitter Google + Pinterest
Newer Posts