Home Inspiration
Category:

Inspiration

https://www.instagram.com/p/BnOrpsXH2rQ/?hl=en&taken-by=bethanymccamish

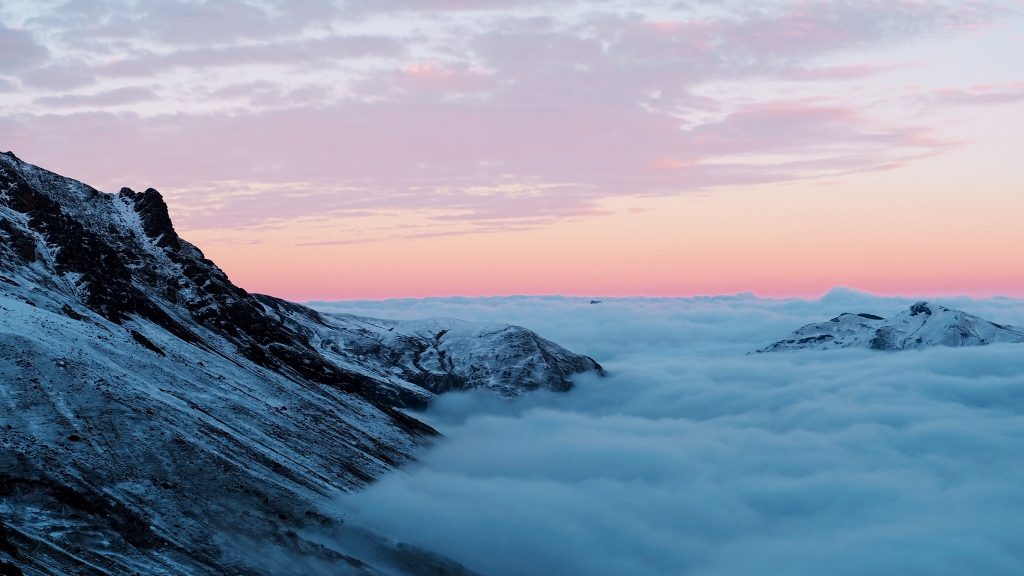
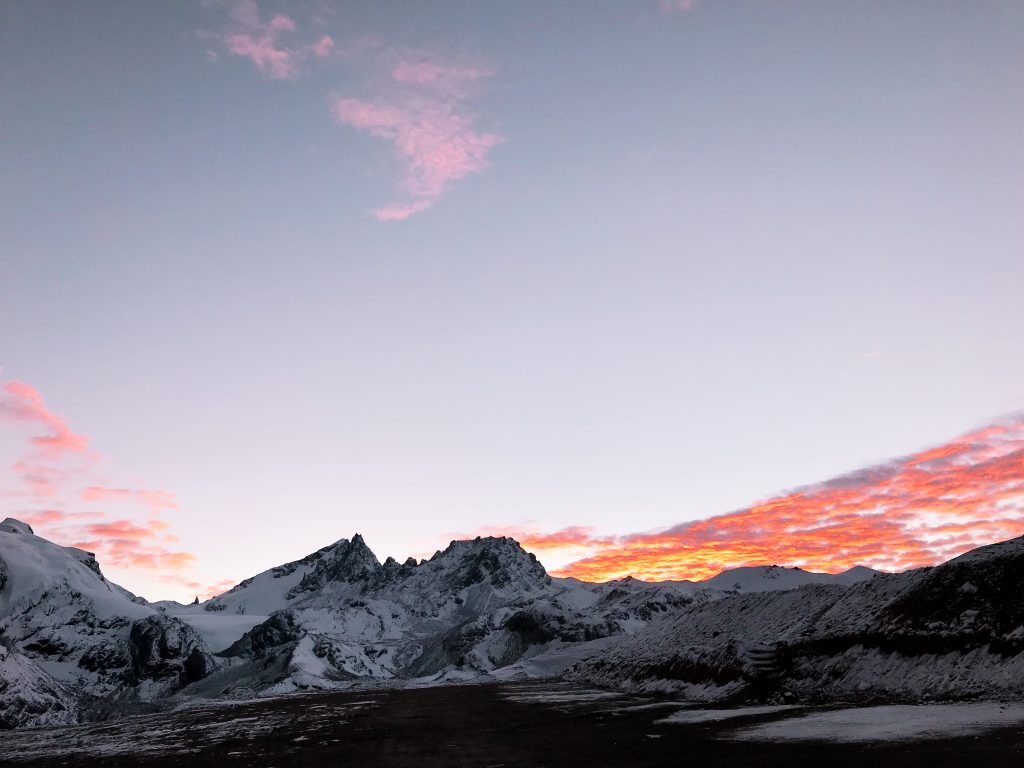
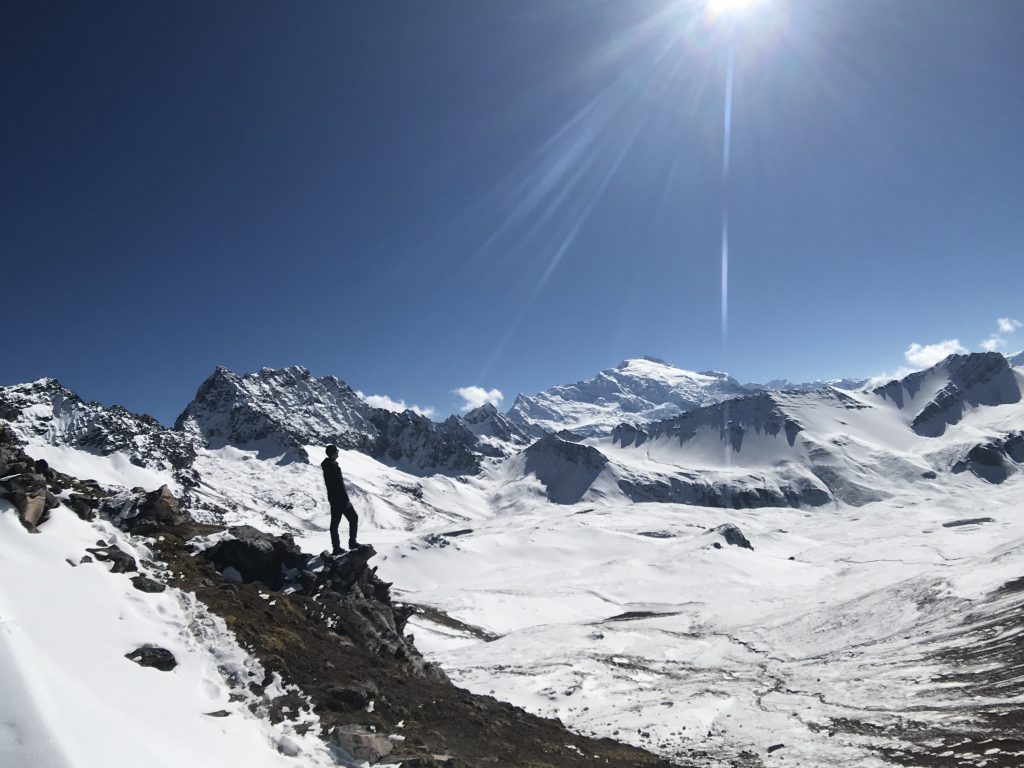
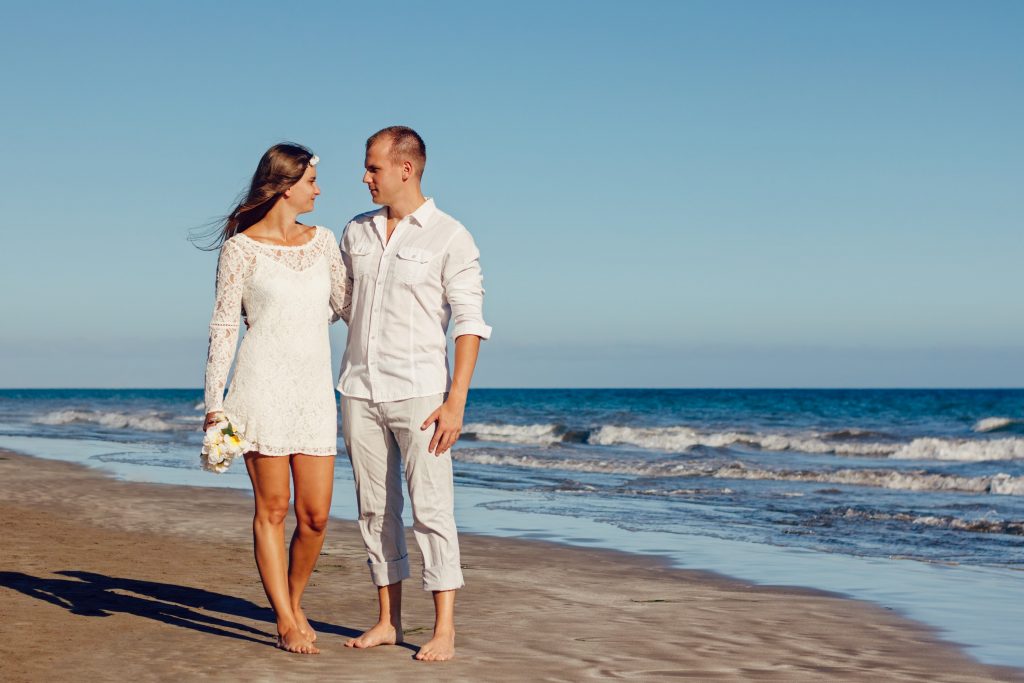
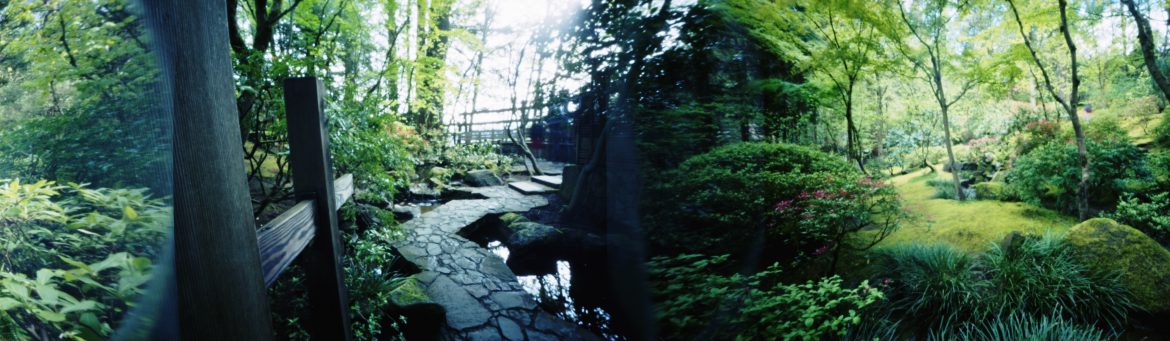
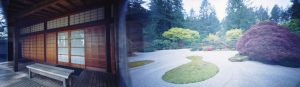
Peru was vibrant and ranged in climate from snow to scorching heat in the Amazon. It was delightful in every aspect – from our hike at Machu Picchu to our the Textiles in Chinchurro I will never forget this trip or the culture.

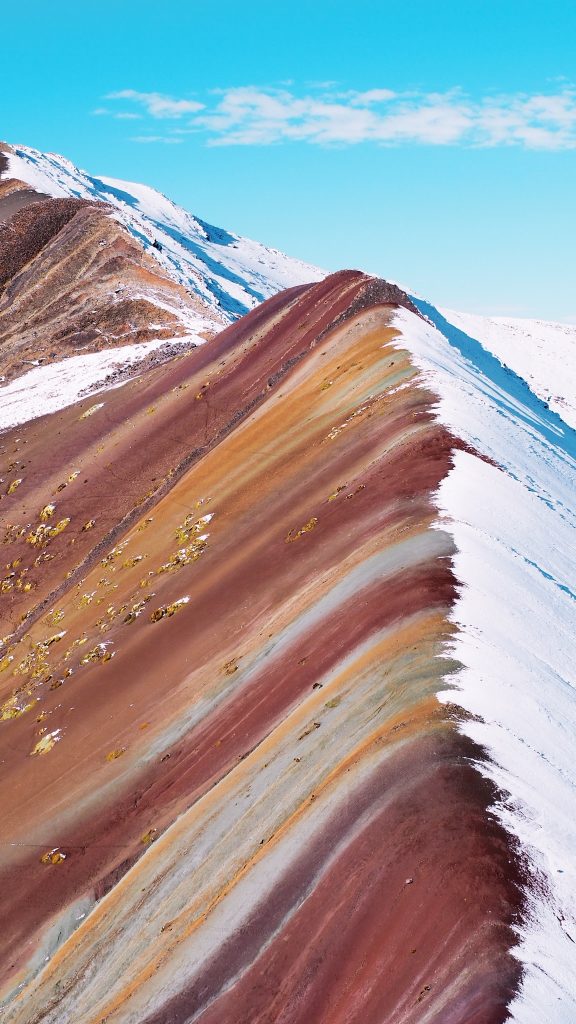
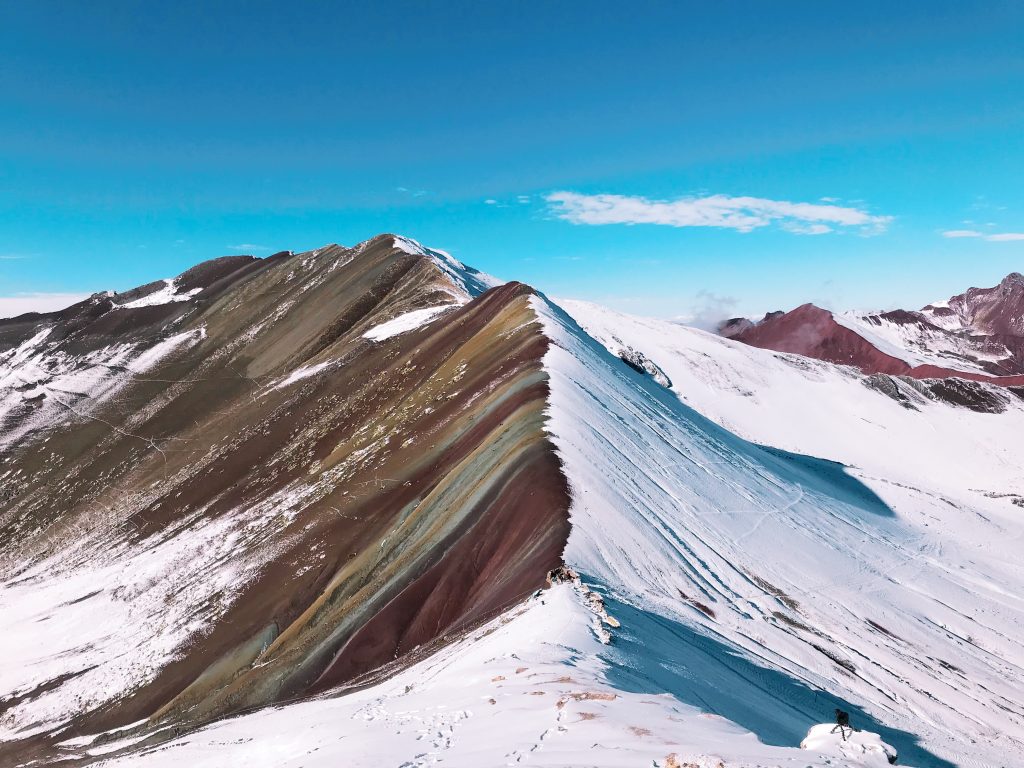
To see images from Rainbow Mountain or the Amazon head on over to the other look books.

Our Trek: 

Day 1:  Fly into Lima. Grab a Taxi. Pray to God we made it to our hotel in Miraflores in one piece. (Driver was  insane! But really they all are.)

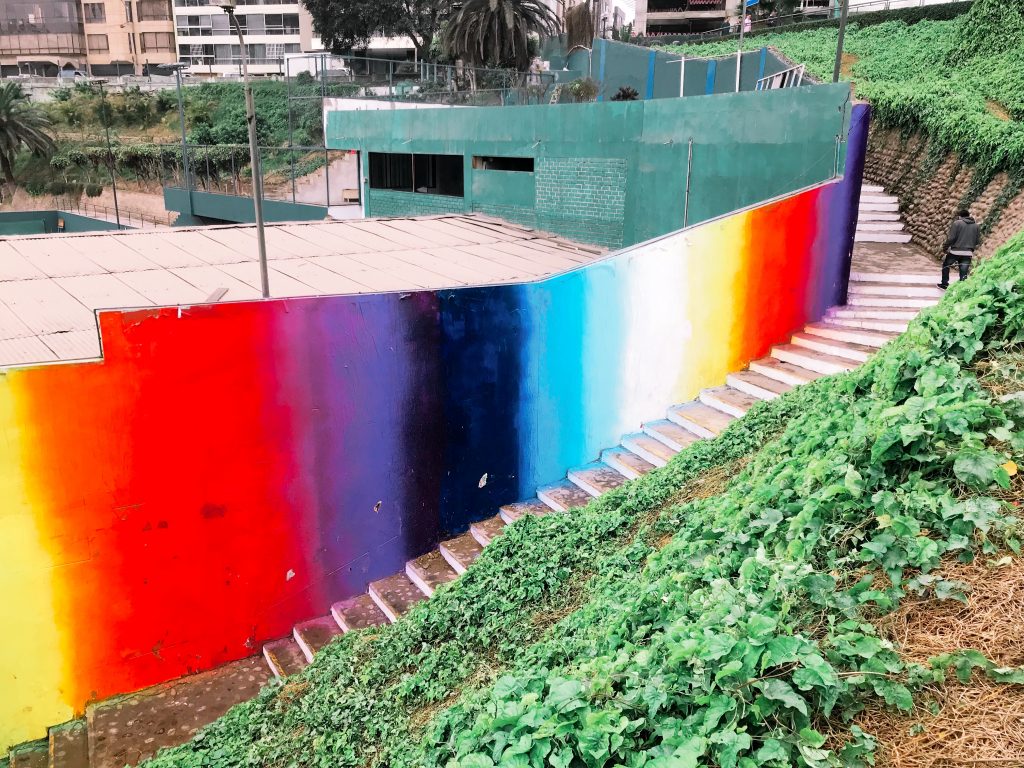
Day 2: In Miraflores – explore the ocean and coastline of Lima. Go to Lacomar and eat above the water at a nice restaurant. Walk to the Lighthouse. Explore the city. Take an evening walk by the waterfront.

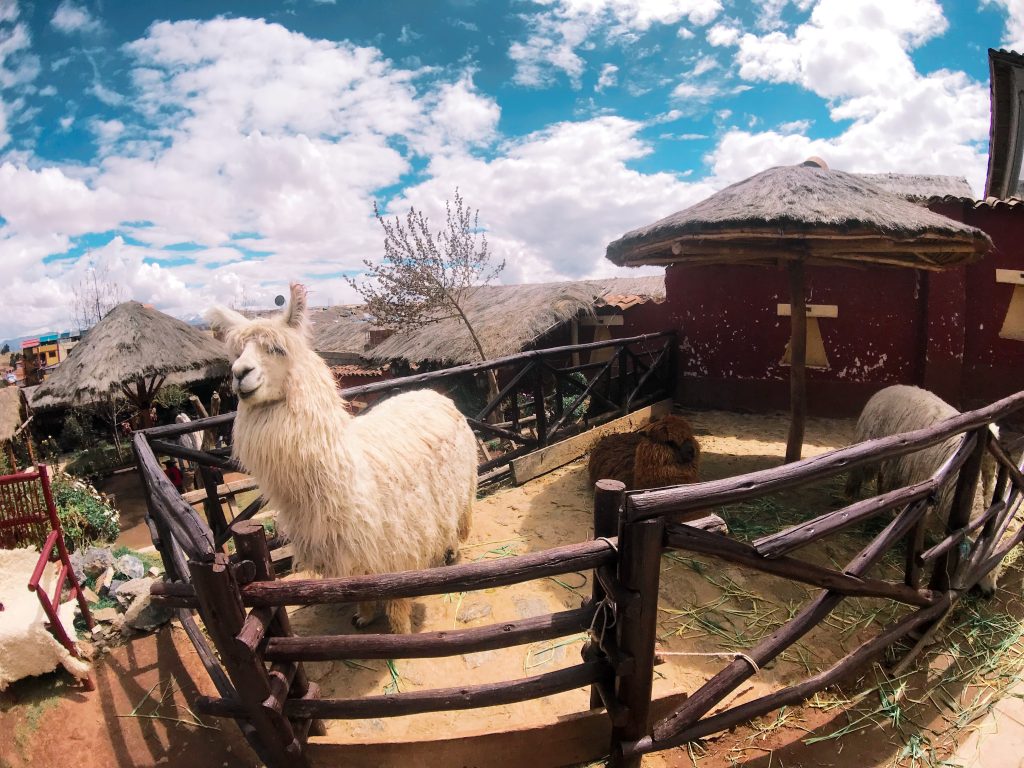
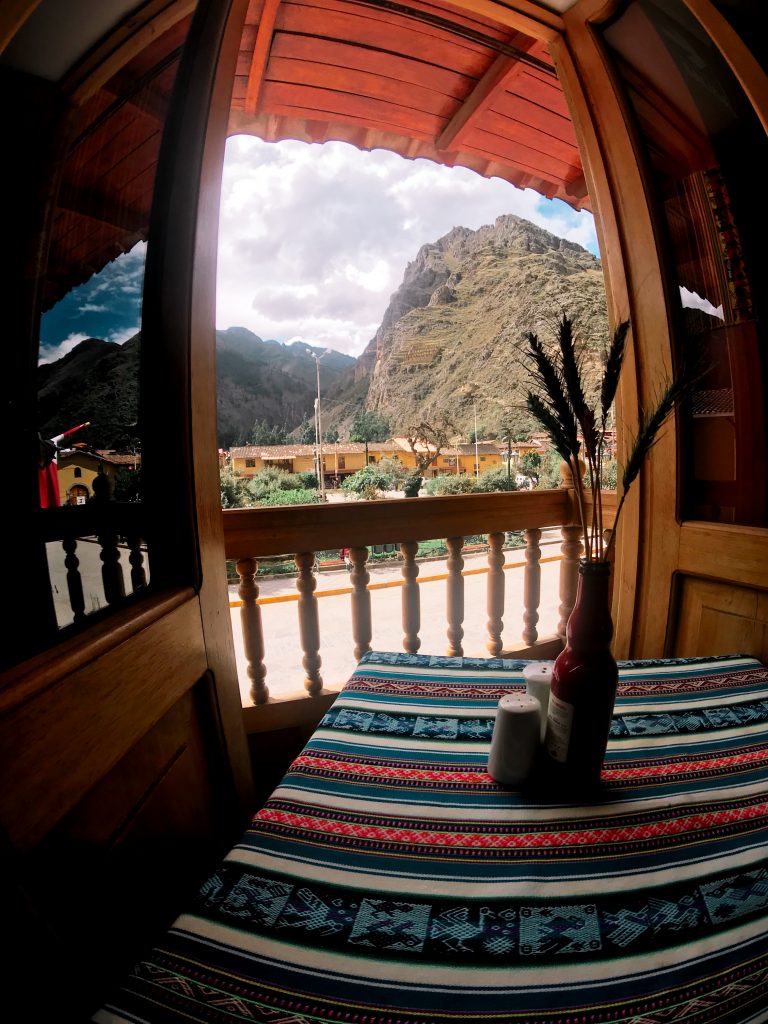
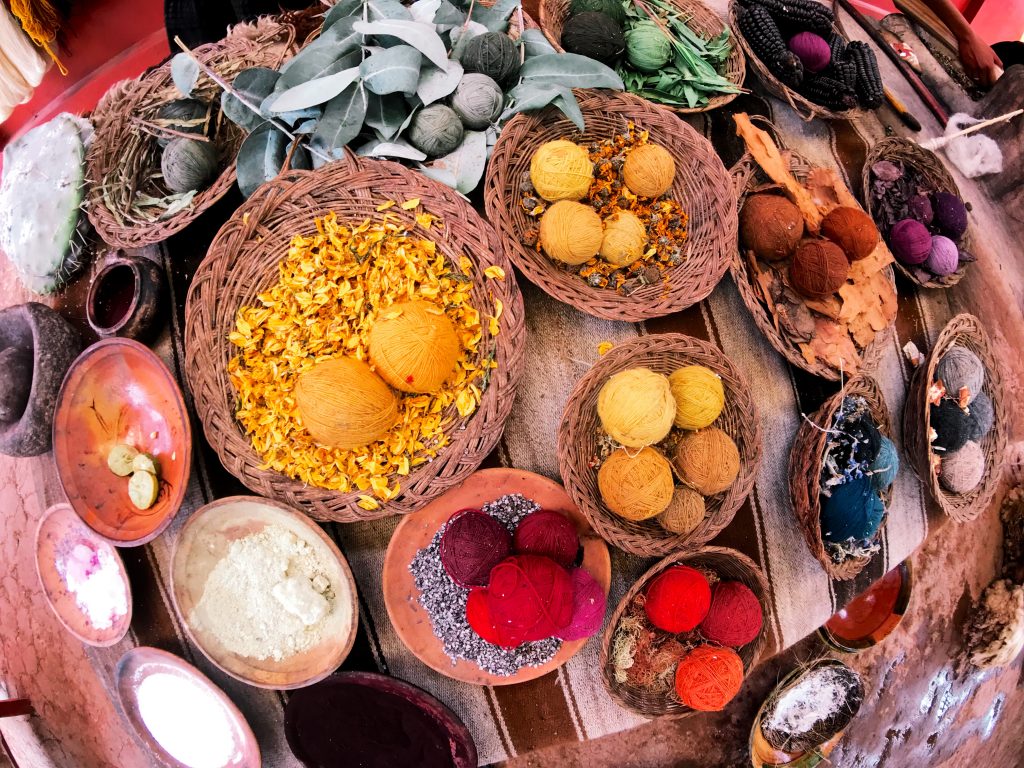
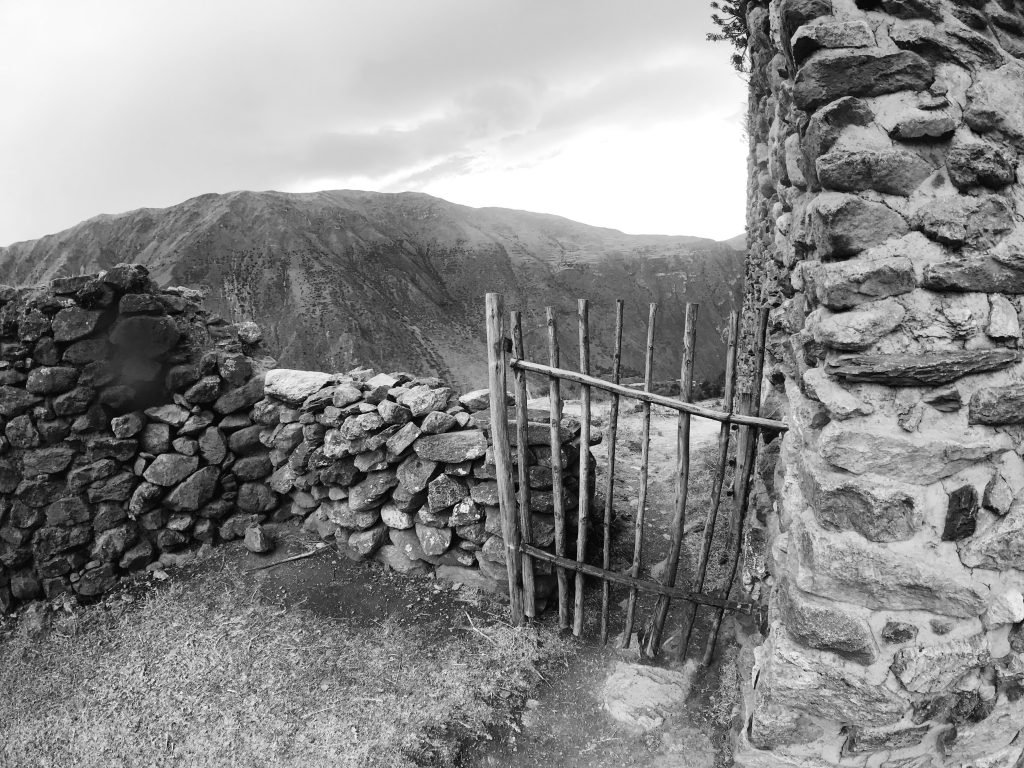
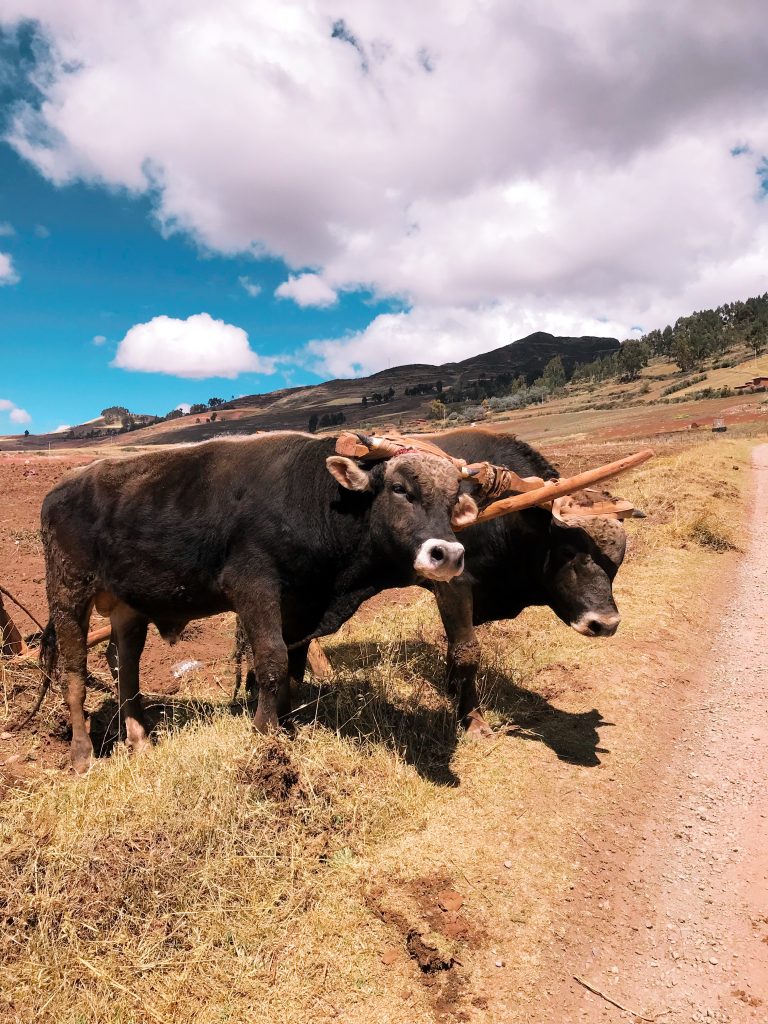
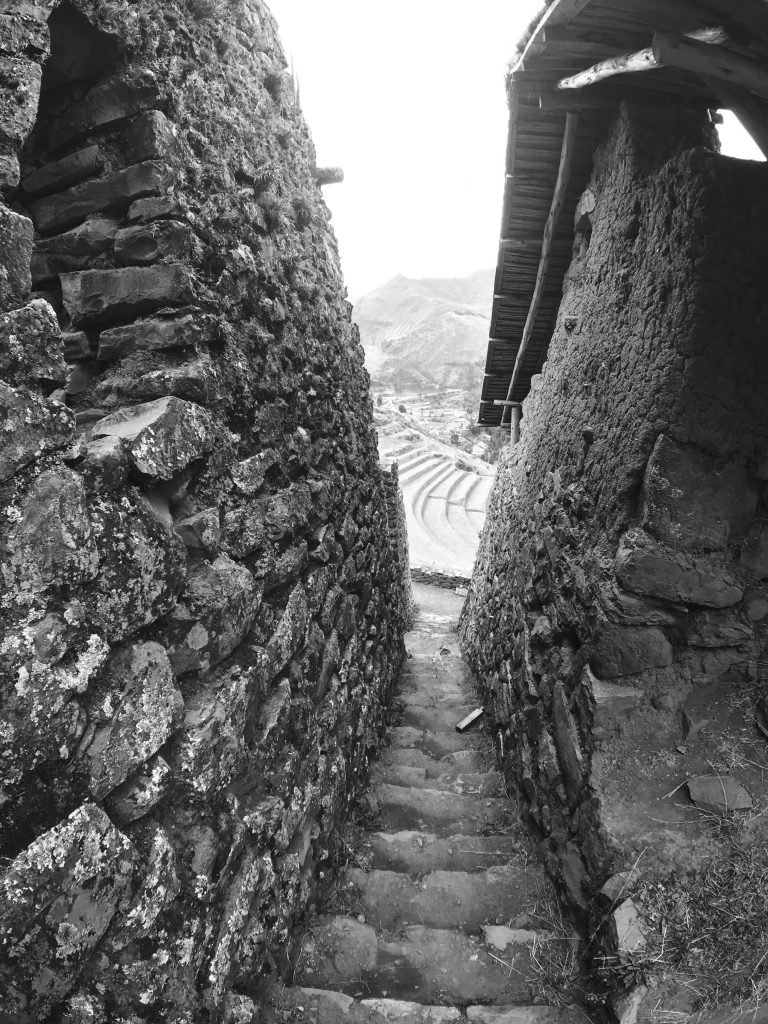
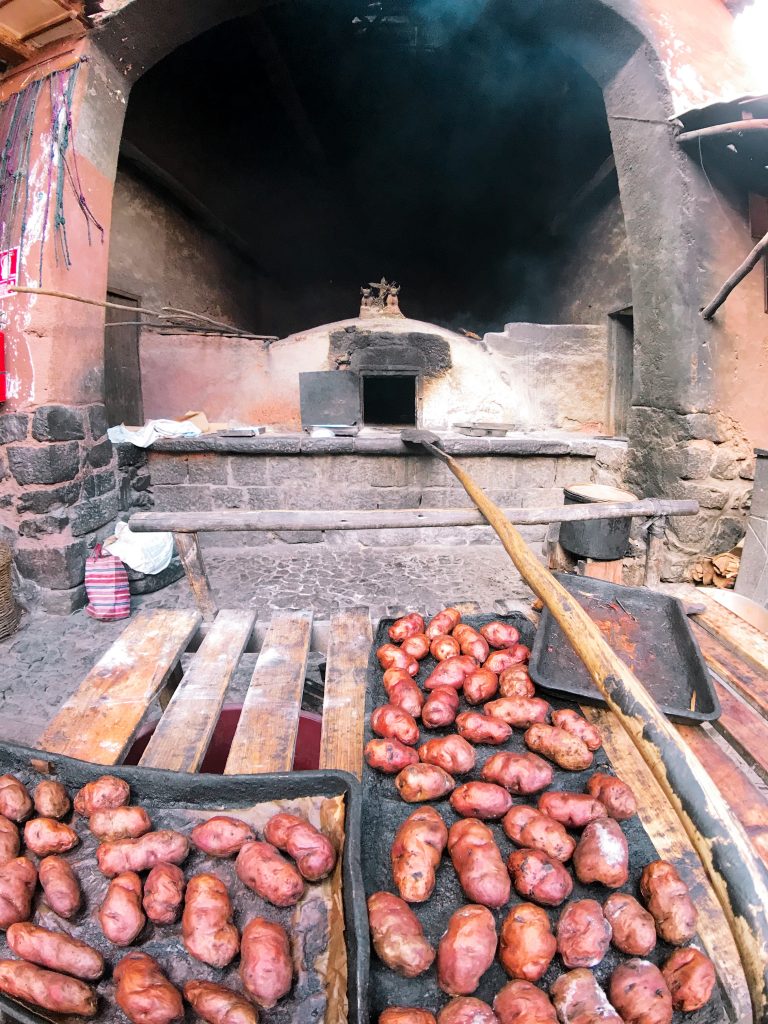
Day 3: Started at 5am as we went back to the Lima Airport and flew to Cusco. Meet our private guide and head to Ollantaytambo. While driving, stop at Chinchurro to see how textiles were made by the locals. Another few hours on the road to Ollantaytambo and check in to our hotel- grab lunch then head over to Pumamarka Ruins. (GORGEOUS and not filled with any tourists) Explore the city and grab dinner.

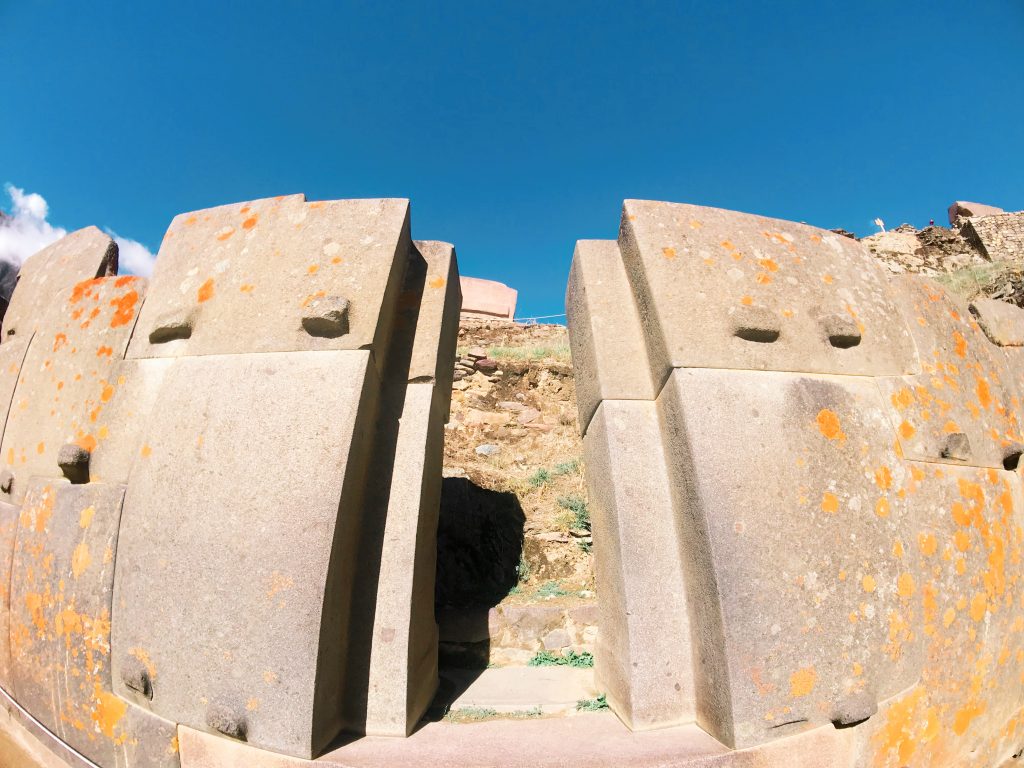
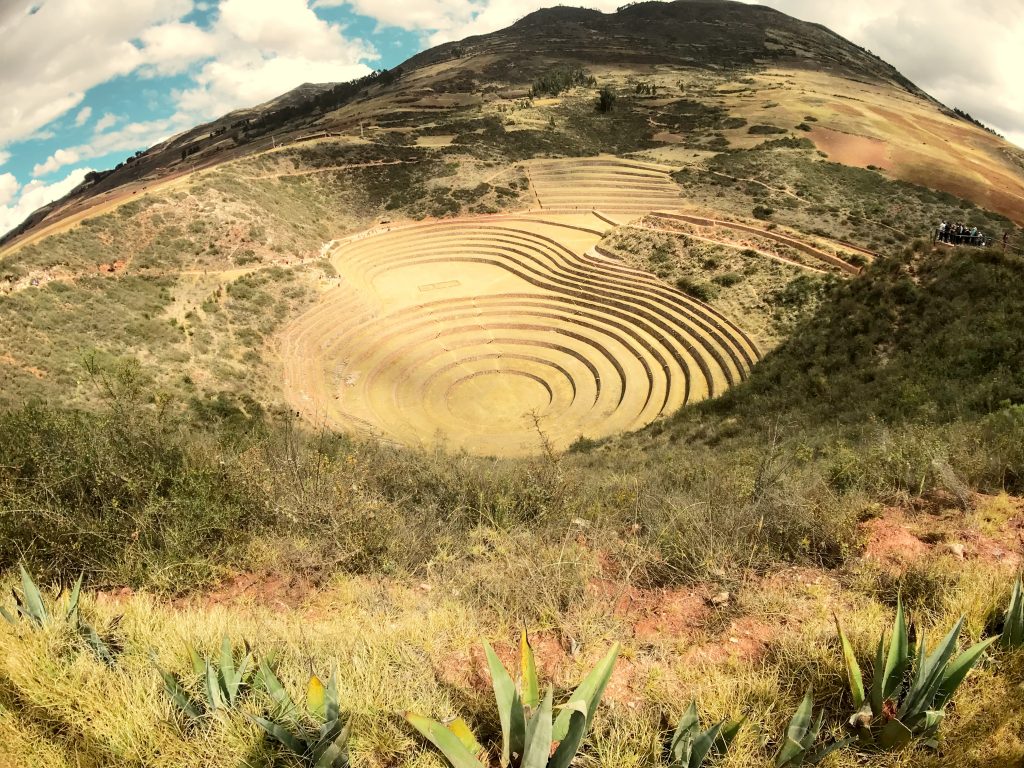
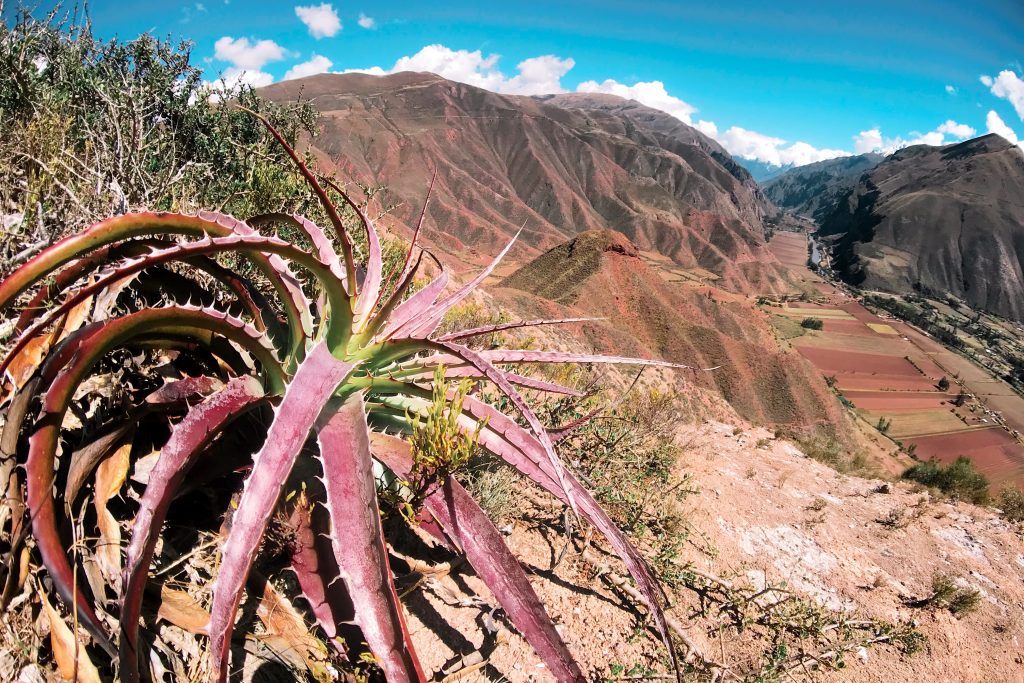
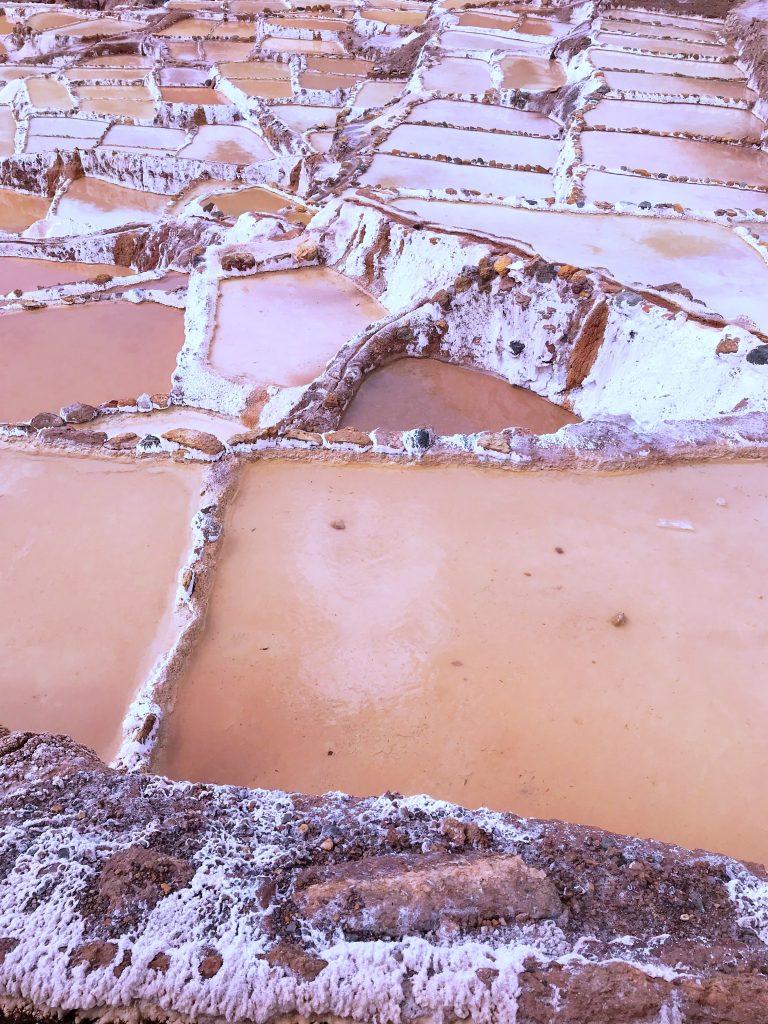
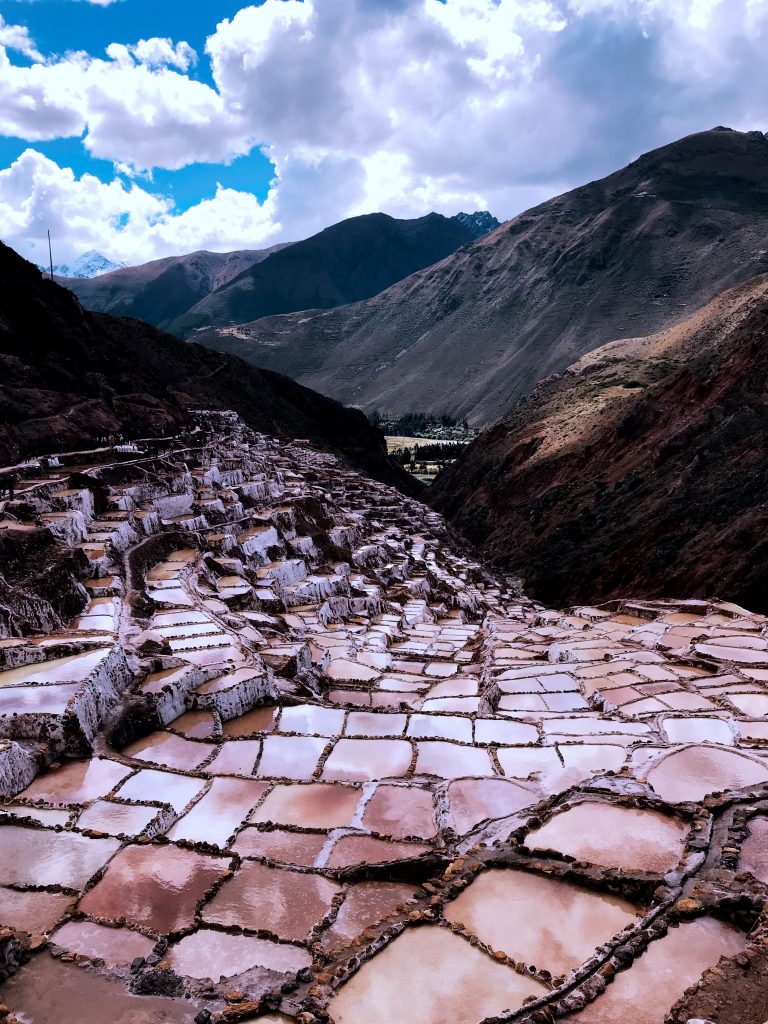
Day 4: Start at 7am. Visit the Incan Fortress in the town that we had been looking at on the hillside by our hotel. Go to the Salt Mines via a back road and see views of all the Sacred Valley. Head to Moray and learn about the Incan Farming tactics. Back to Ollantaytambo for the night.

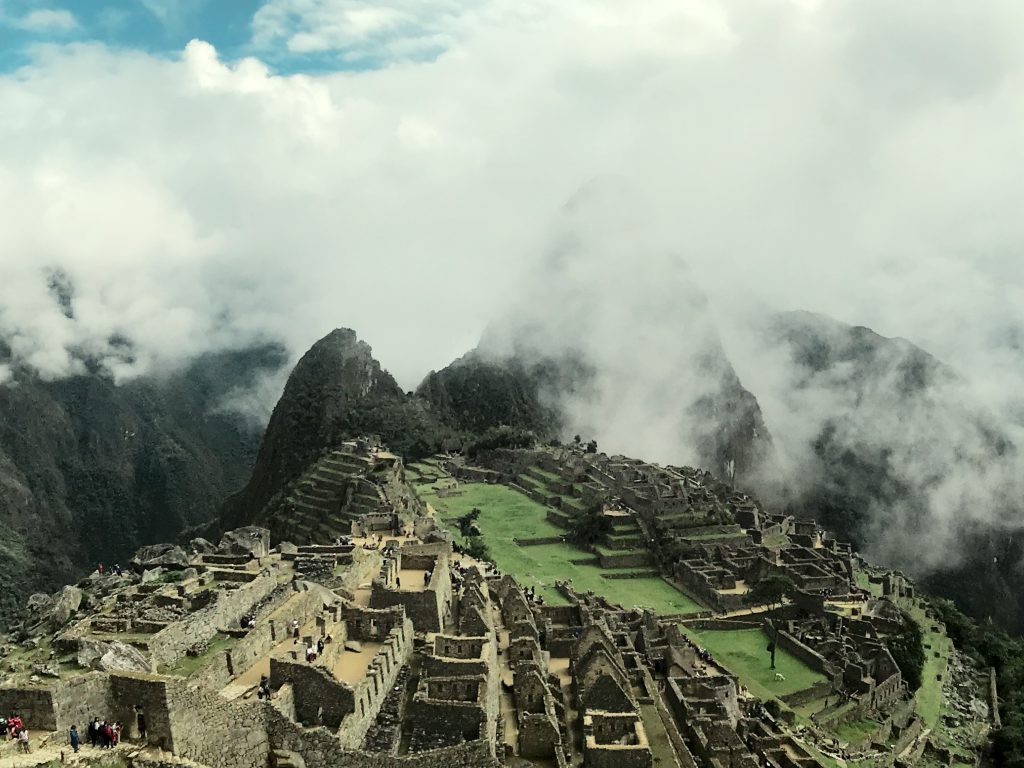
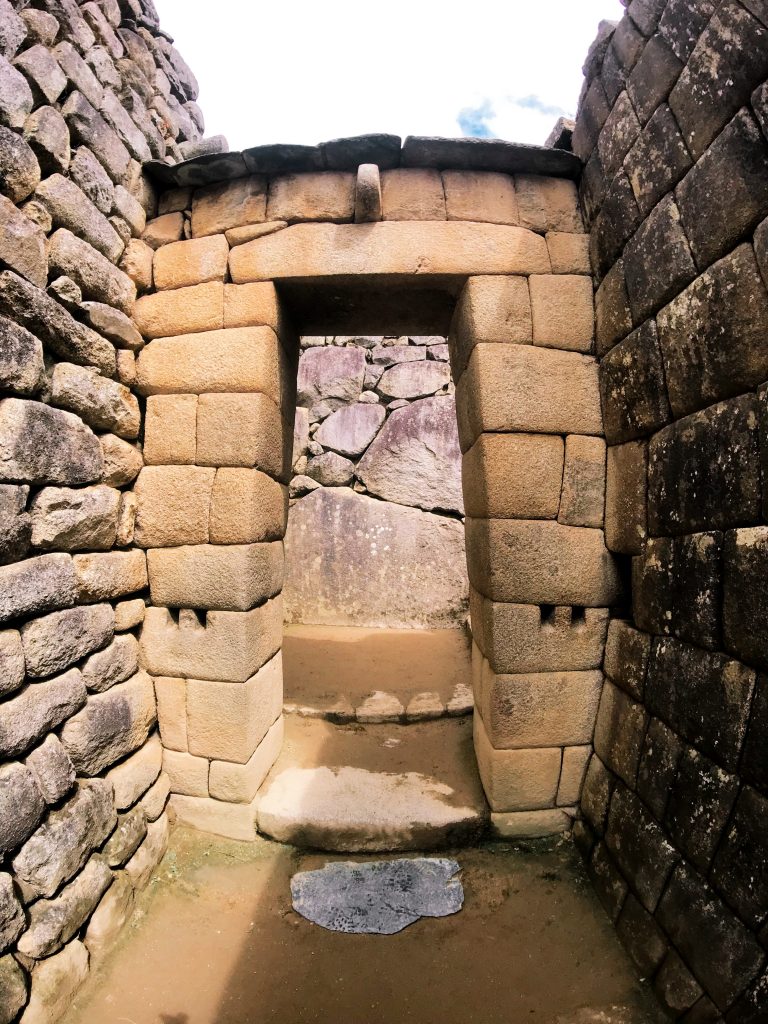
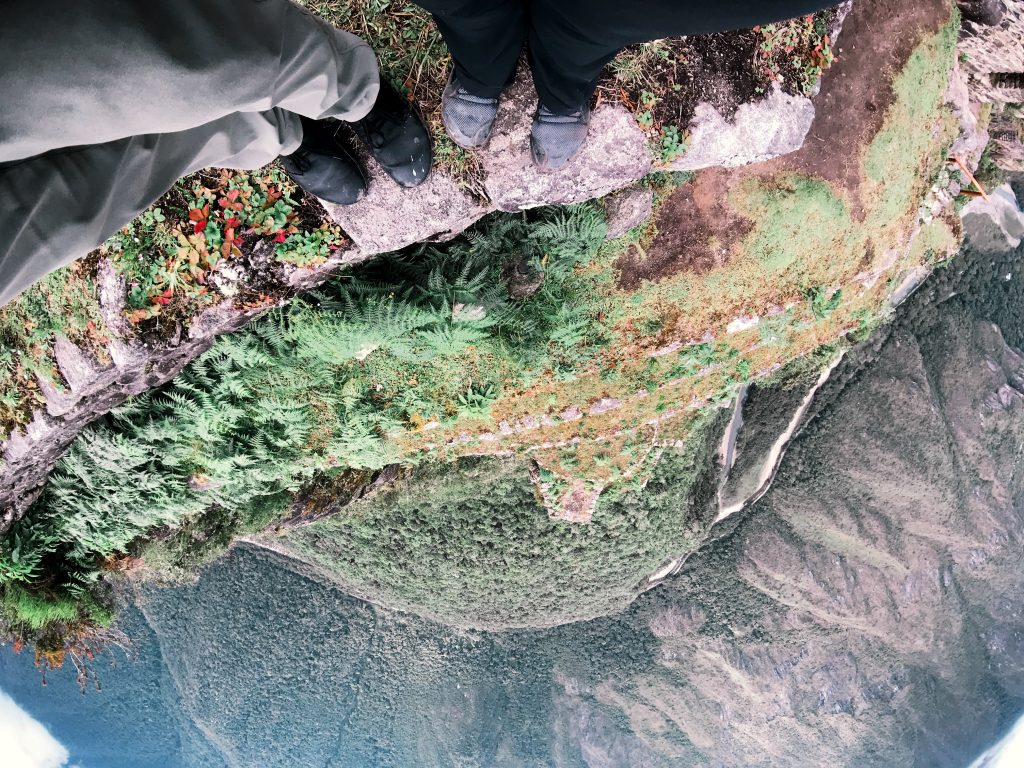
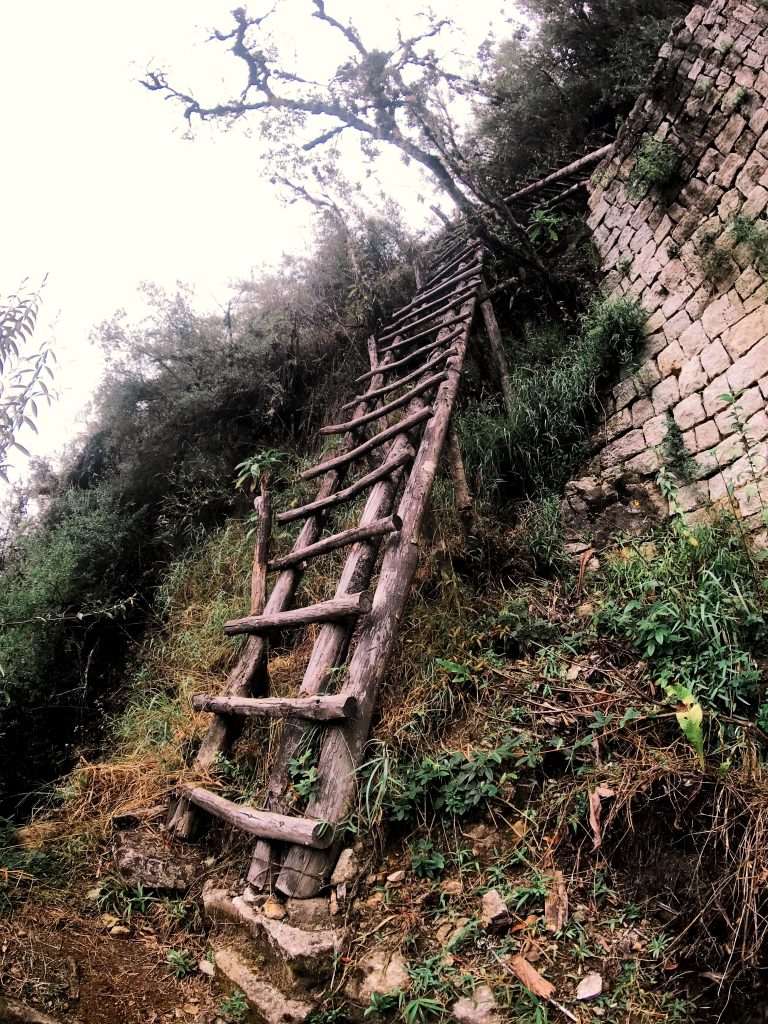
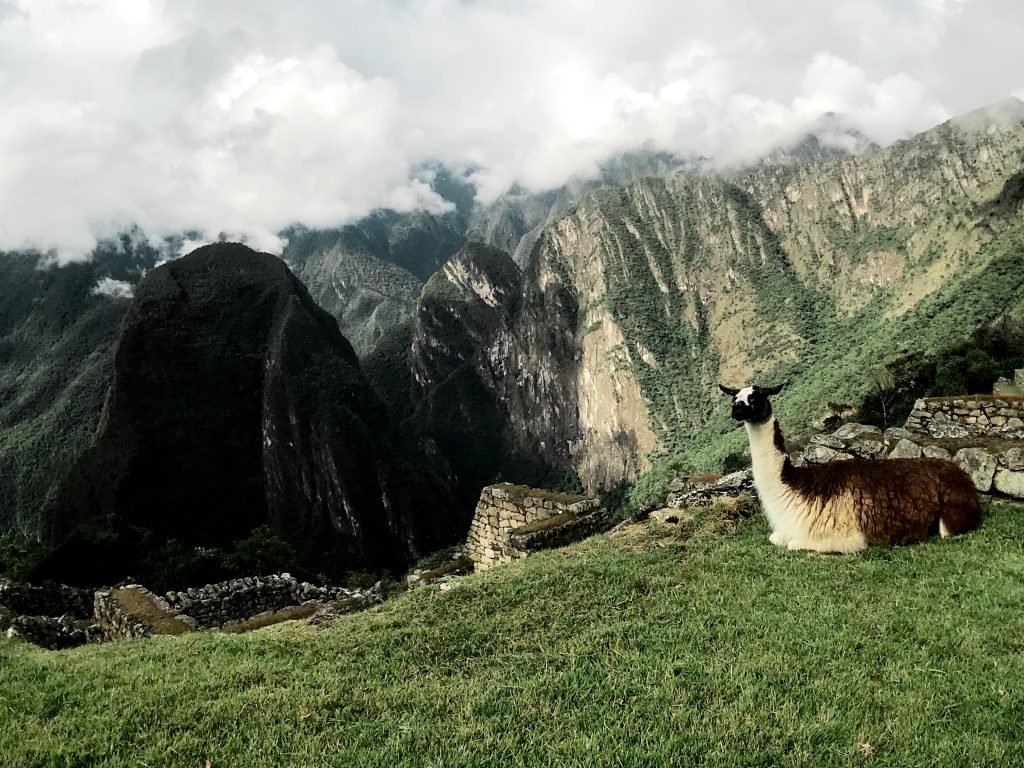
Day 5: Start at 5am and head to the train station. Take a train and a bus to Machu Picchu.  Hike around the city of Machu Picchu then enter the trail for Huana Picchu and the Moon Temple. A long steep climb of a million stairs up to the top at 10,000 ft. Stairs back down to the valley for the Moon Temple in a cave and then the same long climb up to Machu Picchu city. Bus back to the town- grab food and catch the train back to Ollantaytambo.

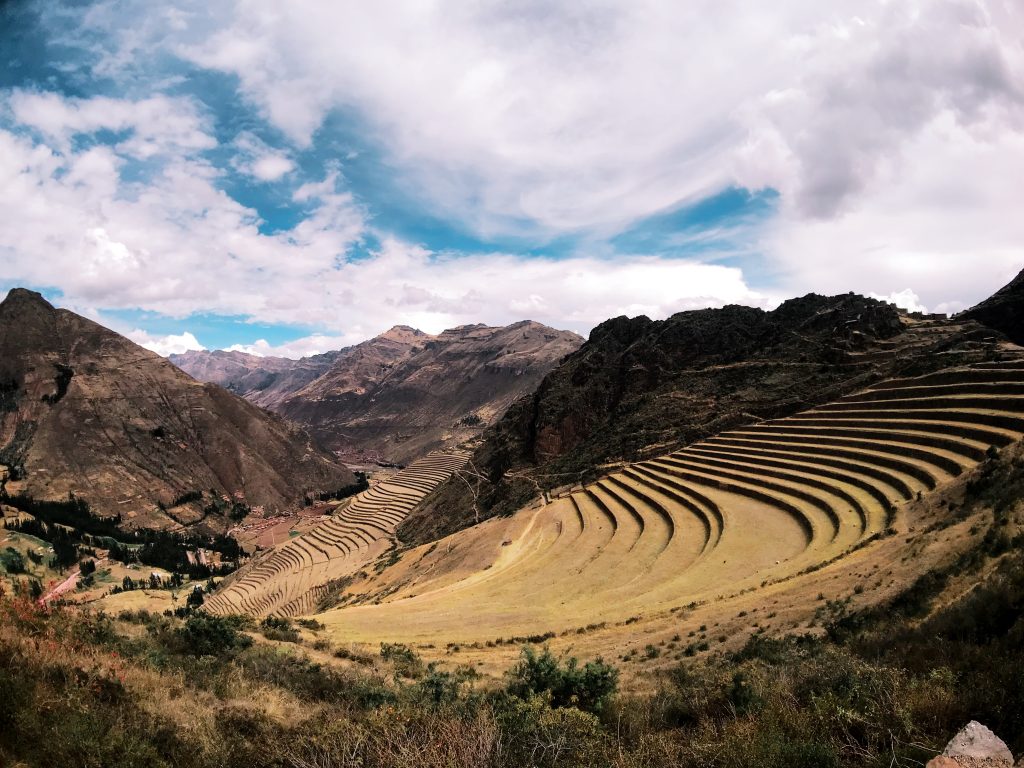
Day 6: Easy morning. Head to Cusco at 11am with a stop at the Pisac ruins (again EMPTY and gorgeous) and the Pisac market. Once in Cusco head to Hotel- Illa Cusco. Walk around and explore the city (very touristy) but we had the BEST food of our entire trip and finally a Pisco Sour.

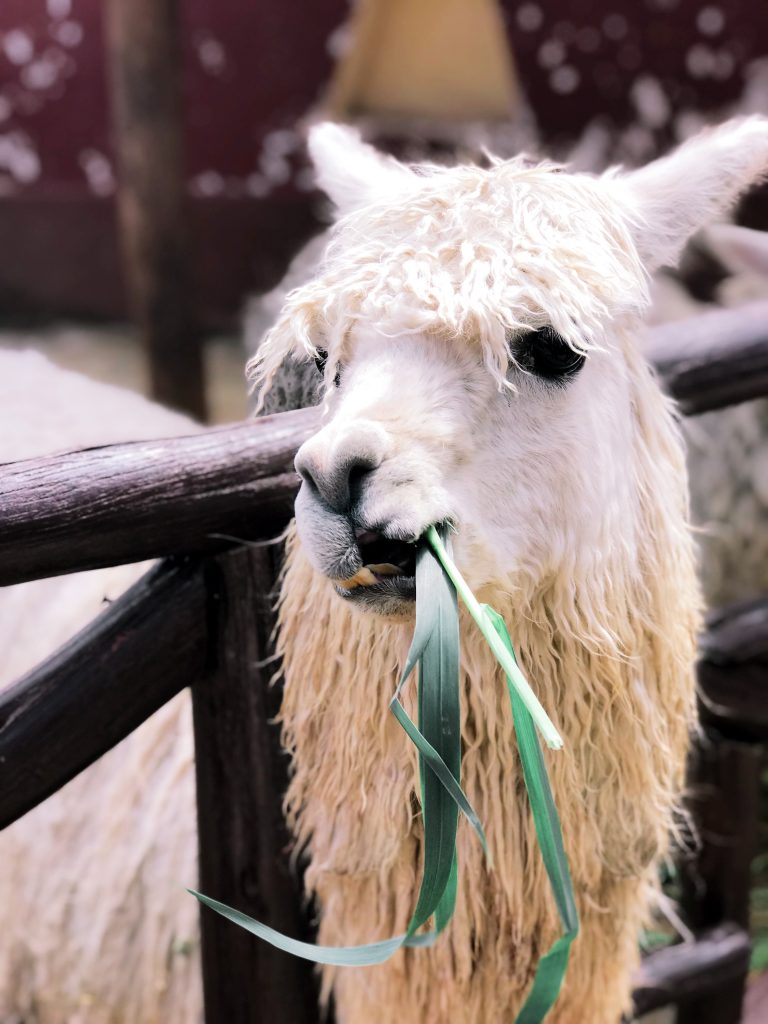
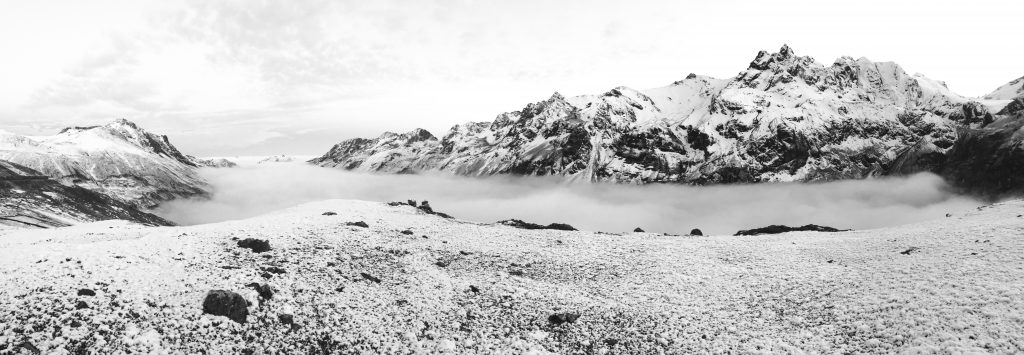
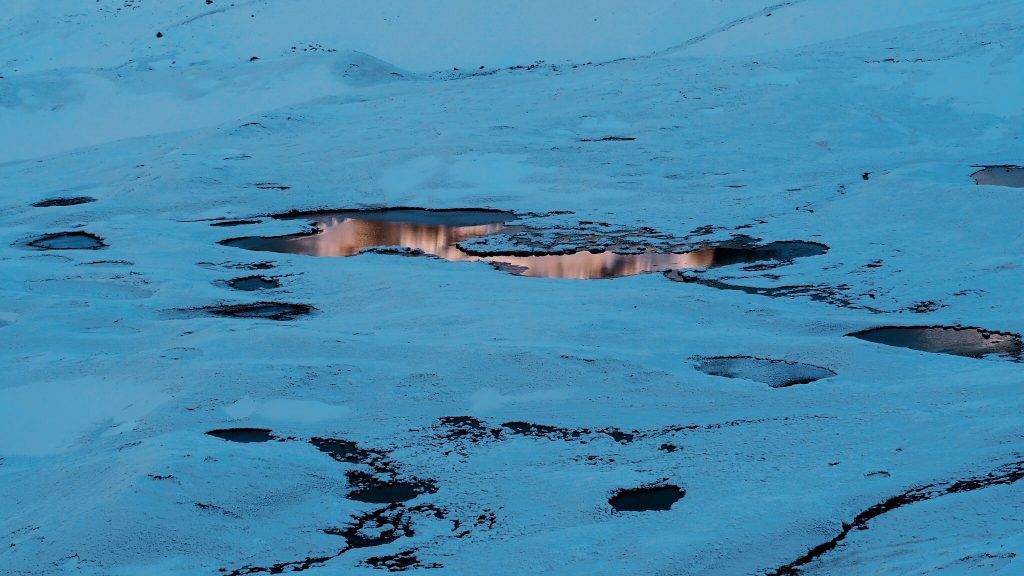
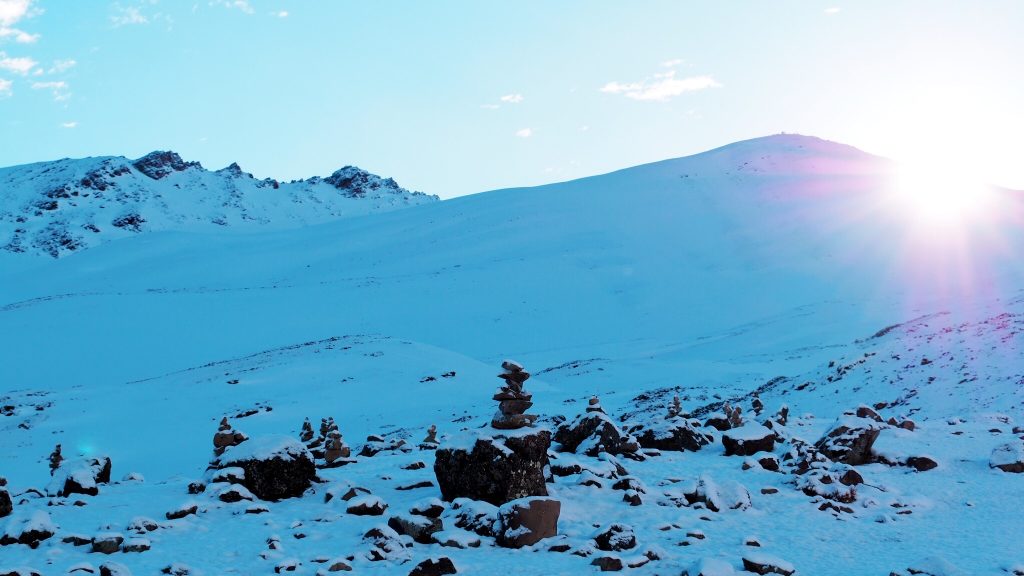
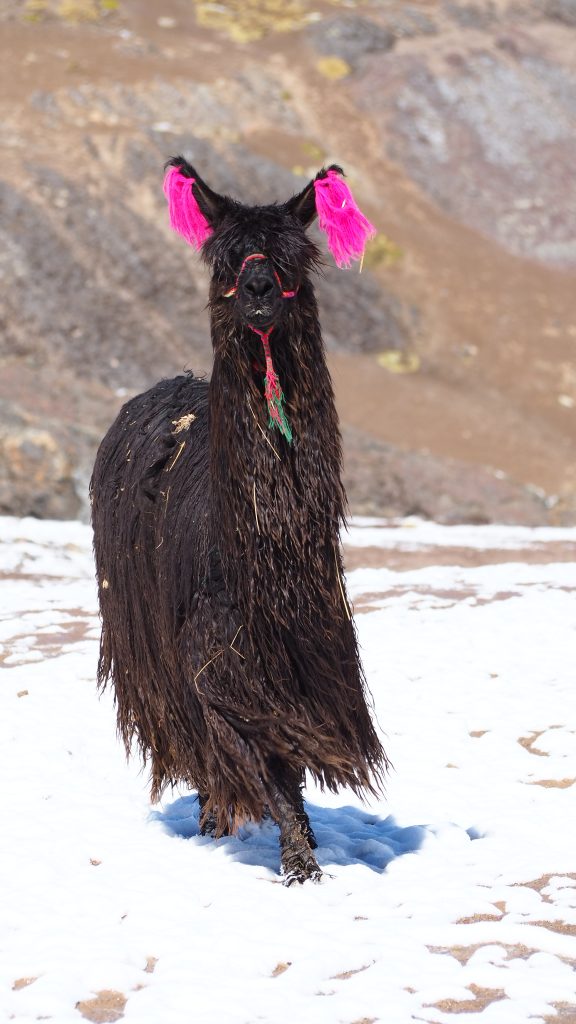
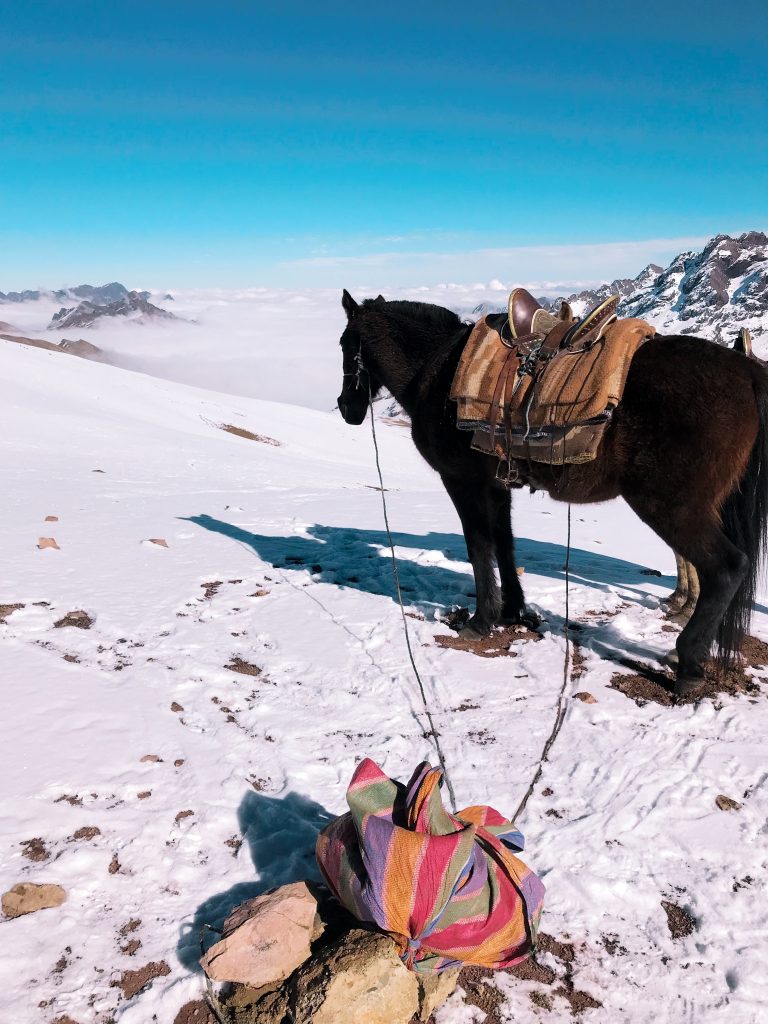
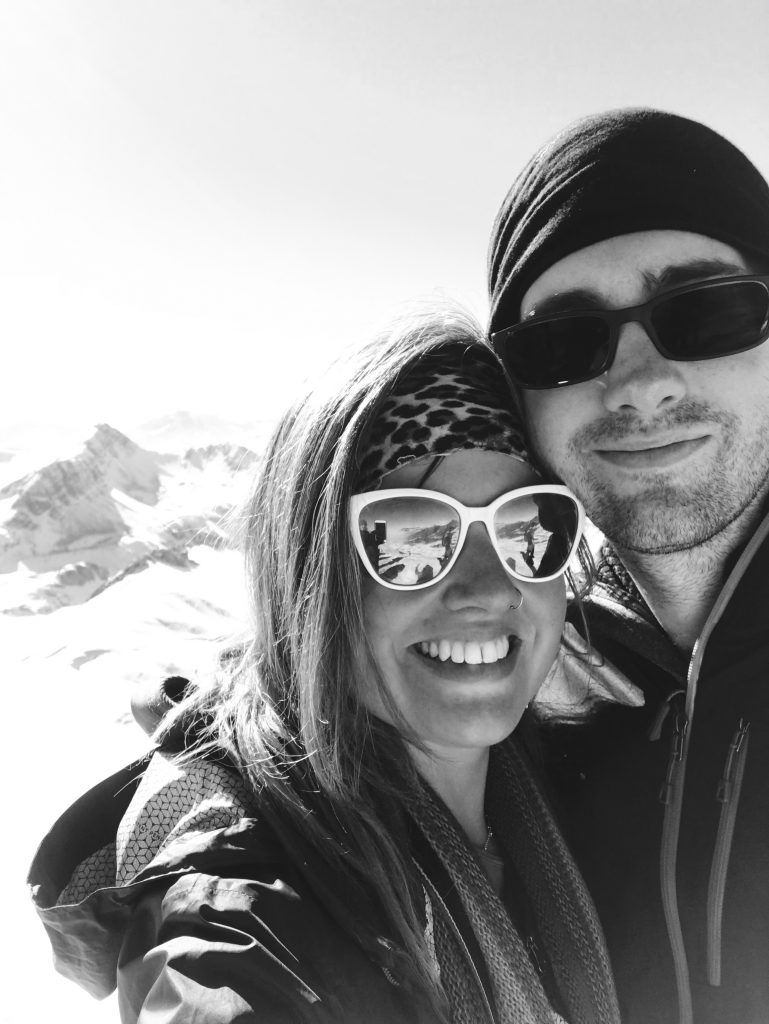
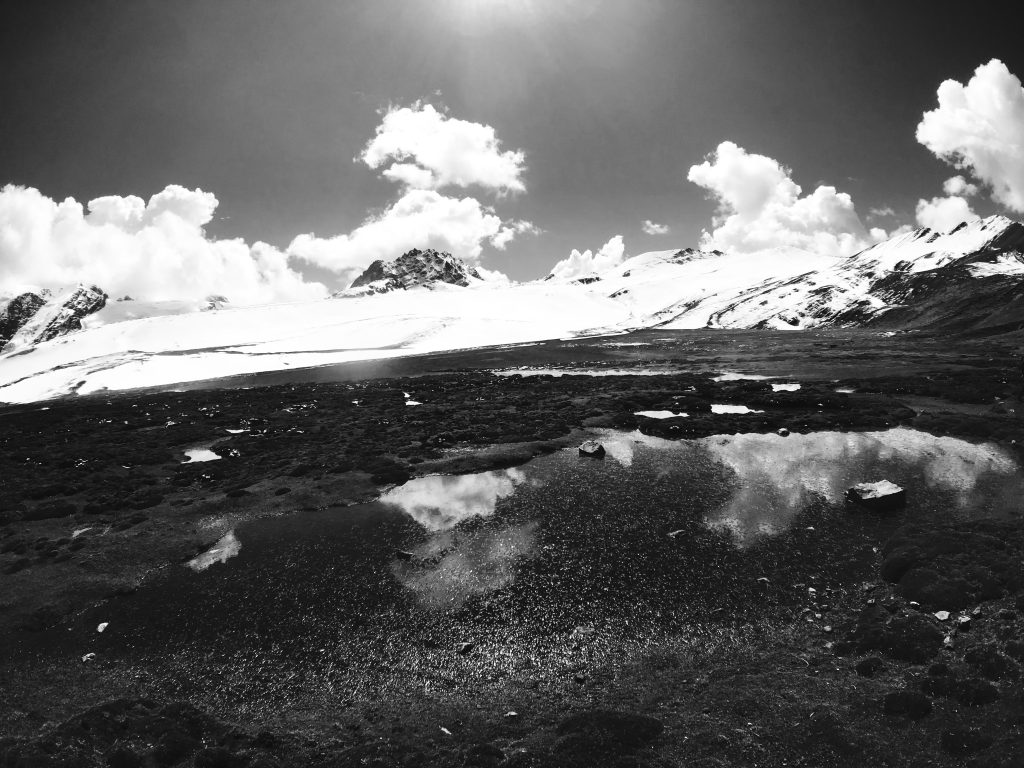
Day 7: Starts at 2 am. Check out of Hotel and get picked up by our guide for the Rainbow Mountain Hike. Long bumpy ride to Rainbow Mountain, start our hike in the snow as the sun starts to rise. First group (6 of us hikers) to the top with a stunning view and elevation of 17,000 feet. Decend the mountain, meet a llama again, and generally feel like a total badass. Back to Cusco City main square for a few hours, grabbed some food and took a Taxi to our overnight bus.

Day 8: Overnight bus to the Amazon (Puerto Maldonado). Wake up in a hot, stuffy space, feeling less than rested or well. Wait at the bus station for driver from our lodge. Head to the port. Take a boat to our lodge on the Amazon. Check in. Start sweating- only to find out you will never stop while in the jungle. Afternoon boat to the Island of the Monkeys and return by dusk for some dinner. Do a night boat ride to see the Camen.

Day 9: Leave at 4:30am by boat to see the parrots who come in droves to lick minerals from this rock wall. Return for breakfast. Leave again by boat to hike Lake Sandoval. Then get in a rutted canoe in a swamp in order to get out to the lake. See SOOOO much stunning wildlife. Return to lodge and eat dinner. Do a night walk to see the insane creatures out there like Tarantula and feel a little more respect for the jungle.

Day 10: Breakfast and time to pack up. Boat ride back to the port. Bus ride to the airport. Get on a plane to Lima.

Day 11: ORIGINAL PLAN: Get to Lima and have a 12 hour layover. Go past security and pay to get into a lounge so we can shower, get some sleep, and free Wi-Fi. NEW PLAN: Get to Lima. Realize they will not let us past security until the day of our flight at 2am…meaning we have 10 hours the sleep on a concrete floor in a hallway with many other smelly passengers like us. Luxury was not happening.

Day 12: Get into Toronto Canada. 6 hour layover. Feel blessed to brush teeth, wash face and use toilet paper. Change in the bathroom with a pit wipe and watch my sweat drenched hair finally dry after 3 days in the Amazon.

Day 13: Arrive home (Portland). Shower. Crash.

______________________________________________________

0 Facebook Twitter Google + Pinterest

We spent a good portion of our summer in Peru and the Amazon. While there we had some life changing experiences and saw things that took our breath away. Literally, in the case of Rainbow Mountain that reached a peak of 17,000 feet.

The hike started at 2 am departing from the City of Cusco with 6 other hikers. A long jolting ride car ride of 2 hours to the base where we were already above the clouds. The Andes Mountains are truly stunning. They were covered in fresh snow and the sun had not even appeared yet.

We ate some warm quinoa porridge and used the bathroom in the hole in the ground.

I looked out over the blue cast of the morning and pick up my camera to photograph the cloud cover and snow capped peaks when a lone horse came riding up. It was majestic and magical.

Shivering and ready to warm up we began our climb. Only a few steps and I was short of breath. I looked at the ground and stopped with the group as we made the slow crawl to the summit. The sun was rising and everything had a pink glow.

It was probably a good thing it was so dark at first. It made the 7 mile trek to the top seem shorter since we could not see. It is worth it. If you are reading this because you are debating. There is no debate. If you love to hike and enjoy nature you cannot skip this one.

Our group was the first to the top that day an we had the Mountain to ourselves. I cannot explain the feeling in words, but know that tears welled up in my eyes.

______________________________________________

0 Facebook Twitter Google + Pinterest

Writing about art can daunting. After all, aren’t we creating work to communicate in a visual way? Finding the right words to describe art work is like looking for the wind sometimes. Ever changing and invisible. However, the wind has some major impacts- we can see its shifts in other ways. This is how we have to look at examining our own work- the subtleties.

Thankfully, I had 5 years in art school that taught me writing about art was not only a challenge but also essential. Compelling work will ask for more- including those magic words that describe your work.

What is perhaps even more of a challenge for some of you will be narrowing down words to describe your work. I know this is the case for me, since I am inspired by so many things- see the image of my ‘Inspiration Web’ below. All of these pieces  are true inspiration, but not all of them are evident in my work.

The Exercise

Step 1: Gather and Observe

You need to be looking at something in order to decide the words for your work. So, gather some of your favorite pieces or alternatively look at you Instagram or Website Gallery. Spend at least 10 minutes if not more scrolling through your work.

Now grab out a piece of paper or your journal to start some brainstorms.

Step 2: Decide what Elements of Art or Principles of Design  are most prevalent

Elements of Art are the foundation building blocks for composition and how we choose to arrange elements in the frame. It is important to recognize that these are conscious choices and not random (even if some artists prefer to think this way). You brain is constantly processing visual information and making choices about it.

Elements:

  • Line
  • Color
  • Texture
  • Shape
  • Value/Contrast
  • Form
  • Space

Principles of Design are the general ideas about HOW you arrange the elements. These are often intertwined with your theme.

  • Balance
  • Unity
  • Variety
  • Emphasis
  • Movement
  • Pattern/Repetition
  • Proportion/ Scale
  • Rhythm

After looking at both of the lists- narrow down the elements or principles most evident in your work. You list should include about 5, but no more than 8. Keep it precise.

Step 3: Consider Moods and Themes

Mood is created by one of two things: lighting or subject. Cliche mood images with light are things like a sunrise or sunset. However, lighting such as fog or bright harsh light can create different moods. Subject created mood depends on the viewers relationship to it. For example, a puppy can bring a joyful mood while a lone park bench can bring a solitary mood.

Mood is the viewers feeling to your work. Tone is your own (the photographer’s) attitude regarding the subject. So try to keep these separate and examine your work from he viewers perspectives.

To get you started here are a few Mood Words: (Some of they may apply, but don’t hesitate to Google a mood word list)

  • Abandoment
  • Vulnerable
  • Intimate
  • Harsh/Removed
  • Energetic
  • Judgmental
  • Observant/Voyeuristic
  • Proud
  • Provocative
  • Respected
  • Worthy

Themes may also come forward during this brainstorm. Themes are general categories for us to store information under. A way to describe our work that is a bit more removed from the feeling. This may be more accessible for you work than a mood.

Themes can also be closely tied to genre’s of art or art history as shown in the examples below.

Here is a list of themes to give you some examples:

  • Pop Art
  • Motown
  • Found Objects
  • Nature
  • Questions
  • Faux
  • Photo-journalistic
  • Garish
  • Vivid
  • Artificial
Step 4: Time to Journal

One of my favorite books that changed my perspective on photography and art in general is called “Photographs Not Taken” by Will Steacy. It is a book about Photography that has no photographs – only the words of photographers describing a photo they did not take.

This journal prompt has been one of the best parts of this exercise for me and insightful for what I find valuable or beautiful about images.

Get out your pencil and do as all of these photographers did; answer this question.

Describe a photograph you did not take, but still vividly remember today? If you can, consider what stopped you from taking that image?

Step 5: Review what others have to say

Lastly, take an opportunity to read what others have to say about their work. Choose photographers that you admire or follow. What words do they use?

Careful not to fall into the trap of using their words- but instead see how they line up with the work and how they have chosen to approach the pieces. To read interviews with 5 photographers who have inspired me with their work and how they describe it go here.

Final Three Words:

The idea is to be succinct and have words you can utilize in a variety of ways (see below). After all of your note taking stop and put it away for two days. Come back and scan over your notes. Circle the first three words that still pop out at you. While this may be it for some of you- others might be dissatisfied with the three words. Perhaps this means that your work needs to grow in a new direction OR go through again a few days later and see what else pops out.

Write down the three words that most describe your work.

My three words are: Textured, Reductionist, and Natural/Organic.

I am also open to these words changing and evolving overtime as I do. At one time I did everything from documentary to the narrative and now I tend to remove elements in order to create a minimal, piece. (Reductionist).

Where you will use these words:

Hopefully you came up with three words to describe your own work or style in art. After this, you have the opportunity to use them in a variety of ways. Artists have to do some self advocating and often are expected to explain their work at some time or another. For example you could use these words as the building blocks for any of the following:

  • Artist’s Statement
  • Artist Bio
  • Resume
  • Cover Letter
  • Applications or Entries to Shows/Competitions
  • Talking to your parents
  • Talking to your friends or generally anyone who has not been asked to consider art
  • As journal prompts
  • For inspiration when you feel like your work has lost touch
  • On your Instagram or Twitter Bio
  • You can create a poll on Facebook or Twitter for your followers to see which of the words they feel like describes your work more

Self Reflection can be one of the most powerful tools for continuing to create. This is the process after all. This can also be one of your powerful tools in self promotion and growth- connection and understanding between you an the viewer. Photography and art is always a two way street and the viewer is important. Let these words guide them.

What are your three words? Please share them below in the comments! 

Have you ever had a time when you needed to talk about your work and were at a loss for words? I would love to hear these stories as well. 

3 Facebook Twitter Google + Pinterest

Photography. The ability to capture and freeze a moment. In today’s age people are photographing all the time thanks to the device that does not leave their hand. But why? Why do people feel the need to photograph? What compels them to keep photographing? Is it only because their cat is cute or is it something else? Why Photograph?

For myself I have felt that photography is natural. It is a way of living. A way of experiencing the world. It is not about what comes after the image- for me. The sharing and showing is something I have struggled with. So it was not about the fame or popularity or even the attention a great photograph can bring. It is something more. To me, being a photographer is someone who is in love with the world. Or as I say to my friends, “It is because I love to find the good stuff.” It is a way of practicing joy.

This very conversation was one I had in a college class with my professor who change everything about how I look at photography and therefore the world. That is where the featured image stems from- a conversation and his notes on the board.

27 Reasons that People Photograph:

  1. Memories
  2. Documentation
  3. Money
  4. A way of Engaging with the World
  5. A way of Practicing Joy
  6. To Find the Good Stuff
  7. Challenging Concepts
  8. Propaganda
  9. Obsessive
  10. Fun
  11. Addiction
  12. A Drive to Create
  13. A Drive to Capture Beauty
  14. Photography as a way of knowing
  15. Libidinal
  16. Intellectual
  17. Camera Junkies
  18. Gear Heads
  19. Popularity
  20. Advertising
  21. Manipulating
  22. A Compulsion
  23. Not able to let go
  24. Impressions
  25. To Tell a Story
  26. To Make
  27. To Make Art

Let me say that again. To make. To make art. Humans are engineered to make. The visual is not foreign. It is how we first communicated and will be how we communicate forever into the future. The visual is essential to connection and can be essential to disconnection.

This is why visual arts education and media literacy is so important for our current students. It is the world we operate in and it is not going away.

To continue your search for why- read the interviews of 5 inspiring and expert photographers I recently did. To see what I find beautiful- see this.

Where do you all fit? Why do you photograph?
0 Facebook Twitter Google + Pinterest

After the popularity of “Posing Tips: Make your Subject Feel (& Look) like a Model” I decided to share some posing secrets for portraits that are not as obvious. There are a few mirco-movements that make a major impact when posing for portraits.

As always, make your subject comfortable and feel at ease. The first 10 shots or so in a session I rarely let them see. They are just a way for us to find a rhythm and connect with this strange object I keep pointing in their face. After those initial shots and established relationship, then you can start to employ some of these secrets for posing in portraits.

Note: This is the very first post where the images were taken from a free stock photo website. This is due to the fact that I do not have permission from all my subjects to share and blog about our sessions. However, all tips are mine and ones I use often. 

Secret #1 

Place the tongue to the roof of the mouth.

What it does: Creates a muscle tension/flex and lifts the chin skin up.

Area of Concern Addressed:  Double chin/lack of a defined jaw

Use When: Shooting profile views or 3/4 views

Secret #2

Part the Lips

What it does: Creates a sultry look or elongates the face

Area of Concern Addressed: None- only an added effect. Can be useful for those with especially round faces when paired with a upper angle.

Use When: Shooting close ups or during boudoir sessions

Secret #3

Angle the face

What it does: Creates structure and gives interest. Defines the jaw and intensifies the eyes. Universally flattering.

Area of Concern Addressed: Lazy eyes – this is the best trick for an individual who may have a lazy eye which is especially prominent in photos.  Angle the face and have them look in the direction of the lazy eye if possible. Shooting them straight on will not be flattering in most cases.

Use When: Shooting portraits or head shots

Secret #4

Hands on the waist (instead of the hips)

What it does: Creates a hourglass figure and gives the illusion of a smaller frame. Lifts the arms off the torso.

Area of Concern Addressed: Extra flowy clothes or a subject who has requested to look thinner (I get asked for this all the time).

Use When: Anytime you are tempted to say “Put your hand on your hips” . This will lift the arm from the torso which is good and flattering for how the camera picks up this part of the image, but it is not good for the size of the frame. Hands on the inner waist will cinch in the frame. This is also very helpful if your subject wore super flowy clothes since these have a tendency to drown your the form.

Secret #4

Lift the Collar Bone and Extend the Neck

What it does: Creates the illusion of a “thinner” look.

Area of Concern Addressed: None- only a effect (being thinner is desired by clients, but not something I think should ever be a “area of concern”)

Use When: Laughing photos or intense and serious photos (both will be intensified with this pose)

Secret #5

Cross your Ankles

What it does: Creates a point at the end of the frame and tilts the body slightly. Makes you appear taller.

Area of Concern: When two subjects are drastically different heights – have one subject cross ankles with one foot in front to appear taller.

Use When: Photographing couples or when using a wide lens (as those tend to make people look shorter and squatty)


That is all for now! Give it a shot and tell me how it goes. Or better yet, if you have some of your own secrets for posing, comment below.  Thank you all!

0 Facebook Twitter Google + Pinterest

This expert round up features photographers of all kinds who inspire me on the daily with their Instagram feeds. Diverse styles and different technology, these photographers answered 5 questions including giving their best advice, editing choices, and even braving the question of a photographers current place in society.

If you are looking for inspiration in your own work or just to freshen up your feed I hope these photographers resonate with you as much as they have with me.

______________________________________________________________________________________________________

0 Facebook Twitter Google + Pinterest

Photographic images are containers for information. They tell a story. Or at least they should right? We are conditioned to expect images to talk about something so when they offer very little and are in fact abstract what does this mean? Abstract photography evolved out of frustration, but turned out to be one of the best things I ever investigated.

This talk investigates my path to the abstract photograph and the ideas behind that slur of information. On here and on Instagram I rarely share this portion of my work. I save this for my fine art that resides on my artists website.  However, I am still making this work and felt it could be appropriate to share my Ted Talk here as well.

If you struggle to understand the abstract or are drawn to creating the abstract this talk gives insight into both as well as my journey with photography.

As always, I welcome your ideas and commentary on abstraction and the photograph.

0 Facebook Twitter Google + Pinterest

Look at Good Work and Read About Good Work

As some of you may know I am a photography and design teacher by day. I had a professor in college that said, “If you are not looking at good work, you are not making good work.” Photography books are a plenty, but there are a few that have truly impacted me and are worth your time.

To this day, I try to embody this mentality within my own practice and that of my students. We start every class with our Artist of the Day looking at photographers from the very start of the invention that captured light.

I often come across individuals who are so consumed with being their “own” person and not looking at other artist’s work. Or God Forbid the Instagram game of follow and unfollow without considering the album of work. (Someone explain to me why people play the follow unfollow game! Ugh!)

I digress, the point being as an artist, creator or photographer I strongly believe you should be looking to improve your practice. The best way to do this is to look at others work and hear what they have to say about it.

5 Must Reads

As a photographer, there have been a few books that have changed the most powerful tool I possess; my perspective.

0 Facebook Twitter Google + Pinterest

Japanese Gardens – 120 Film- 9×12 Pinhole Camera

Art is something.

The notion of what art is can range depending on your art literacy. The term art is so encompassing that it can be something used to both describe and discuss.

However, what is that talking about?

Art is talking about the artist’s life and all that is entailed in that; it is the art of their life. More importantly art is a personal experience, in which we can engage in a visual dialogue unique to
our species.

It is this visual dialogue that puts the category of art into such a jumbling and
often confusing array of niches in our society. Art can be the vendor in the market, the
billboard, the comics, or heaven help us Damien Hirst.

How do we talk about it with integrity?
0 Facebook Twitter Google + Pinterest
Newer Posts